Screensavers safeguard your monitor from image burn-in issues caused when an image is displayed for prolonged intervals on your screen. However, we have come a long way since then and modern monitors don’t have the same caveat. Still, there is no harm in adding a customized Screensaver just for fun. In this post, we will learn how to do the same on Windows 11/10 computers.
Read: Are Screensavers necessary and still needed.
Customize Screensaver Settings in Windows 11/10
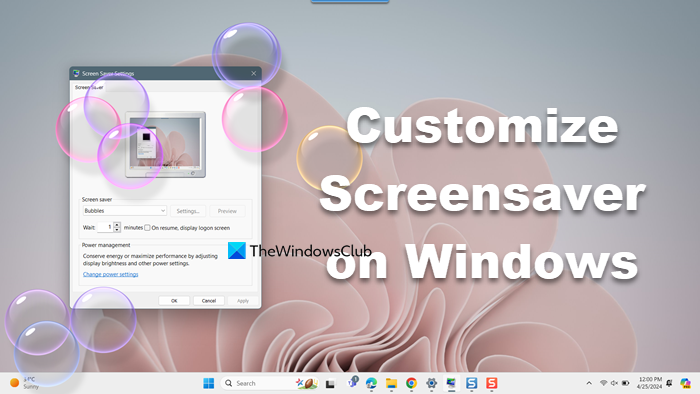
To customize Screensaver Settings and apply it on a Windows 11/10, you must follow the instructions below to do the same.
You can get to your screen saver settings directly by typing ‘Screen Saver’ in the taskbar search box in the lower-left corner of your system.
Click on Change Screen Saver and it will take you to the Screen Saver settings right away where you can adjust the settings according to your preferences.
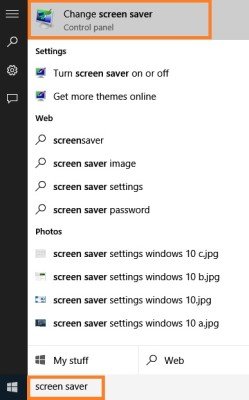
Alternatively, you can navigate to the Screen Saver Settings by following the below steps.
- Windows 10: Right-click on your desktop, and select Personalize to open Personalization settings. Next, click on the Lock screen in the left pane.
- Windows 11: Hit Win + I to open Settings and go to Personalization > Lock Screen > Screen saver.
Scroll down the Lock Screen settings and click on Screen Saver Settings. The following window will open. Here you can adjust the settings according to your preferences.
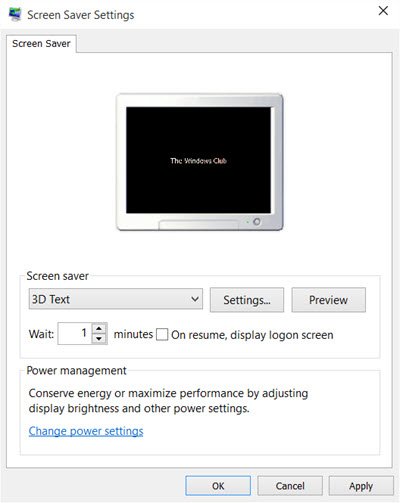
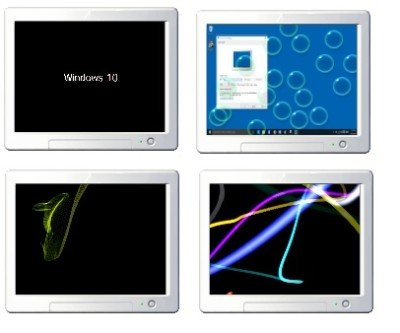
By default, Windows 11/10 offers the following six screensavers – 3D Text, Blank, Bubbles, Mystify, Photos, and Ribbons – nothing new here.
Select the screensaver from the drop-down menu and change its default Settings, if any are available.
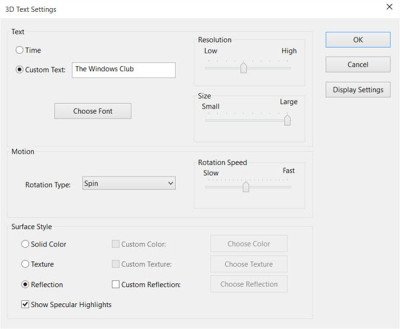
For instance, the 3D Text screensaver lets you customize the text as well as a few other options.
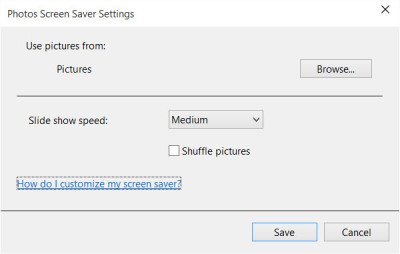
The Photos screensaver lets you display your favorite photos as a screen saver.
Once you are done, click on Apply > Ok.
Create Screen Saver Settings Shortcut
If you access the screensaver settings frequently, you can create its desktop shortcut as follows: However, it is easy to change the settings but if you change your screen saver often, it would be better to create a Screen Saver Settings shortcut on your desktop.
To create the shortcut, you have to right-click on your desktop and click on New > Shortcut.
Type control desk.cpl,,@screensaver in the location space in the wizard.
Click Next and give a name to your shortcut. Click Next and you are done. Give it a suitable icon of your choice.
Use this shortcut to change or adjust your screen saver settings whenever you want, quickly.
You can also create a shortcut to launch or change the Screensaver state for a specific screensaver.
Does Windows 11 still have screensavers?
Yes, Windows 11 allows you to add a screensaver albeit it’s not necessary anymore courtesy of modern monitors. To alter your screensavers, open Settings and navigate to Personalization > Lock Screen > Screen saver. You can then set a screen saver and customize it according to your needs.
On a related note, take a look at this post. It shows you how you can display System Configuration details on your Windows Desktop Wallpaper.
How to make your own screensaver?
To apply your own images as a screensaver, open Screen saver settings from the Start Menu, select Photos from the drop-down menu, click on Settings > Browse, navigate to the location where the image is stored, and select it. This way, when the next time your screen goes idle, the image will pop up on your screen.
Also Read: Password Protect Screensaver in Windows.
