Microsoft PowerPoint has so much power that it can really help you in making a great presentation. In one of my posts, I had briefed on how to remove the background using PowerPoint which actually allowed you to use Microsoft PowerPoint for removing the background. Now let us see how to crop the images using Microsoft PowerPoint. I am sure you will be amazed to see the power of it.
How to crop images using PowerPoint
To crop an image using PowerPoint:
- Launch PowerPoint
- Select the image
- Select Picture Tool > Format
- Locate Crop option
- Choose one of the 5 Crop options.
Let us see this in detail.
Start your Microsoft PowerPoint
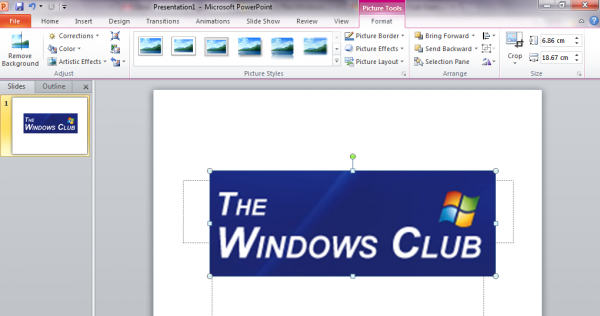
Insert any image which you want to use in your presentation
I have used The Windows Club logo.
Click on the image and you will find Picture Tool > Format
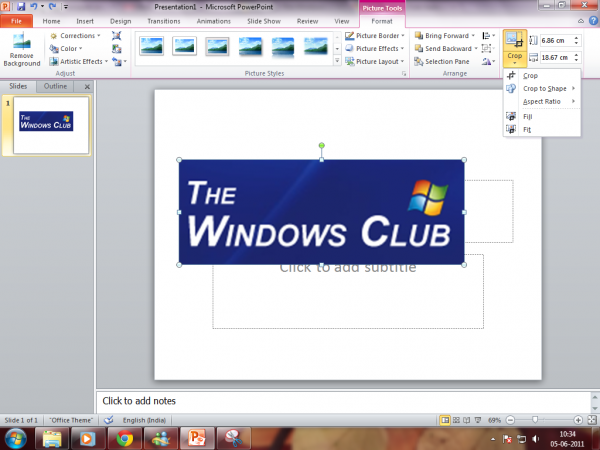
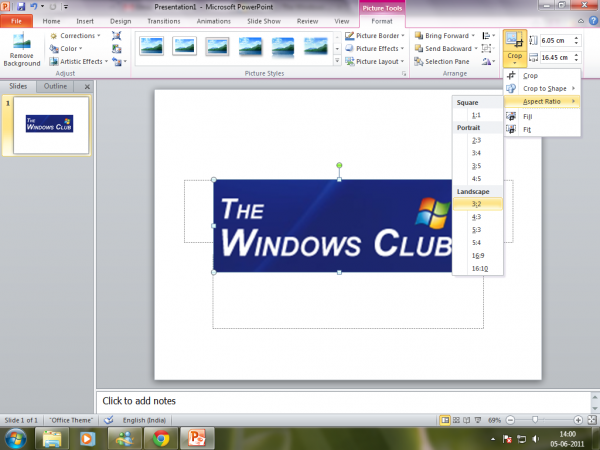
You will find a Crop option – under that, you will find 5 options:
- Crop,
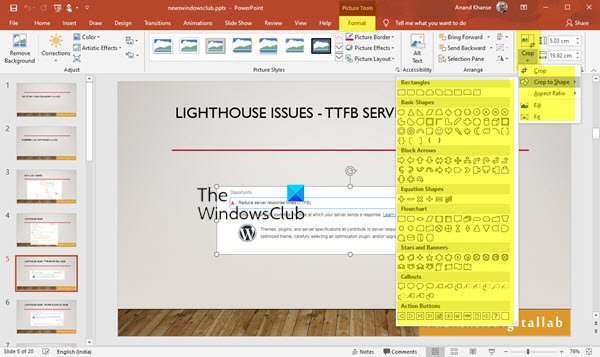
- Crop to shape,
- Aspect ratio,
- Fill and
- Fit.
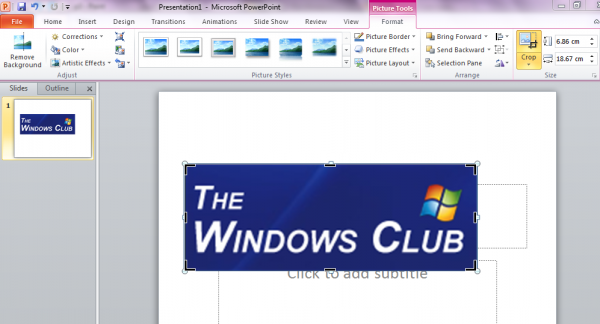
Let us see the above options in the sequence, if I choose Crop then it is just like the ordinary Crop option you can find in Paint, etc.
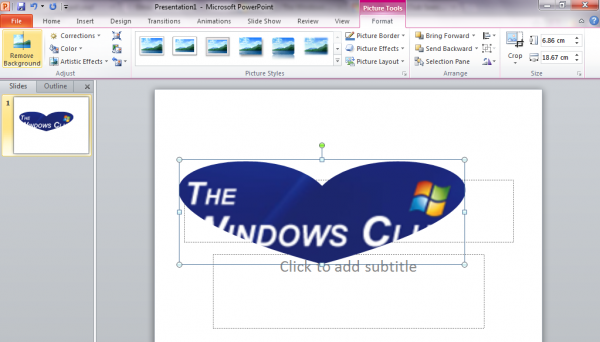
If you wish to have the image in a particular shape like heart, smiley, or any other geometrical which otherwise is difficult, then Crop to Shape is an option for you.
Here I have converted the “The Windows Club” logo into a heart shape. You can try various other shapes also.
You might want to have images with a particular Aspect Ratio i.e. ratio of the width of the image to its height. You can change that also in portrait, landscape, and square mode.
The two other options are also available. To remove part of the picture, but still fill the shape with as much of the picture as possible, you should choose Fill. If you want to make all of the pictures fit within the shape you should choose Fit.
You can remove the background after cropping to get a nice clean image for your presentation.
Also read: How to Crop To Shape parts of PowerPoint slide.

