Adobe Illustrator gives the professional or hobbyist a whole lot of tools to make any designs come to life. Whether image or text, Illustrator can help to bring out whatever you can imagine. Learning how to make swirl text in Illustrator is a skill worth learning.
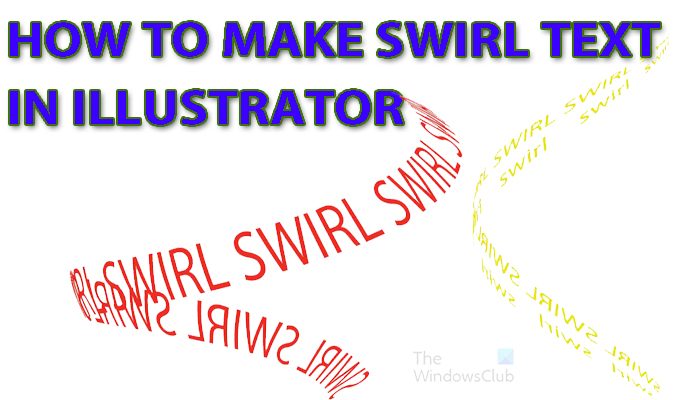
How to make Swirling Text in Illustrator
Swirl texts are texts that bend in various ways and can be used to show movement. Swirl texts can be used to demonstrate smoke, water, and other things. Making swirl text is quite easy to make and remember. There are numerous ways to make swirl text in Illustrator. The method demonstrated in this article is just one of them.
- Create text symbol
- Create circle
- Cut circle in half
- Create sphere
- Map text symbol on sphere
- Adjust text for swirl
- Other designs
1] Create text symbol
The first step is to create the text that will be swirled. The text will become the symbol that will be placed on the sphere. Write a line of text, a long line of text will show the swirl effect better. You may choose to use all caps or all lower case or first letter caps. Choose the design that you are more comfortable with or experiment with different designs. Give the text the color of your choice at this point as it will be more difficult to do so after. When the text has been finished, it is time to create the symbol. To create the symbol select all the texts and drag them into the symbols panel. The symbols panel is usually on the right side of the workspace. If the symbol panel is not there go to the top menu bar and press Window then Symbols.
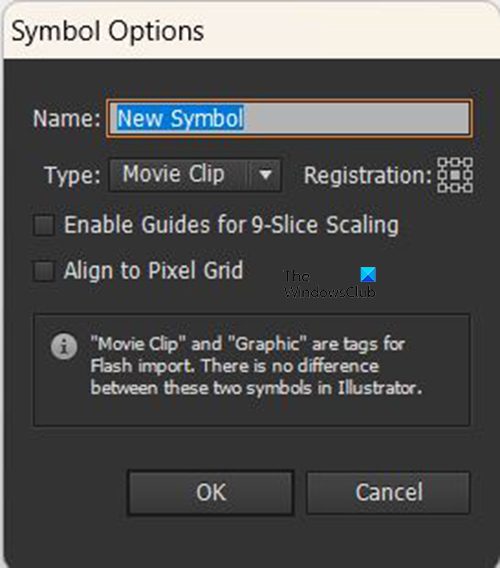
When the text has been dragged into the Symbols panel, a Symbol options window will appear. Give the symbol a name then press Ok to confirm. When this is finished, move the texts off the canvas or turn off the visibility.
2] Create circle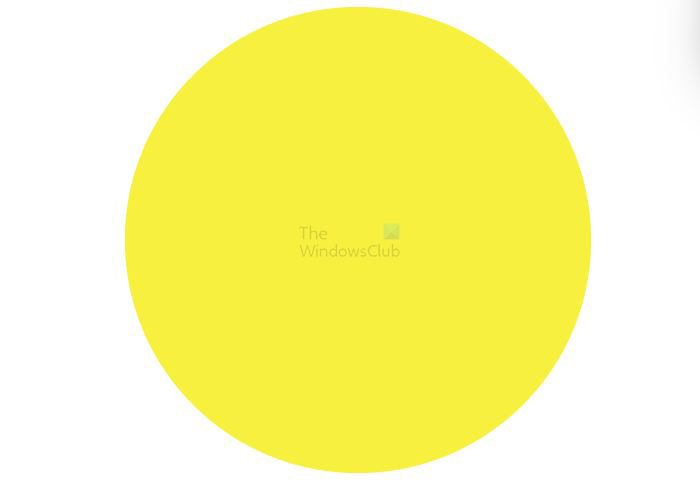
The next step is to create a circle on the canvas. To create the circle, go to the left Tools panel and choose the Ellipse tool. With the ellipse tool selected, hold Shift + Alt while dragging the mouse button to make the circle of the desired size. The other way to create the circle would be to choose the ellipse tool and then click on the canvas. An ellipse option window will appear. Put in the Width and Height values then press ok and the circle will be created. This is a circle so the width and Height should be the same.
3] Cut circle in half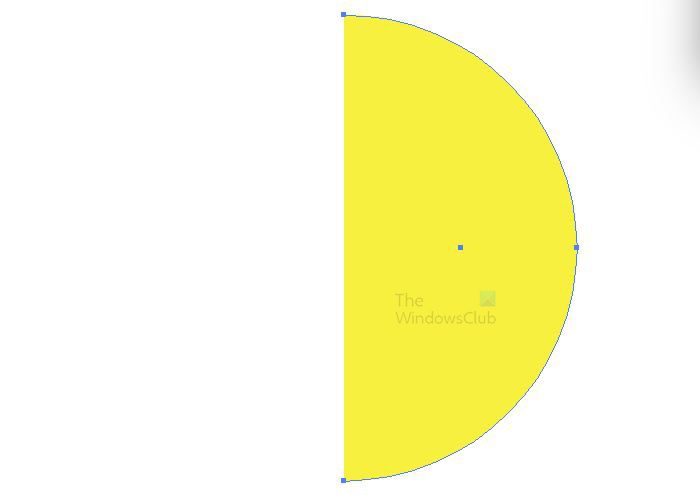
The next step would be to cut the circle in half. Go to the left tools panel and choose the Direct selection tool. With the circle selected and the Direct Selection tool active click the bottom and then the left points on the circle then press delete. The left side of the circle will be deleted.
4] Create sphere
The next step is to create the sphere. To create the sphere click on the half circle then go to the top menu bar and choose Effect then 3D then Revolve.
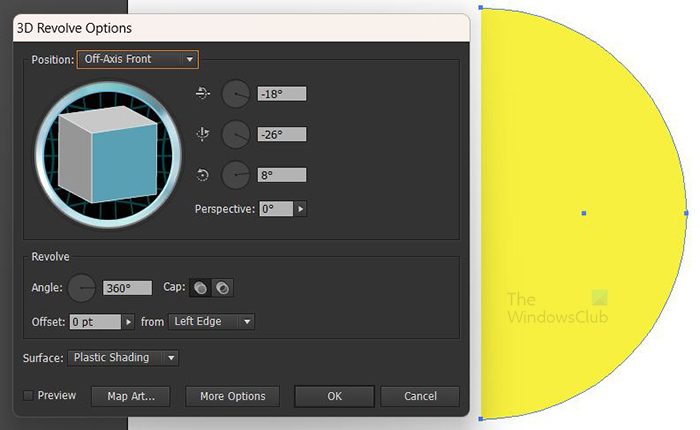
The 3D revolve window will appear for the options to be selected.
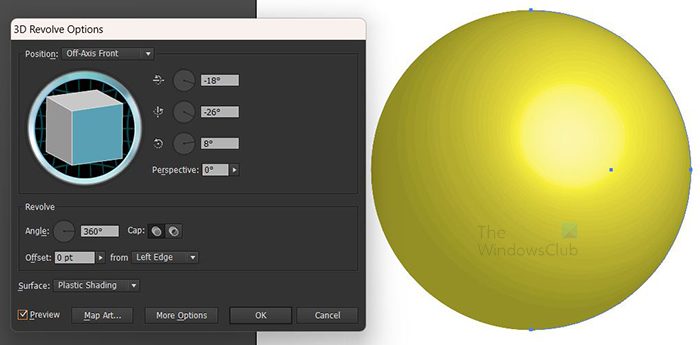
Click Preview so that any options selected will show live on the object.
5] Map text symbol on sphere
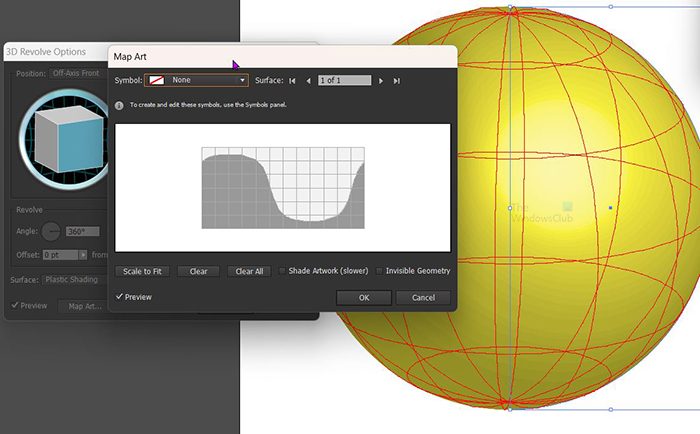
It is time to place the text on the sphere so that it can be swirled. To get the text on the sphere choose Map art on the 3D revolve window. The Map art window will show up, click the down arrow beside the symbol window and choose the text symbol that was created.
6] Adjust text for swirl
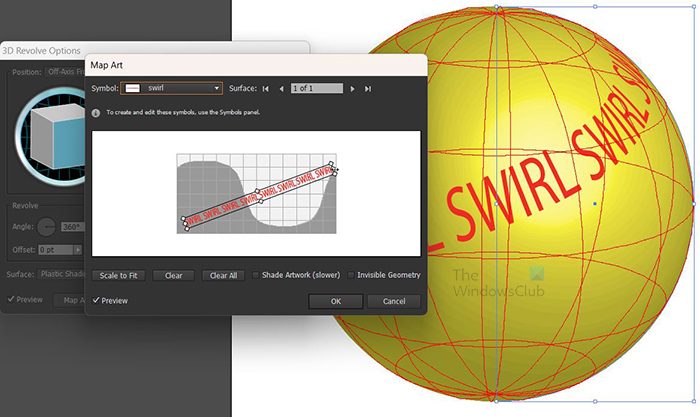
Adjust the text and watch the changes shown on the sphere. You can choose to stretch the text and adjust it to any angle until you are satisfied with the result.
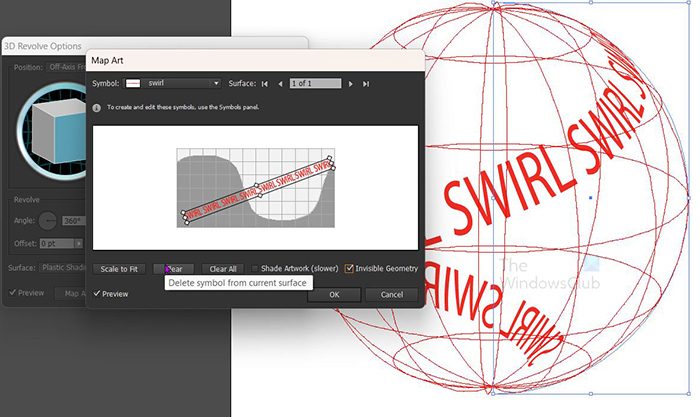
Click the Invisible geometry option to turn off the sphere and show only the text. Press Ok to confirm all the options.
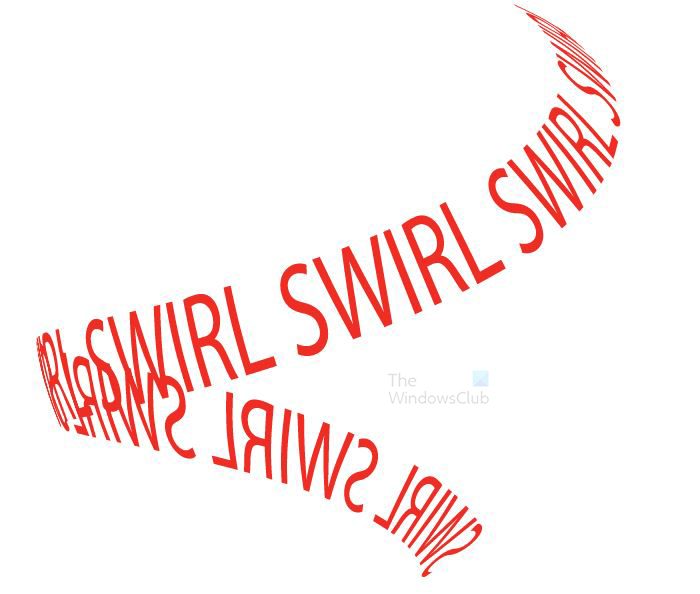
This is the final result. If you need to make changes to the 3D revolve options, go to the right panel and look for Appearance then click 3D revolve (mapped). any aspect of the final results can be edited by going to the appearance menu and clicking on the appropriate link. when the text is being created in the first place, it is best to color it at that point as it will be harder after it has gone through the 3D process.
7] Other designs
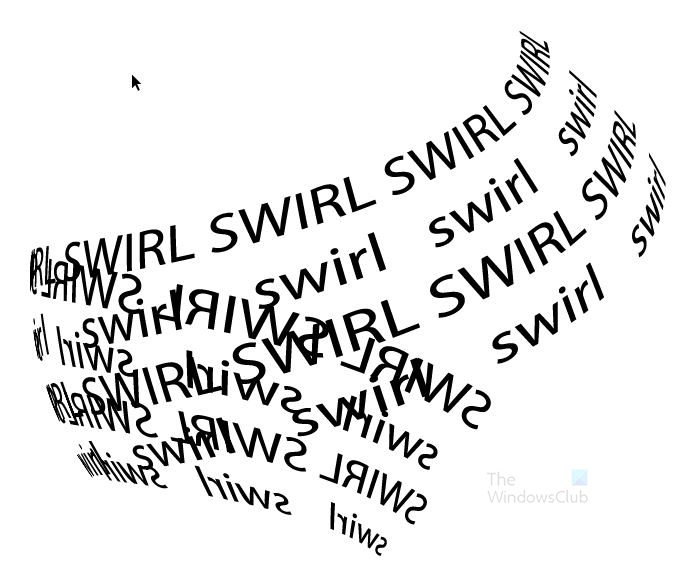
There can be more designs for the swirl, just be creative and design different text formats. You can place texts in multiple lines before placing them in the symbols pellet. Once you can create one, it makes the design for the others much easier since the principles are the same.
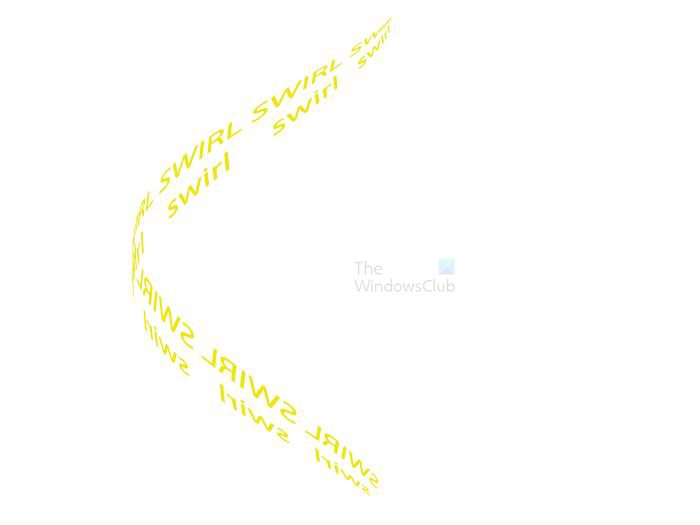 Here is another design using four lines of text.
Read: How to use Adobe Illustrator using these hidden advanced features
How do you make a spiral effect in Illustrator?
Another method for making spiral effect or text in Illustrator is using the Pen tool. Simply use the Pen tool to create a swirl then use the Type on a path tool to place text on the swirl. you can also use a Line tool and distort it to have a swirl then use the Type on a path tool to write text following the swirl.
Can the symbol I made be edited after being placed in the symbols pallet?
To edit the symbol after it has been created and placed into the symbols pallet, go to the symbol pallet and double-click on it. The symbol will be placed on the canvas and you can then edit it. The changes made will be reflected on the version in the symbols pellet. The changes you make will affect all the instances where that symbol was used. This change will happen because symbols are linked which allows them to be used multiple times without having to load a new image each time.
Leave a Reply