A graphics card driver establishes a communication link between an operating system and a graphics card. When a graphics card driver malfunctions or stops working, you will experience graphics-related issues and cannot use your display. In this article, we will see what you can do if you have accidentally disabled the graphics card driver on your Windows computer.
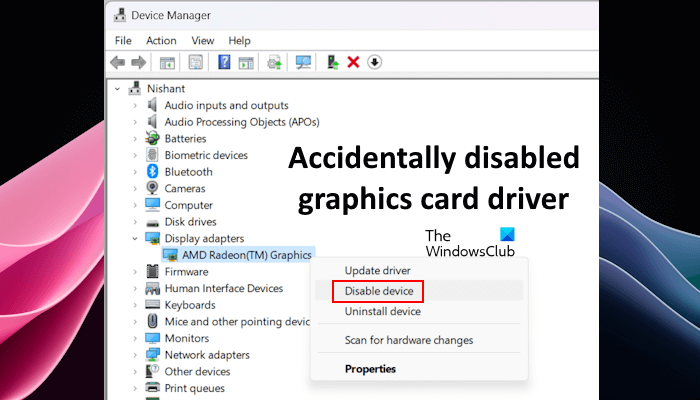
Fix Accidentally disabled the graphics card driver
If you have accidentally disabled the graphics card driver on your Windows computer, the following suggestions will help you fix this problem:
- Reset your graphics card driver
- Connect another display via an HDMI cable
- Use your keyboard
- Reset CMOS
- Enable the graphics card driver in Safe Mode
- Restore your system
- Reset your PC
- Perform a Clean Installation of Windows
Below, we have explained all these fixes in detail.
1] Reset your graphics card driver
This is the easiest fix for this problem but this may or may not work for you. You can use the keyboard shortcut to reset your graphics card driver. Press the Win + Shift + Ctrl + B keys. After using this shortcut, you will hear a beep sound, and your graphics card driver will reset. Now, see if this brings your display. If it does good; else try the next step.
2] Connect another display via an HDMI cable
This fix does not apply to all users. If your system has two graphics cards, you can use this fix. Some computers have two different HDMI ports. On such computers, one of these HDMI ports is connected to the integrated graphics card, and the other is connected to the dedicated graphics card.

Check if your computer has two HDMI ports. If yes, connect another display to these ports one by one and see which one brings the display. If this works, you can enable the disabled graphics card driver in the Device Manager.
3] Use your keyboard
If the above fixes do not work, you can use your keyboard to enable the graphics card driver. This is a hit-and-trial method because your display is not working. You have to use the keyboard shortcuts by assuming that you have logged in to your system.
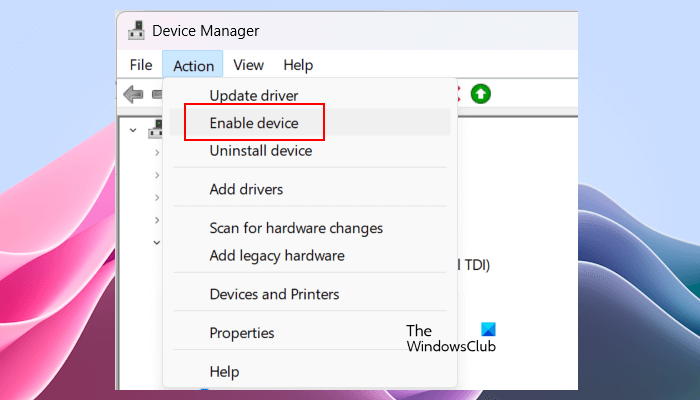
Follow the steps provided below:
- Completely turn off your computer.
- Now, turn on your computer and wait for a few minutes. You know how much time your computer takes to turn on. If you have not disabled the startup sound, you will know that your computer is turned on.
- The display may be black but your computer will be turned On.
- Now, considering that your computer is turned on, press the Enter button one time. When we press the Enter button one time, the login screen appears.
- Considering that the login screen has appeared, enter your password, PIN, etc., depending on the sign-in option you have set on your system. If your laptop has a fingerprinting sensor, signing in will be easier.
- Wait for a minute. Now, press the Win + X keys one time and then press the M key one time. This will open the Device Manager.
- Now, press Tab one time.
- Quickly type disp to select the Display adapters branch.
- Press the right-arrow key two times. This will select your graphics card driver.
- Now, press the Alt key one time.
- Press the right arrow key one time to select the Action menu.
- Hit Enter to open the Action menu.
- Press the down arrow key two times. This will select the Enable device option.
- Press Enter to enable your graphics card driver.
This should work if you follow the instructions carefully!
If this does not work, press the Win + M keys. This will minimize all the opened windows. Now, press the Alt + Tab keys to maximize the Device Manager. Repeat steps 6 to 13 again. Alternatively, you can press and hold the power button to force shut down your computer and then repeat all the above-mentioned steps.
4] Reset CMOS
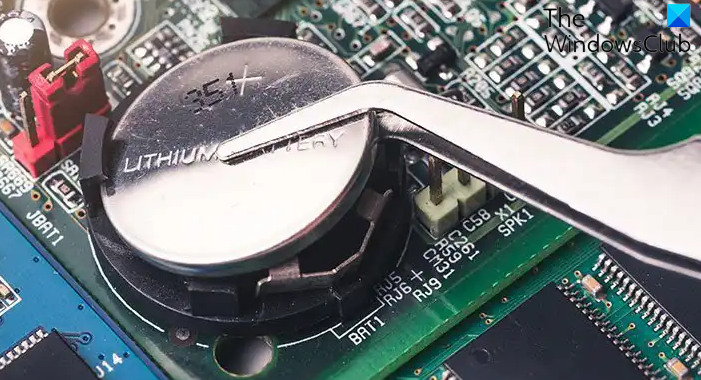
One more thing that you can do is reset the CMOS. CMOS is a small coin-shaped battery that provides continuous power to the BIOS chip. Resetting the CMOS will also reset the BIOS settings to default. Because your display is not visible, you have to perform this action by removing the CMOS battery. Completely turn off your computer. Now, open your computer case and gently pry the CMOS battery. Wait for a few seconds, and then insert the CMOS battery back in its place. Now, turn on your computer and see if the display appears.
5] Enable the graphics card driver in Safe Mode
You can also enable the graphics card driver in Safe Mode. Because your screen is not visible, you have to enter the Windows Recovery Environment. Computers of different brands have different keys to enter the Windows Recovery Environment. For example, on most HP computers, the key is F11.
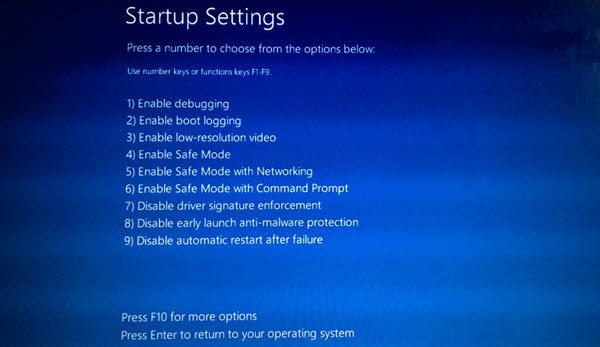
Completely turn off your computer. Now, turn it on and immediately keep pressing the dedicated key to enter the Windows Recovery Environment. When you enter Windows Recovery Environment, select Troubleshoot > Advanced Options > Startup Settings > Restart. Press the 4 key to start your system in Safe Mode. Once you enter Safe Mode, you can enable your graphics card driver through the Device Manager.
6] Restore your system
You can also restore your system to the previous working state by using the built-in tool, called System Restore. Again, you have to use the Windows Recovery Environment to perform System Restore because your screen is not visible.
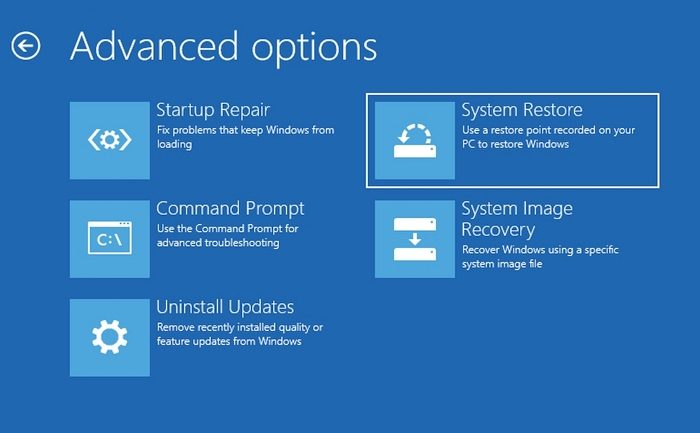
Enter Windows Recovery Environment by pressing the dedicated key based on your computer manufacturer at the time of system startup. Once you are in the Recovery Mode, select Troubleshoot > Advanced Options > System Restore. Select the restore point that was created before the date on which you disabled your graphics card driver.
7] Reset your PC
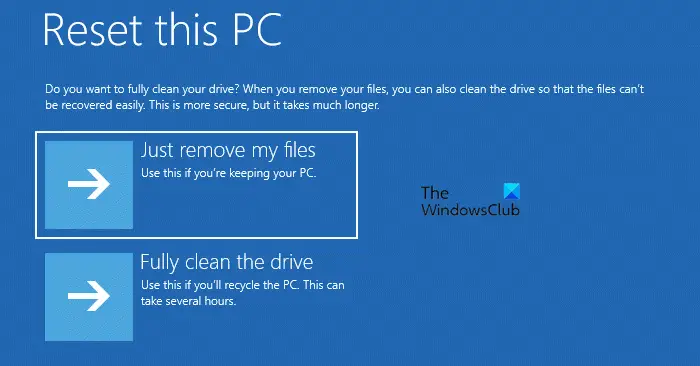
You can also reset your PC to the default settings. Again, enter the Windows Recovery Environment and select Troubleshoot > Reset this PC. Follow the on-screen instructions to reset your PC without deleting your data.
8] Perform the Clean Installation of Windows
If nothing works, the Clean Installation of Windows is the last option. Sadly, this step will delete all your data from the C drive. Hence, you have to install all the programs from scratch.
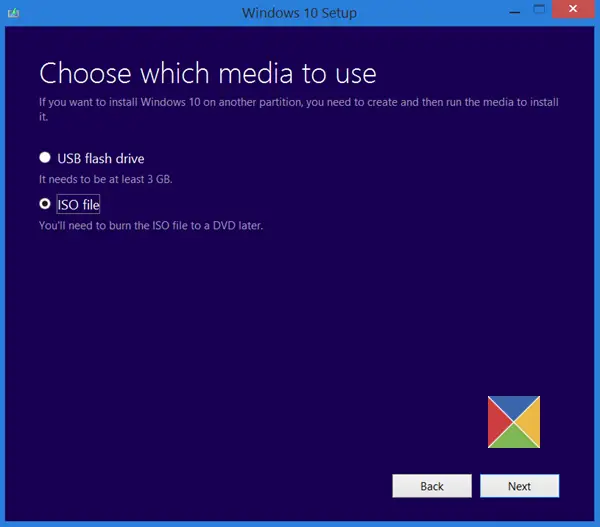
Use another computer to create a bootable USB Flash drive with the Windows ISO file. Or, you can use the Media Creation Tool to download the Windows 11/10 ISO file. To create a bootable USB Flash Drive, you can use a third-party tool, like Rufus.
Now, insert this USB Flash Drive into the USB port of your computer and boot through the USB Flash Drive. You may have to change the boot order in BIOS.
That’s it. I hope this helps.
How do I reinstall my graphics driver?
After uninstalling the graphics card driver, your system will shift to the basic display adapter. Hence, you will not lose the complete functionality of your display. Perform a scan for hardware changes to reinstall your graphics card driver. If this does not work, download the latest version of your graphics card driver from the official website of your computer manufacturer and then install it manually.
How do I know if my graphics driver is corrupted?
You will start experiencing display issues if your graphic card driver is corrupted. Alternatively, you can also view the status of your graphics card driver in the Device Manager. If it shows a warning sign, it means that it is corrupted. Open its properties to read the error message. Based on the Device Manager error codes and messages, you can start further troubleshooting.
Read next: Black screen after installing Graphics driver.