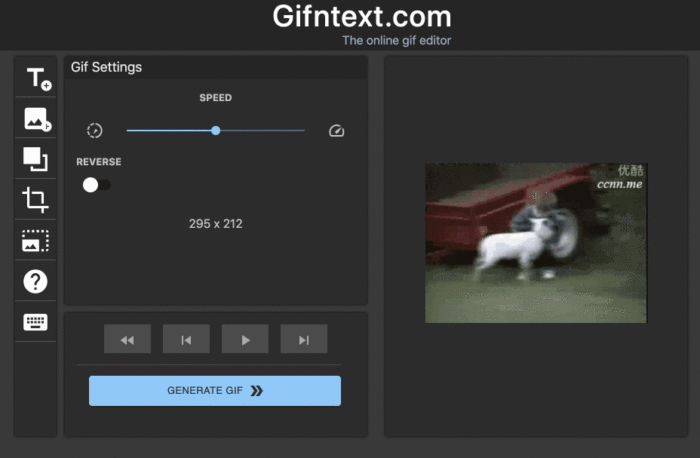
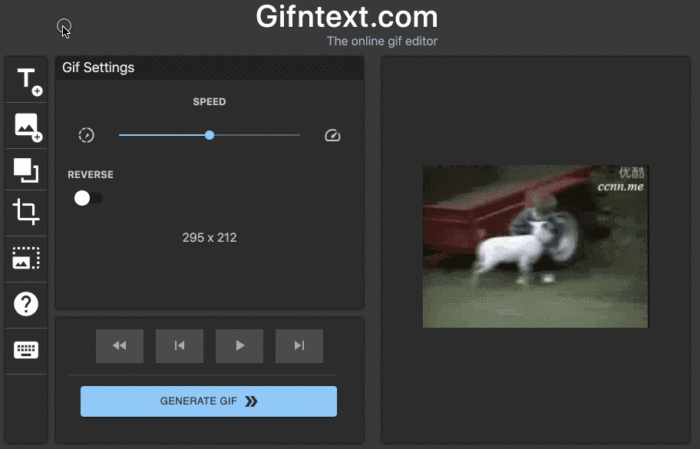
There’s nothing more entertaining than sharing a GIF when having an online conversation. We have been doing this for a very long time, but GIFs have managed to go mainstream in recent years, and we’re very happy about this. Since this imaging platform is so popular, we assume some of you will want to add animated texts to your GIFs. However, you have no idea how to do it. Therefore, we’ve come up with an interesting way to get you on the right track.
Have you ever heard of GIFnText? Probably not, but now you do. It’s an online tool allowing users to add animated texts to their GIFs. Not only that, but the option is there to add moving images as well, which is great for splicing up your potentially viral GIF. The online GIF editor tool lets you:
- Add moving text over a GIF
- Add captions or subtitles to a GIF
- Crop, Resize & Reverse a GIF
- Add moving images over a GIF
- Control when text appears over a GIF
- Customize text color and outline
- Animate the added image or text on each frame of a GIF
- Speed up and slow down a GIF
- Edit and trim a gif’s beginning and end frames
Because Gifntext is online-based, you will need an internet connection to upload images, download, and use the tool in general. It’s pretty straightforward from our point of view, so we doubt you’ll have much of a problem understanding how it works.
How to add animated text & images to your GIF
The procedure involved in adding animated text and images to your GIF using GIFnText is simple:
- Upload and add a text
- Upload and add an image
- Change when objects appear
- Preview the GIF
- Complete the project
1] Upload and add a text

The first step is to upload your GIF to the editing area. You can copy and paste the content URL, or upload directly from the computer. Once that is done, click on the Add Text button, which is basically a T.
From there, double-click on your image to select where the text should be placed. You can also drag the text around and change the font, style, color, and more.
2] Upload and add an image

Click on the Add Image button on the toolbar. You can upload a custom image or add one already available in the library for free. After adding your image, use the mouse to grab and move it to any location on the GIF.
3] Change when objects appear

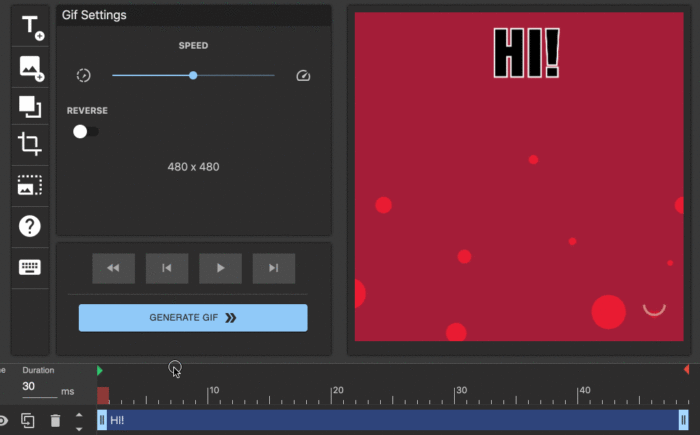
When you’re done adding images or texts, drag and drop the layer into the timeline in a bid to determine when it should be visible.
4] Preview the GIF
After completing the process, it’s time to see if everything is up to scratch. Do this by clicking on the play button, or just hitting Space on your keyboard. The preview should give all the information needed to determine if more work is required.
5] Complete the project
The final step, then, is to click on Generate to create a new GIF with animated text or images.
Visit the official website of GIFnText. There are no forced watermarks.
Leave a Reply