If you want to add a double exposure effect to your image but do not want to use any professional or paid image editing tool, check out these online tools. Here are some of the best free online tools to add a double exposure effect to your image.

What is the double exposure effect?
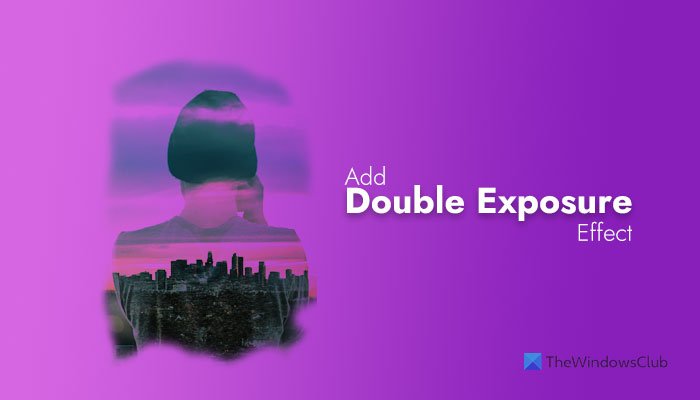
Double exposure effect is an image effect that is made of two images combined to create one image. In simple words, it helps you show two images in one frame with high exposures. You can create one with a landscape and portrait, a portrait and an object, etc.
Add Double Exposure Effect to images using these free online tools
Here are some of the best free online tools to add a double exposure effect to your images:
- PIPCamera
- PHOTOOxy
- PhotoFunia
- Pho.to
To know more about these tools, continue reading.
1] PIPCamera

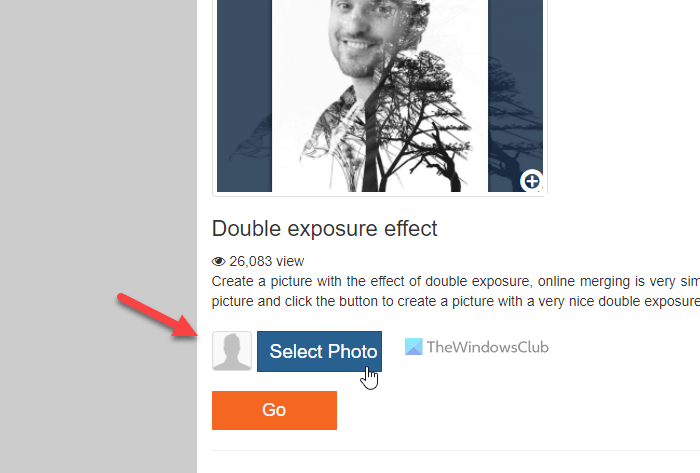
It is one of the best tools that you can use to add the double exposure effect to your image for free. Like most tools, you do not need to have the expert knowledge to get started with PIPCamera. As long as you have the desired image on your computer, you can create a beautiful double exposure enabled photo within moments. To get started, head over to the official website and click the Select Photo button.
Then, select the portrait from your computer and upload it. At last, click the Go button. You can find the final image on your screen. Following that, you can download it to your computer. Check the official website at pipcamera.net.
2] PHOTOOxy

PHOTOOxy is another tool that lets you create a double exposure image within moments. It has all the options like PIPCamera. However, the only problem is that you cannot choose two images or the landscape image for the texture effect. It is possible to select only one image, and it is most likely the portrait.
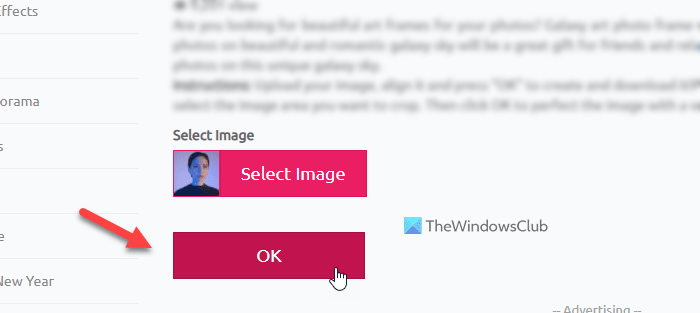
To get started with this tool, visit the official website and click the Select Image button.
Then, choose your image and upload it from your PC. Once done, you can click the OK button. After the process is complete, you can click the Save button. Alternatively, you can copy the link and share it with your friends. Visit the official website at photooxy.com.
3] PhotoFunia

PhotoFunia is another handy tool that lets you apply the double exposure effect to your image. The highlight of this tool is that it allows you to select a color gradient to be used on your image. By default, it adds a black and white gradient, but you can change it to anything you want.
To use this tool to add a double exposure effect, you need to visit the official website and click the Choose photo button. Alternatively, you can click the Camera button to use your webcam to capture an image.
Following that, you can choose the color gradient and a texture photo. Once done, you can click the GO button. It takes a few seconds to show the final result on your screen. Once it is visible, you can download your image on your computer. Check out the official website at photofunia.com.
4] Pho.to

When you need more flexibility than other tools in terms of features and options, you might check out Pho.to. This tool allows you to choose both images according to your desire. All the other tools do not let you select the texture image, but Pho.to has the option to do so.
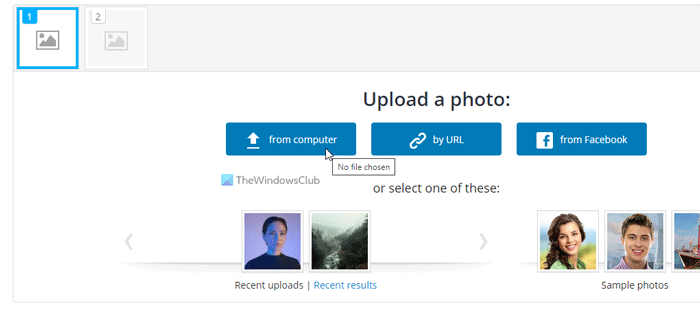
To use Pho.to to add a double exposure effect, you need to open the official website and upload your images. It is possible to choose them from your computer, by URL, or from Facebook.
Once done, you can click the Process button. Then, it shows an option to save and share the image. You need to click on that option and download the image to your PC. Check the official website at funny.pho.to.
How do you do a double exposure effect?
There are multiple tools available in the market to add a double exposure effect to your image. The best tool for image editors to apply the double exposure effect is Photoshop. However, if you do not have much experience with this tool, you can always use the aforementioned online tool. They are free, fast, easy to use, and do not require any expert knowledge.
That’s all! Hope these tools help.
Read:
Leave a Reply