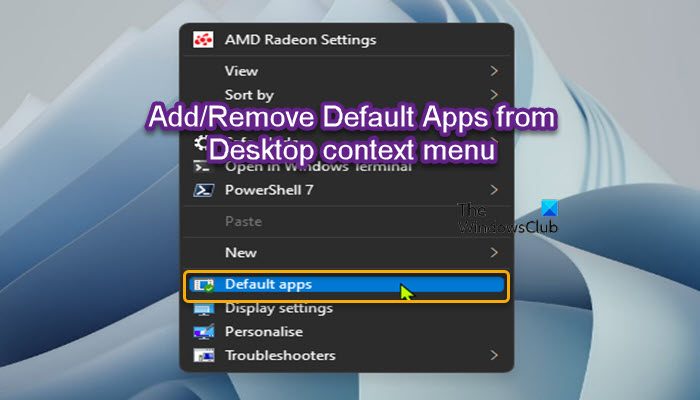
In this post, we will show you how to add or remove Default Apps from the Desktop context menu in Windows 11/10 by editing the Windows Registry.

Add or remove Default Apps from Desktop context menu
A default app is the program that Windows uses automatically when you open a particular file type or protocol on your device. When logged in as an administrator on Windows 11/10, you can make the following changes from the Default apps page in Settings, which applies to the current user:
- Choose default apps/programs for Email, Maps, Music or Video player, Photo viewer, and Web browser.
- Reset to the Microsoft recommended defaults.
- Choose default apps by file type.
- Choose default apps by protocol.
- Set defaults by app.
To add or remove Default Apps from Desktop context menu in Windows 11/10 requires you modify the registry, and you must be signed in as an administrator to be able to add or remove Default apps desktop context menu for all users. For Windows 11 users, when you add the Default apps option, to access the item, you need to Show more options.
Since this is a registry operation, it is recommended that you back up the registry or create a system restore point as necessary precautionary measures.
To add Default Apps to Desktop context menu in Windows 11/10, do the following:
- Press Windows key + R to invoke the Run dialog.
- In the Run dialog box, type notepad and hit Enter to open Notepad.
- Copy and paste the code below into the text editor.
Windows Registry Editor Version 5.00

[HKEY_CLASSES_ROOT\DesktopBackground\Shell\DefaultApps]
"MUIVerb"="Default apps"
"Position"="Bottom"
"Icon"="imageres.dll,-24"

[HKEY_CLASSES_ROOT\DesktopBackground\Shell\DefaultApps\command]
@="explorer ms-settings:defaultapps"
- Now, click the File option from the menu and select Save As button.
- Choose a location (preferably desktop) where you want to save the file.
- Enter a name with .reg extension (eg; AddDefApps-DesktopMenu.reg).
- Choose All Files from the Save as type drop-down list.
- Double-click the saved .reg file to merge it.
- If prompted, click on Run > Yes (UAC) > Yes > OK to approve the merge the registry file.
- No restart required.
- You can now delete the .reg file if you like.
To remove (default setting) Default Apps from Desktop context menu in Windows 11/10, do the following:
- Open Notepad.
- Copy and paste the code below into the text editor.
Windows Registry Editor Version 5.00

[-HKEY_CLASSES_ROOT\DesktopBackground\Shell\DefaultApps]
- Repeat all the same steps as above, but this time, you can save the reg file with .reg extension (eg; RemoveDefApps-DesktopMenu.reg).
The .reg files will add or remove the registry key in the registry path below:
HKEY_CLASSES_ROOT\DesktopBackground\Shell\DefaultApps
That’s it on how to add or remove Default Apps from Desktop context menu in Windows 11/10!
How do I add or remove items from the context menu?
To add items, select the items in the left pane and click on the Add or + button. To remove items, select items are shown in the right pane and click on the Delete or Trash button. Cleaning the New Context Menu will give you a smaller new menu by removing the items you do not want.
Related post: Add Project Display option to Desktop Context Menu
How do I add more options to the context menu’s new?
To add more options or items items to the new Context Menu, do the following:
- Start the Registry Editor (REGEDIT.EXE)
- Expand the HKEY_CLASSES_ROOT by clicking the plus sign.
- Scroll down and expand the Unknown subkey.
- Click on the Shell key and right click on it.
- Select New from the pop-up menu and choose Key.
- Enter the name you want to be displayed, e.g. the name of the application.
How do I set default apps on my Desktop?
To set default apps on your Desktop in Windows 11/10 PC, click the Start menu, select Settings > Apps > Default apps. Select which default you want to set, and then choose the app. You can also get new apps in Microsoft Store.
Leave a Reply