On your Windows computer, you are presented with a lot of keyboard layouts as per your current Region. However, you are also provided with an option to add or remove the keyboard layout on your Windows 11/10 computer. In this guide, we will learn how to do the same.

Switching to different layouts enables you to type all the characters for the language, including diacritics [a sign, such as tilted ‘n’ (‘ñ‘, ‘Ñ‘), which when written above or below a letter indicates a difference in pronunciation from the same letter when unmarked or differently marked]. Follow the below steps to add or remove the keyboard layout in Windows 11/10.
How to add Keyboard layout in Windows 11
In Windows 11 you see the Keyboard options here to add a Keyboard layout:
- Press Win+I to open Settings
- Select Time & Language
- Click on Language and Region
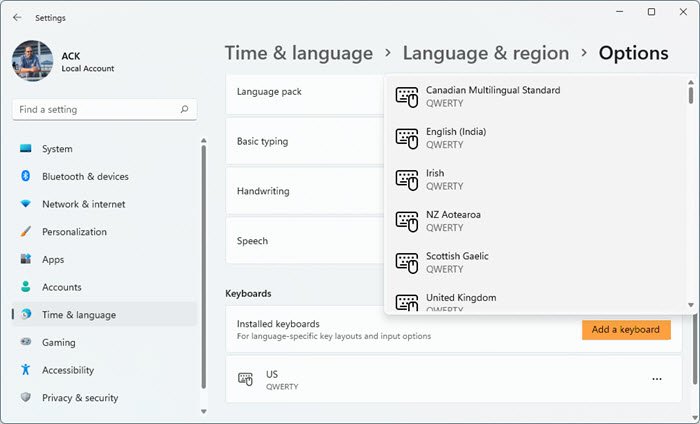
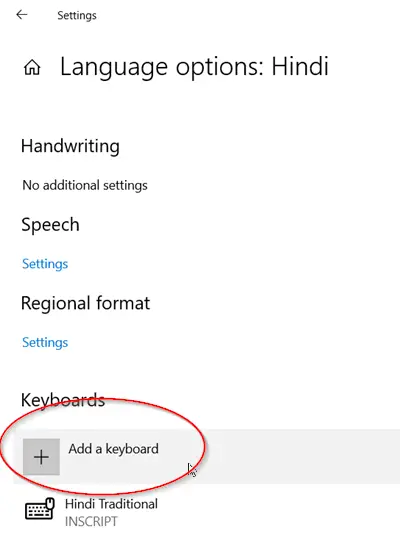
- Under Languages, click on the three dots associated with the current language and select Language options.
- Go to the Keyboards section, and click on Add a keyboard.
- Select one from the available options.
How to add Keyboard layout in Windows 10
In Windows 10, follow these steps:
- Open Settings
- Click Time & language
- Under its section, select Language
- Here Add or select a language
- Finally, Install or remove the keyboard layout
You can also choose to change a keyboard layout on Windows 10 but you need to have more than one added to it first. Now let us see the procedure in detail.
1] Open Windows 10 Settings
Hit the Windows key located in the lower-left corner of your computer screen and select the ‘Settings’ option.
Choose the ‘Time & language’ tile. Under its section, select the ‘Language’ option.
2] Add or select a language

Next, under the ‘Preferred Languages’ section visible on the right, choose ‘Add a preferred language’.
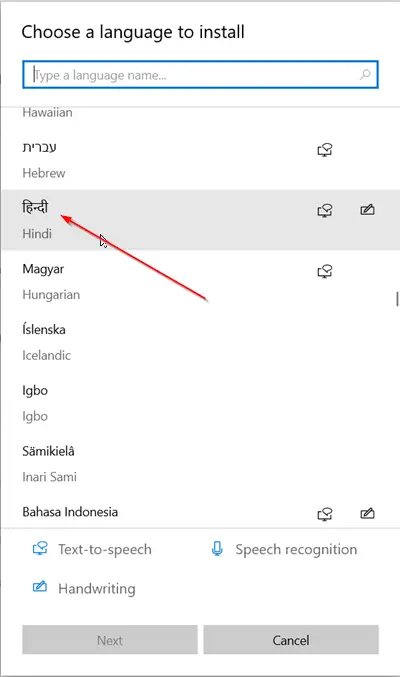
Choose the language you are looking to add and hit the ‘Next’ button. You can use the search box provided to find the desired language faster.
3] Install or remove the layout
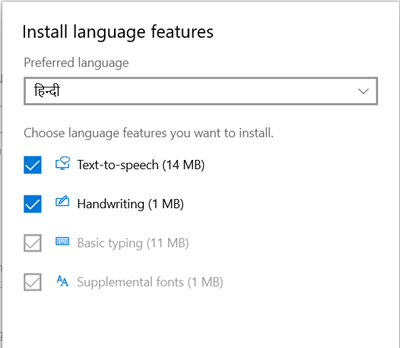
Choose the language features you would like to install. If you are not intending to install some of the language features shown there, uncheck the box marked against these options and press the ‘install’ button.
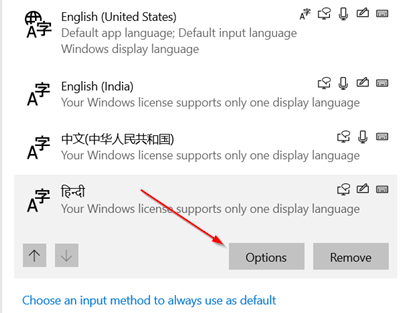
Once installed, go to the Windows display language section, select the language, and choose ‘Options’.
Next, from the ‘Language Options’ window that opens, choose the ‘Add a keyboard’ option.
How to remove Keyboard layout in Windows 11/10
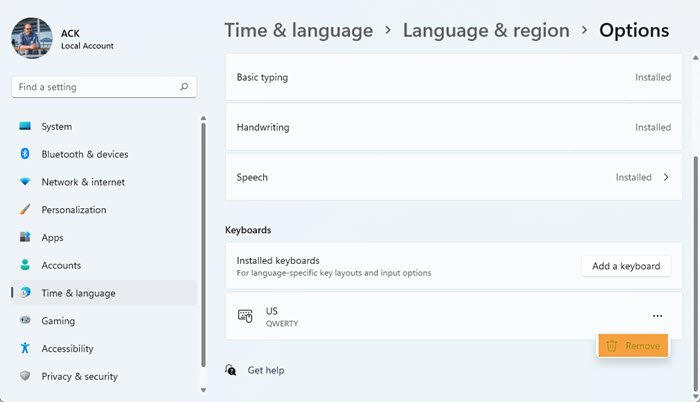
In Windows 11, open Settings, go to Time & language > Language & region, then from the Language section, click on the three associated with the current language, go to Keyboard, click on the three dots associated with the layout you want to remove, and click on Remove.
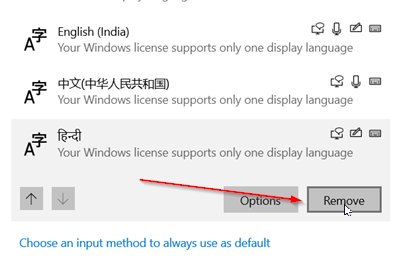
In Windows 10, to remove the layout, simply go to the Windows display language section again and select the layout. Hit the ‘Remove’ button.
That’s it! This way you can choose to add or remove the keyboard layout in Windows 11/10.
Related reads:
- How to change Windows Keyboard Layout
- Windows keyboard language changes on its own
- Windows keeps adding Keyboard layouts without permission.
How do I add a second keyboard layout in Windows 11?
You can add as many keyboard layouts as you want in Windows 11, all you have to do is, go to Settings > Time & language > Language & region, then from the Language section, click on the three dots associated with the language, go to Keyboards, and click on Add a keyboard.
Also Read: Reset Keyboard settings to default in Windows.

Leave a Reply