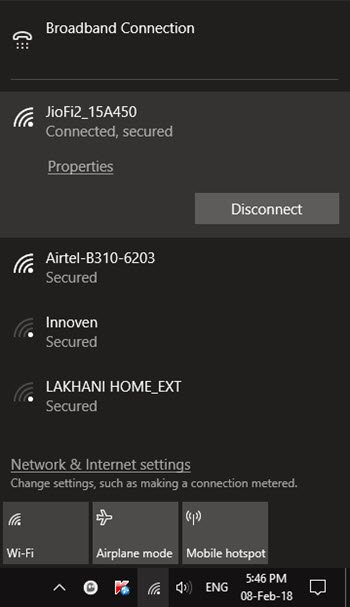
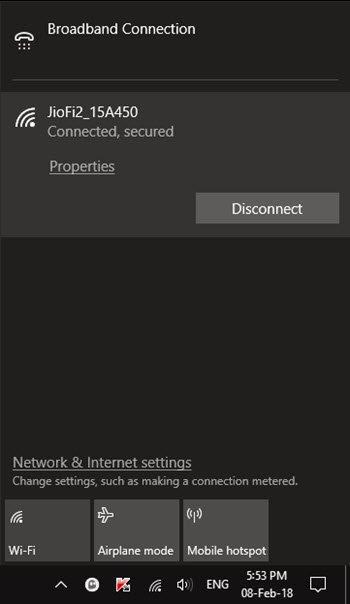
Whenever you click on the Network icon in your Windows 11/10 Taskbar, you may get to see several WiFi networks from the neighboring areas, along with your own. If you find this display cluttered and would like to hide those wireless networks which are not your, you can easily do so using the netsh command. Let us in this post see how you can block your neighbor’s WiFi network from appearing on your Windows 11/10 computer.

If you use a wireless networks and want to allow or block a particular Wi-Fi network in Windows 10, here is how to go about doing it. You can block or allow any specific SSID or wireless network with the help of the Command Prompt.
Block neighbor’s WiFi Networks on Windows
If you stay in an area, where a lot of Wi-Fi routers are On at all times, whenever you log into your system, your PC will show all the names after clicking the Network button in the system tray. Although it gets connected to the specific network where you have enabled “auto-connect” feature, the presence of too many WiFi networks can make things messy. You can, therefore, hide or block a particular WiFi network from the list.
To do this, open a Command Prompt with administrator privilege and execute the following command-
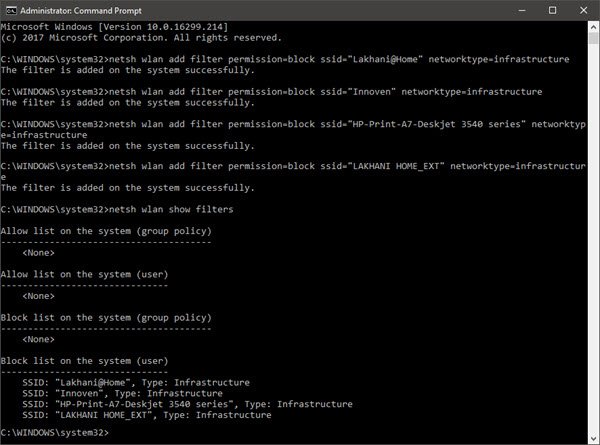
netsh wlan add filter permission=block ssid="Wireless Network Name" networktype=infrastructure
Do not forget to replace the Wireless Network Name with the actual name that you want to block.

If you receive The filter is added on the system successfully message, you won’t be able to see that network on the list.

Remove a blocked WiFi network
If you have mistakenly blocked a wrong wireless network, and you want to delete that filter, here is what you need to do. You need to enter the following command in an elevated Command Prompt window-
netsh wlan delete filter permission=block ssid="Wireless Network Name" networktype=infrastructure
This Wireless Network Name must be the same as the blocked WiFi network name; otherwise, no changes will be made.
How to allow a WiFi network
The following commands will be helpful if you want to hide all the WiFi networks and allow only a particular one.
You need to allow a WiFi network, first, so execute the following command to do this-
netsh wlan add filter permission=allow ssid="Wireless Network Name" networktype=infrastructure
To hide all the networks except the allowed network, execute this command-
netsh wlan add filter permission=denyall networktype=infrastructure
If you want to remove the “deny all” filter or you want to remove all the network names from the blocklist, the following command will do the job-
netsh wlan delete filter permission=denyall networktype=infrastructure
Check all the filters
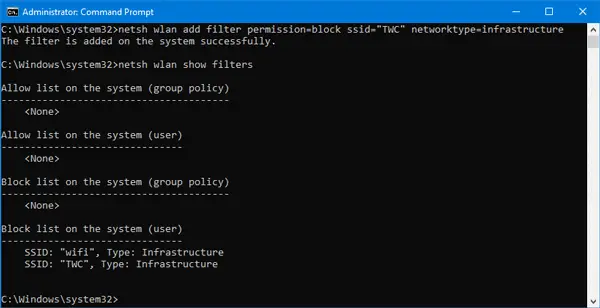
In case you have forgotten the wireless network name or you just want to see the blacklist or whitelist, here is the command that you need to use-
netsh wlan show filters

Disadvantage of using these commands
The only disadvantage of using these commands is it doesn’t block the actual Wi-Fi router. It does block or allow the wireless network name. That implies that if you change the WiFi name, you will be able to overwrite the filter.
How do I get rid of unwanted WiFi connections?
When you connect to a WiFi network for the first time, Windows saves its credentials and marks it as a known network. You can view all known networks in Windows 11/10 Settings. Open Windows 11/10 Settings and go to “Network & internet > Wi-Fi > Manage known networks.” Now, click on the Forget button to remove a WiFi connection from the list.
Can Wi-Fi owner see who is connected?
Yes, a Wi-Fi owner can see who is connected to his Wi-Fi network. If you know the admin password of your Wi-Fi, you can also do that. Wi-Fi routers of different brands have different settings. Hence, if you want to view the number of devices connected to your Wi-Fi, refer to your user manual or contact your ISP. In addition to this, a Wi-Fi owner can also block the user(s) from accessing the Wi-Fi.
Hope this helps!
Doesn’t work for Open Networks. Someone in my area has a HP Photosmart printer with wireless turned on, and no security set. Every time my own wireless hiccups, Windows 10 automatically connects to this printer’s “network”. Naturally, I lose all internet connectivity, as well as my ESET Internet Security popping messages that say I’m connected to an insecure network. I ran the commands above, says it was successfully added, and I see it in the blocked list, but I still see it in the Available networks.