OneNote Staff Notebook helps users set up shared work-spaces for teachers by primarily creating a Staff notebook, which includes three types of sub-notebooks:
- Collaboration Space – A notebook for all staff members and the staff leader in the group to share, organize, and collaborate.
- Content Library – A notebook for a staff leader to help him share course materials with staff members. When members get permission, they can add and edit its materials.
- Staff Member Notebooks – Notebooks are shared between the staff leader and their individual staff members. The staff leader has the access to shred notebooks any time, but staff members of the group are denied permission to see other staff members’ notebooks.
Create OneNote Staff Notebook for Staff
Now, the added ability allows education staff leaders to invite their colleagues to a OneNote Staff Notebook and get them free Office 365.
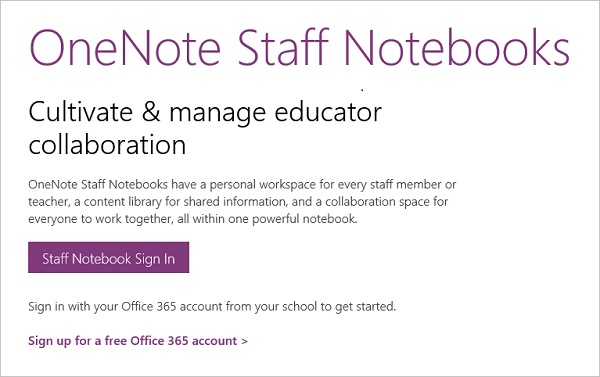
All you need to activate this functionality is a school-assigned email for each staff member so as to allow them to have access to the Staff Notebook and thereby to Office 365 Education. So for signing up for a free Office 365 account, visit onenote.com/staffnotebookedu and click Sign up for a free Office 365 account.

When directed to the Office for Education page, type in your school email address to verify if your institution is eligible for a free Office 365 account. If yes, follow these steps to set up an account.
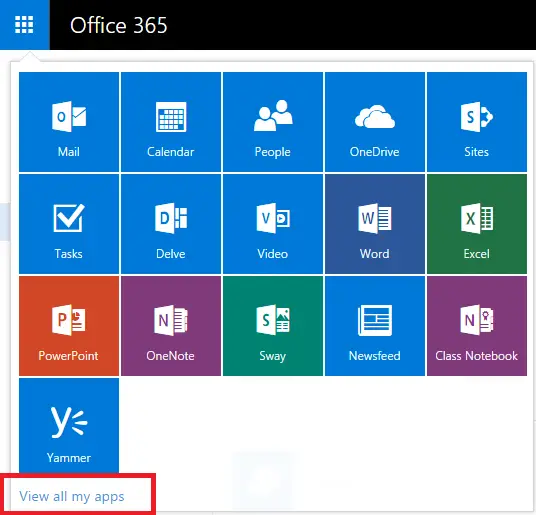
Launch the OneNote Staff Notebook app. Navigate to the App Launcher and select View all my apps in the lower-left corner. See the screenshot below.
Then, choose Staff Notebook to launch the app.
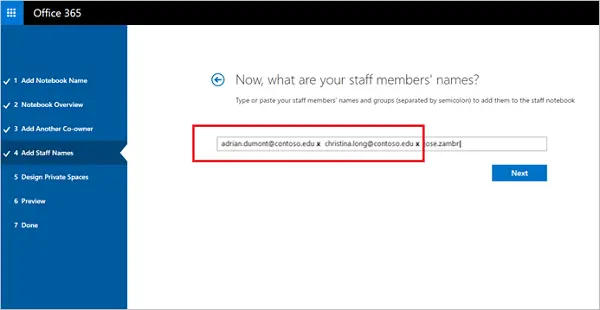
Walk yourself through the Staff Notebook wizard and add staff members by simply entering their school email addresses. When done, the Staff Notebook app sends them an email invitation to set up an Office 365 account and add them to your Staff Notebook.

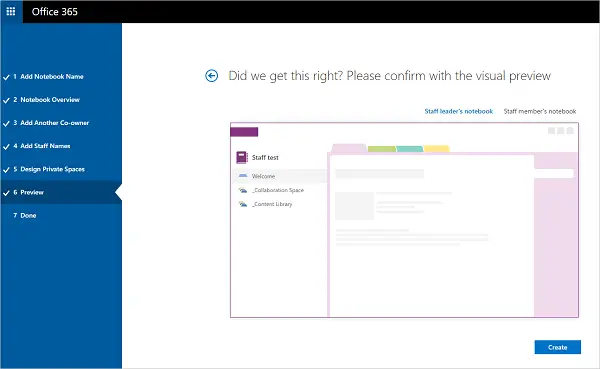
At the end of the setup process, the staff leader will be shown a preview of what your Staff Notebook will look like. Simply click Create if you are satisfied with the job done.

In the final step of the wizard, the staff leader will receive a link to the notebook which can be mailed directly to the staff members or posted on a shared page. To open your Staff Notebook in OneNote simply click on the link provided. Thereafter, your staff members will receive an email asking prompting them to accept your invitation to join the Staff Notebook. Once the invitation is accepted, they can access your notebook.
How do you make a team notebook on staff?
Making a Staff Notebook on Microsoft Teams is possible if you have the correct permission. To create a Staff Notebook on Teams, open the class team and go to the General channel. From here, switch to the Staff Notebook tab. Now, you can click on the Add button to add a new notebook or manage them from here.
What is the difference between OneNote and Staff Notebook?
The main difference between a standard notebook and a Staff Notebook is that users can use the Staff Notebook to create a shared workspace. It is more fluent than the standard sharing option, which offers more flexibility over permissions, content, etc. As mentioned in the article, there are three types of sub-notebooks you can create as per your requirements.


Leave a Reply