If you see the message An administrator has restricted sign-in when you try to log into your Windows 11/10 computer, this post will help you resolve the issue. This may happen if your computer is not connected to the internet. This can also happen if users have locked their device using Find my device feature and cannot unlock it now. This is typically done when a device is lost or stolen, allowing the owner or administrator to secure the device by restricting access until it is recovered. The complete error message reads:
An administrator has restricted sign in.To sign in make sure your device is connected to the internet and have your administrator sign in first.
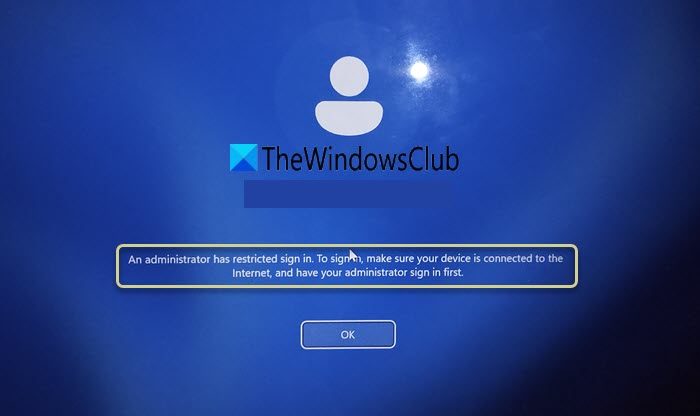
An administrator has restricted sign-in in Windows 11
We recommend you restart your computer and router, ensure the computer is connected to the internet, and then enter the correct password. If you are not the Administrator, make him/her sign in first, and then you can try to sign in. If it helps, good. If it does not, follow these suggestions.
- Use Windows Startup Repair
- Edit Registry
- Change your Microsoft Account password online
- Activate Super Administrator account
Let us see this in detail.
1] Use Windows Startup Repair
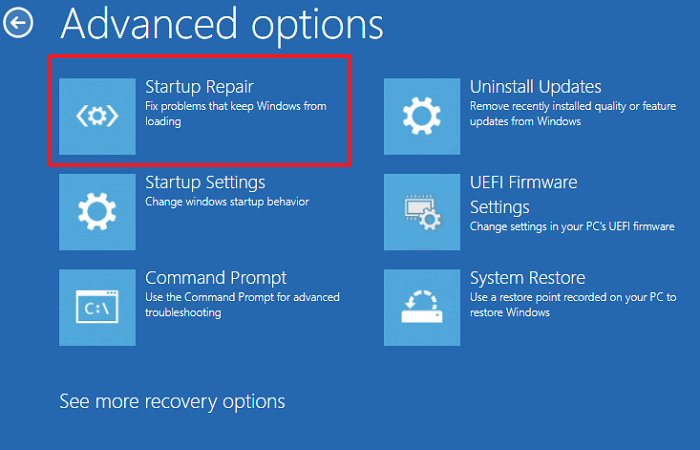
If the error occurred due to corrupted system files or issues with startup components, Startup Repair can scan and fix these problems, potentially resolving the sign-in restriction.
To access and run Automatic Repair manually, you need to boot into Advanced Startup options. Once there, select Troubleshoot > Advanced options > Automatic/Startup Repair.
You will be prompted to select a user account to continue. Choose the appropriate account, enter the password if prompted, and click Continue. Windows Automatic Repair will begin diagnosing issues related to the startup process and attempt to repair them automatically.
After Startup Repair completes, restart your device and check if the sign-in issue is resolved.
2] Edit Registry
On the login screen where you’re stuck, click the power icon in the lower right corner, hold down the Shift key, and select the Restart option. This will reboot your computer into the Windows Recovery Environment.
In the WinRE menu, select Troubleshoot. Next, select Advanced Options, then Command Prompt. Your system will restart and boot into Command Prompt mode.
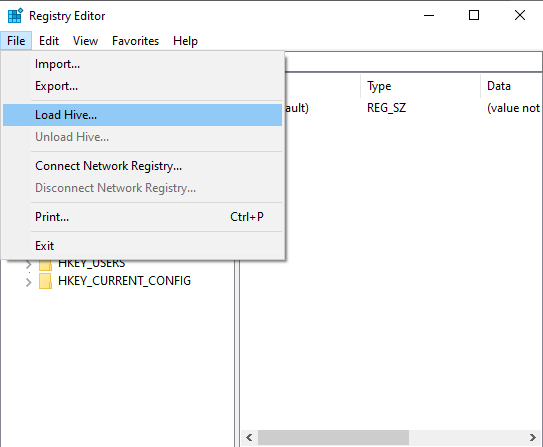
Once the Command Prompt window opens, type regedit and press Enter to open the Registry Editor. In the Registry Editor, select HKEY_LOCAL_MACHINE on the left-hand side. Now go to the menu bar and click File, then select Load Hive.
In the pop-up Explorer window, navigate to the following location:
This PC > C: drive > Windows > System32 > Config > Software
When prompted, enter ‘1234’ for the Keyname and click OK.
Next, in the Registry Editor, navigate to the following path:
HKEY_LOCAL_MACHINE\1234\Microsoft\WindowsNT\CurrentVersion\PasswordLess\Device
In the right pane, find the entry labeled DevicePasswordBuildVersion. Double-click DevicePasswordBuildVersion and change its Value data to 0.
Close the Registry Editor. Go back to the Command Prompt window, type exit, and then restart your system.
Once the computer restarts, you should see the available sign-in options. Select the option to sign in with your Microsoft account and enter the credentials of the Microsoft account you were previously using on the device. You should regain access to your account and log into Windows normally.
3] Change your Microsoft Account password online
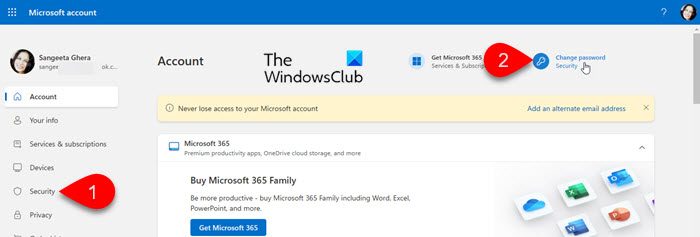
When you lock your device remotely using the ‘Find My Device’ feature, you should typically be able to unlock it by signing in with your Microsoft account credentials (the same account used to lock the device). However, if you experience difficulties signing in even after entering the correct credentials, try changing your Microsoft account password.
To change your password, you need to access your Microsoft account online. You cannot change your Microsoft account password directly from the login screen of a locked Windows device.
Use a different device to visit account.microsoft.com and sign in using your existing credentials. Go to the Security tab and select Change my password. Follow the prompts to reset your password using the email address or phone number associated with your Microsoft account.
After resetting the password, wait a few minutes to ensure the change has propagated. Then, try signing in to your locked device using the new password (ensure that the device has a stable internet connection, as it needs to communicate with Microsoft’s servers to authenticate your credentials).
4] Activate Super Administrator account
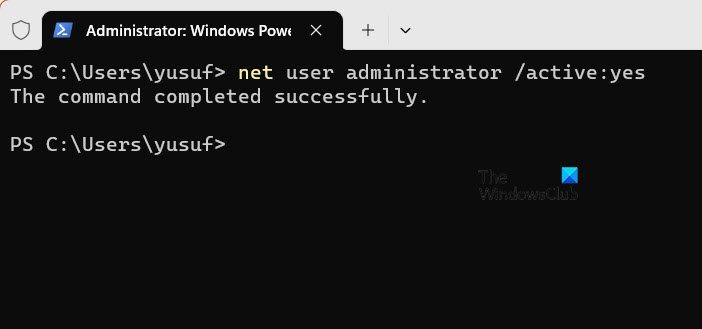
Next, activate the built-in Super Administrator account by booting into the Windows Recovery Environment. The Super Administrator account gives you unrestricted access to your system, which can help resolve issues preventing normal sign-in. Moreover, this account typically doesn’t have a password (unless one was set), making it easier to access the system even if other accounts are locked or inaccessible.
Reboot into WinRE from the login screen as explained in Fix 2. In the WinRE menu, select Troubleshoot > Advanced options > Command Prompt.
Once in the Command Prompt window, type the following command and press Enter:
net user administrator /active:yes
You should see a message saying ‘The command completed successfully‘.
Close the Command Prompt by typing exit and pressing Enter. Choose Continue to restart your computer. You should now see the Administrator account available on the login screen.
Log in with this account to resolve the lock or access issues.
I hope this helps.
Read: Page not available, Your IT administrator has limited access.
How do I remove administrator restrictions in Windows 11?
If you have access to another account with administrative privileges, log in with that account. Go to Settings > Accounts > Other users. Locate and click on the account you want to modify and select Change account type. Choose Administrator from the drop-down menu and click OK. The account will now have administrative privileges. Sign in to that account to verify the changes. If you cannot access any administrator account, boot into Safe Mode with Command Prompt and enable the hidden Administrator account.
How do I remove administrator account from Windows 11 login screen?
Log in with an account that has administrative privileges. Press Win + X and select Computer Management. Navigate to Local Users and Groups > Users, locate and right-click the Administrator account, and select Properties. Check the box for ‘Account is disabled‘, then click Apply and OK. Restart your computer to apply the changes, and the Administrator account will no longer appear on the login screen.
Read Next: The system administrator has limited the computers you can log on with.