Internet Connection Sharing (ICS) is the process of sharing internet connections with devices that are already connected to the internet. The devices which share their connection are called access points. It is quite useful for those who work mobile most of the time on in situations where connecting multiple Ethernet cables or connecting to the WiFi is not feasible.
Enable Internet Connection Sharing (ICS) on Windows 11/10
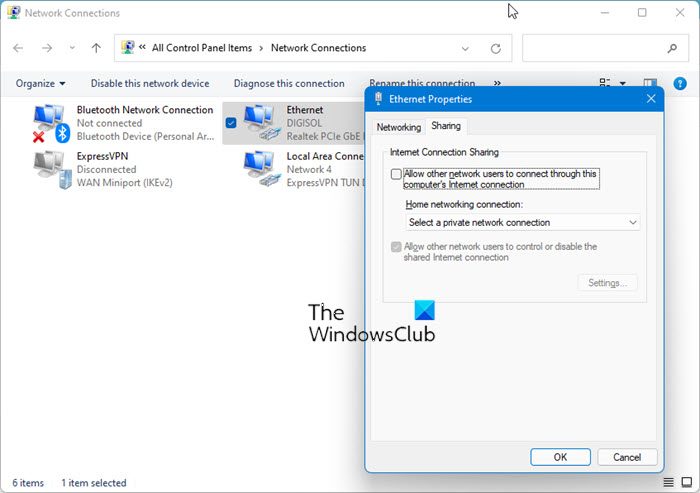
Internet Connection Sharing is enabled by default. But in case you need to disable/enable it, you have to use the following steps:
- Open the Run window by searching for run in Windows search.
- Type the command ncpa.cpl to open the Network Connection Manager.
- Find your Network Adapter in the list and right-click on it. Select Properties.
- In the Properties window, select the Sharing tab and check the checkbox ‘Allow other network users to connect through this computer’s Internet connection’.
This enables Internet Connection Sharing.
An error occurred while Internet Connection Sharing was being enabled
However, at times while trying to enable the ICS, they get the following error:
An error occurred while Internet Connection Sharing was being enabled. The service cannot accept control messages at this time.
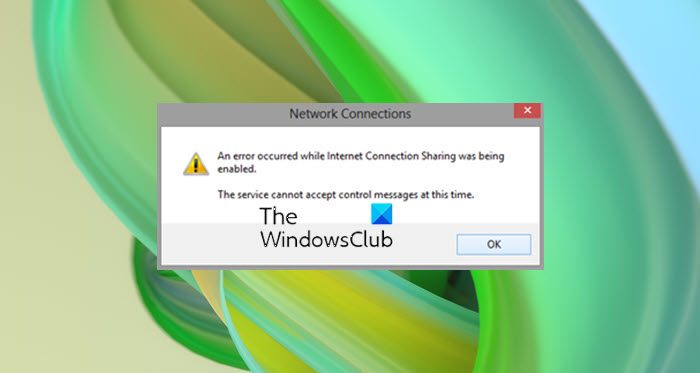
In such a situation, follow these troubleshooting steps and see if they help you resolve your issue:
1] Check if the security software is interfering with the process
At times, the security software may block any connection to an external access point considering it a security threat. White both the Firewall and anti-virus are crucial for the smooth running of the system, they could be disabled for some time to isolate the issue. Once the cause is confirmed, we could proceed accordingly.
After disabling your security software, check if you are able to connect the system to the access point now. If not, then disable Windows Firewall and see.
Sometimes the issue seems to occur on computers that have Windows Firewall disabled. Windows Firewall service has to be running even if you’re using another antivirus plus firewall program on your computer.
2] Perform a Windows Update on the system and reboot the system
1] Open Windows search and search for ‘Check for updates’.
2] Open Windows Updates and if not updated already, perform an update for your system.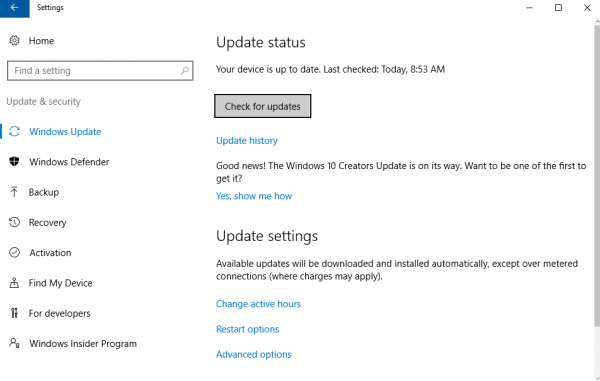
3] Check the settings for the Internet Connection Sharing (ICS) service
1] Open the run window by pressing Windows + R.
2] Type services.msc, press Enter and open the Services Manager.
3] Scroll through the list (which is in alphabetical order) and search for Internet Connection Sharing (ICS) Service.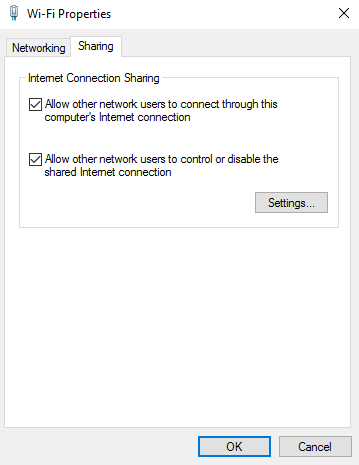
4] Right-click Internet Connection Sharing (ICS) and click on Properties.
5] In the general tab on the properties window, ensure that the startup type is set to Automatic (Delayed Start). You may if you wish, set it to Automatic instead.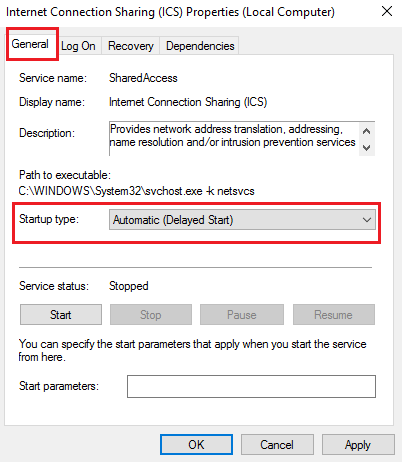
Restart the system and check if it resolves the issue.
I hope something works for you.
How to disable Internet Connection Sharing (ICS) in Windows?
To disable Internet Connection Sharing (ICS) in Windows 11/10, follow these steps-
- Press Win+R to open the Run prompt.
- Type ncpa.cpl and hit the Enter button.
- Right-click on the network adapter.
- Select the Properties option.
- Switch to the Sharing tab.
- Remove the tick from Allow other network users to connect through this computer’s Internet connection checkbox.
- Click the OK button.
Related read: Internet Connection Sharing not working.
Leave a Reply