Microsoft will remove the MSDT (Microsoft Support Diagnostic Tool) by 2025. This is because of the vulnerabilities found in MSDT in the past few years. Now, Microsoft has decided to retire MSDT-based Windows Troubleshooters and replace them with Troubleshooters in the Get Help app. In this article, we will show you how to run Get Help for Audio Troubleshooter in Windows 11 right now.

In Windows 11/10, the troubleshooters can be accessed via Windows 11/10 Settings. To launch a particular troubleshooter, you have to go to “Settings > System > Troubleshot > Other troubleshooters.”
An upcoming Windows 11 update will replace these MSDT-based troubleshooters with the new Get Help app ones – and the links will get automatically redirected.
How to run Audio Troubleshooter in Get Help app of Windows 11
Take the following steps to run the Get Help Audio troubleshooter on Windows 11:
- Open Windows Search and type Get Help
- Select the Get Help app from the search results.
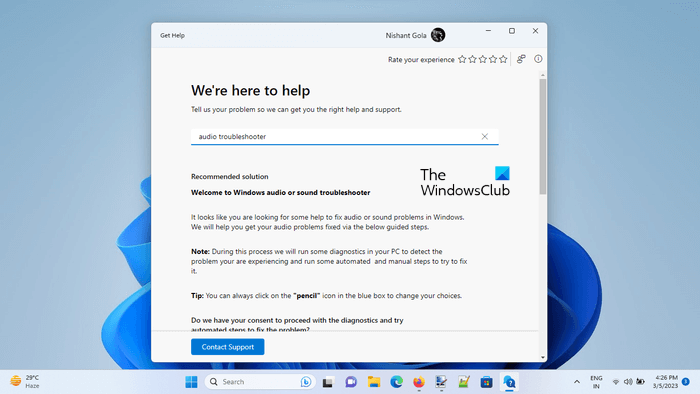
- When the Get Help app appears on your screen, click on its search bar and type audio troubleshooter.
- Hit Enter.
You can also click here to open the new Get Help Audio Troubleshooter directly.
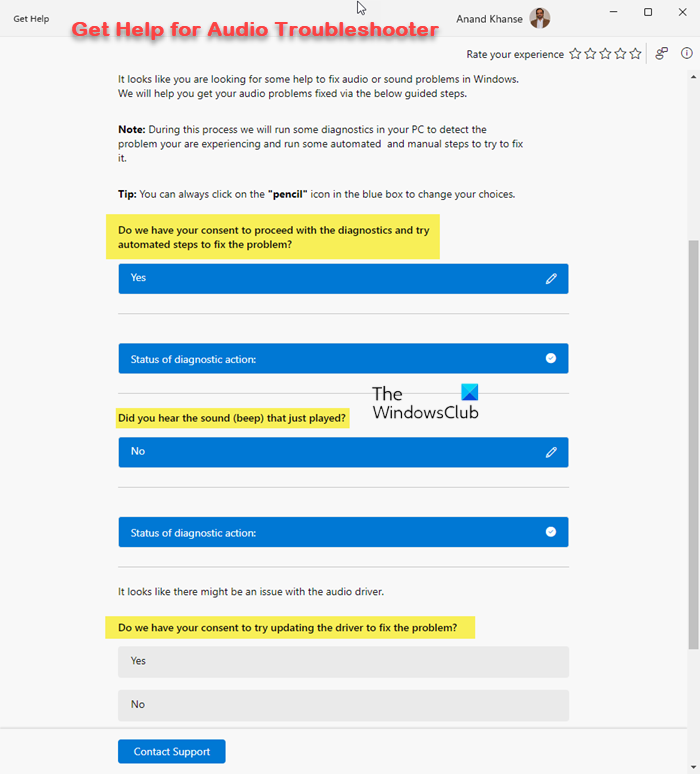
The above steps will launch the Audio troubleshooter within the Get Help app. Unlike the current inbox Windows troubleshooter, the Audio Troubleshooter will not start the diagnostics process by itself until you grant it your consent to do so. To start the Audio Troubleshooter, click Yes.
The troubleshooting will be performed in a step-by-step manner. First, the Audio Troubleshooter will scan your device for problems and play a test tone using your audio device. You will also be advised not to type anything during the troubleshooting process because this may disrupt the scan.

After scanning is completed, you have to provide your feedback. If you heard the test tone (a beep sound), click Yes, otherwise click No. Further troubleshooting process depends on the feedback you provide during the tests performed by the troubleshooter.
If you select the incorrect option during the troubleshooting process, you can change your response by clicking on the Pencil icon. If (for example) the troubleshooter finds a problem with your audio device driver, it will ask for your consent to update the driver. Click Yes to update your audio device driver.
If you want to reinstall the audio device driver manually by downloading it from the manufacturer’s website, you can click No to stop the troubleshooting process.
After the troubleshooting process is completed, the troubleshooter will ask you “Did that fix the issue?” You can click Yes or No, depending on the status of your problem.
If the Audio Troubleshooter fails to fix your problem, it will ask you to send the diagnostic report via the Feedback Hub. Click Yes if you want to send the diagnostic report, otherwise, click No.
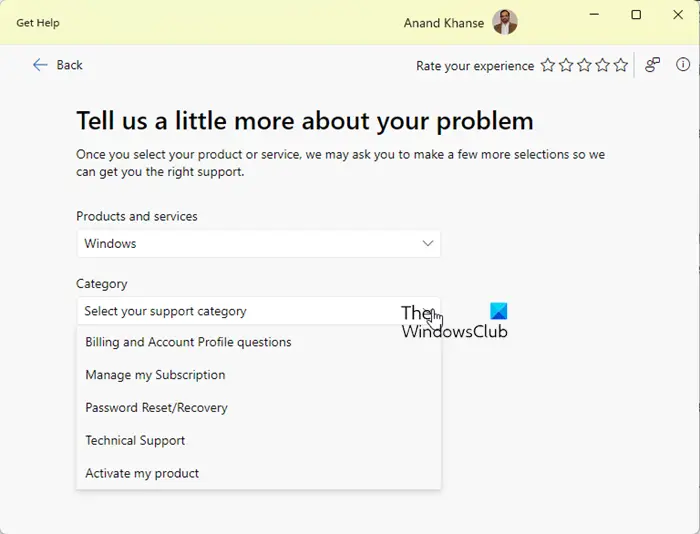
You can also contact support by clicking on the Contact Support button on the bottom left side of the Get Help app.

The Get Help app also provides links to related issues at the bottom. Scroll down to view more help options. These links are related to the type of Troubleshooter you run using the Get Hep app. For example, if you run the Audio Troubleshooter in the Get Help app, you will see more help options like troubleshooting your audio device, fixing sound or audio problems in Windows, etc. These links will open the Microsoft Support article directly in the Get Help app.
Does Windows 11 have audio issues?
Windows 11 does not have audio issues. However, issues can occur on any machine. In case you experience audio problems on your Windows 11 computer, you can run the Audio Troubleshooter to fix the problem.
How do I fix Audio Services not responding on Windows 11?
Windows Audio service manages audio for Windows-based programs. If this service is stopped or disabled, audio devics and effects will not function properly. If you see the Audio Services not responding error on your Windows 11 computer, you can use some fixes like restarting Windows Audio service, repairing the corrupted system image files, etc.
Leave a Reply