Amazon Simple Storage Solution (Amazon S3) allows you to back up data from your Windows Server on its massive cloud storage. Backing up your data is crucial, as it prevents data loss in the event of unexpected events.

Automate Windows Server backup to Amazon S3
In this tutorial, I’ll show you how to automate the backup process to run once, daily, weekly, or monthly. The operation is straightforward, but you have to follow the guide closely to avoid complications.
Install the Amazon AWS CLI
The first step for automating your Amazon AWS backups is to install the AWS CLI. You can find detailed instructions for installing the AWS CLI version 1 and 2 on this page.
When you complete the installation, you now have to configure the default user profiles, access ID, and key. To do this, run the command below:
aws configure

AWS Access Key ID [None]: <AccessID>

AWS Secret Access Key [None]: secretkey

Default region name [None]: us-east-1

Default output format [None]: json
About Amazon S3 commands

You have to specify a path argument in s3 commands. For these paths, you may use either an S3 Uri, which is your S3 bucket’s URI or utilize a localpath (the local directory). For example, you can use the following commands:
localpath - C://Desktop/backups

S3URI: - s3://yourbucket/yourkey
The complete S3 operation can therefore take the following form:
aws s3 s3command souce_file/folder destinationpath
The operation goes from the localpath to S3URI, S3URI to S3URI, and S3URI to localpath.
To copy an example file called samplefile.txt to your bucket called sample-bucket, you can use the S3 command below:
aws s3 cp "C://Desktop/backups/samplefile.txt" s3://sample-bucket
In the above command, we didn’t choose a region. This is because we’ve already done that in the aws configure. The –region flag is used to specify your bucket’s region.
To copy everything in the backups folder to the sample-bucket bucket, run the command that follows:
aws s3 sync "C://Desktop/backups/" s3://sample-bucket
To use the above S3 command, take note of the following:
- The local file mustn’t exist in the chosen bucket and prefix.
- Ensure that the size of the S3 object is different from that of the local file.
- The most recent modification of the S3 object must be older than that of the local file.
Tips for using filter flags in S3 commands
The filter flags that you use in S3 commands include the –exclude and –include flags. You can make use of them several times in one command.
-- include: This adds chosen folders or files following an S3 command.-- exclude: This gets rid of chosen folders or files following an S3 command.
Below is an example of the above filters in use:
aws s3 sync "C://Desktop/backups/" s3://sample-bucket --exclude "*" --include "*.jpg" --include "*.png" --include "*.txt"
To exclude every file in a folder named backups and include all the files in this folder that have the extensions jpg, png, and text, run the command below.
Here, we also tested our settings with the help of the --dryrun flag:
aws s3 sync "C://Desktop/backups/" s3://sample-bucket "*" --include "*.jpg" --include "*.png" --include "*.txt" --dryrun
NOTE: Without the flags, the system includes every file in S3 operations. Also, the last filter is applied.
How to create Amazon S3 backups using batch files
1] Create the batch file
Launch Notepad so that it opens a blank .txt file.

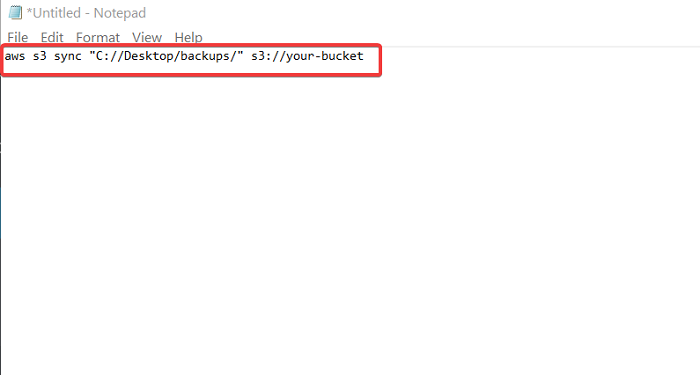
Enter the following S3 command for synchronizing the backups folders to your S3 bucket:
aws s3 sync "C://Desktop/backups/" s3://your-bucket

Save the txt file with the .bat extension, which makes it a batch file.
2] Create a new task in Task Scheduler

Press the Windows key and search for task scheduler.
Select the Task Scheduler from the results.
In Task Scheduler, click on Actions and select Create Task. Insert a task name and write a description.
Add a trigger for either one time, daily, weekly, or monthly.
3] Add action
Switch to the Actions tab and select the following action from the dropdown menu: Start a program.
In the Program/script box, browse for the newly created batch file.
Save the newly created task.
I hope you find this tutorial easy to understand.