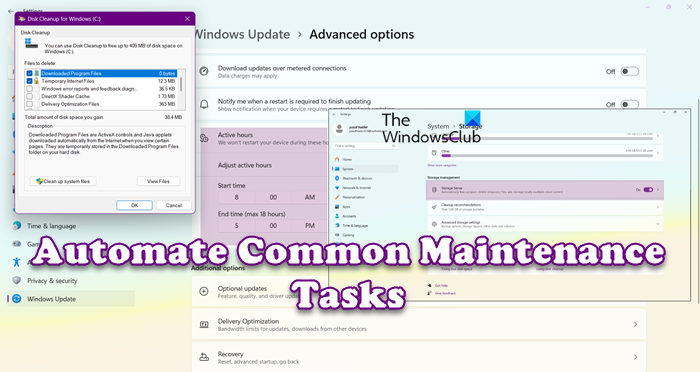
When you buy a computer, initially, everything seems to be running smoothly, but after a few months, maybe a year, the device starts showing its age, you notice some lagging here and there, and the overall performance drops with time. The PC started hanging because the memory is probably clogged with unnecessary files, most of which you’ll never use again. To keep your computer in optimum condition, you need to automate common maintenance Tasks.
You may also lose your data at any time due to unforeseen circumstances, but routine maintenance ensures that you don’t lose anything. It’s okay if you forget to back up or optimize your PC because there are some creative ways to do it all on Autorun.
Automate Common Maintenance Tasks in Windows 11/10
In this section, I’ll show you how to carry out the following tasks on your Windows 11/10 machine:
- Clean the system drives automatically.
- Automatically back up your files.
- Update Windows, device drivers, and apps at the best times.
It’s okay if you don’t understand the above solutions. Keep reading because I’ll give you detailed guides on each of them.
1] Clean the system drive automatically
You should periodically get rid of unneeded files on your system drive, especially if you have limited disk storage. There are several ways to clean the system drive, but you don’t have to do all of them. I’ll show you how to automate these tasks and reduce your work.
Use Storage Sense to automate hard drive cleaning
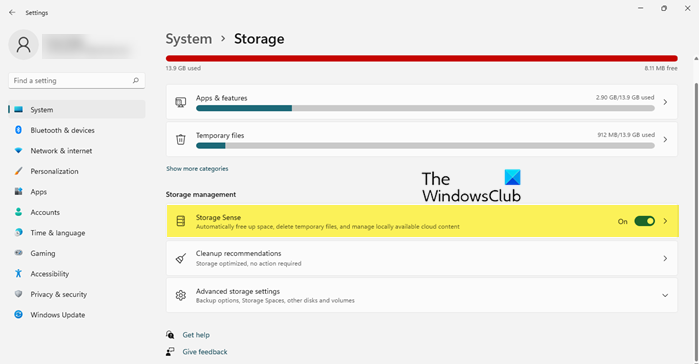
Microsoft introduced Storage Sense in Windows. It deletes temporary files and those in the Recycle Bin. You can delegate the task of cleaning your system drive to Storage Sense because it won’t delete your important files.
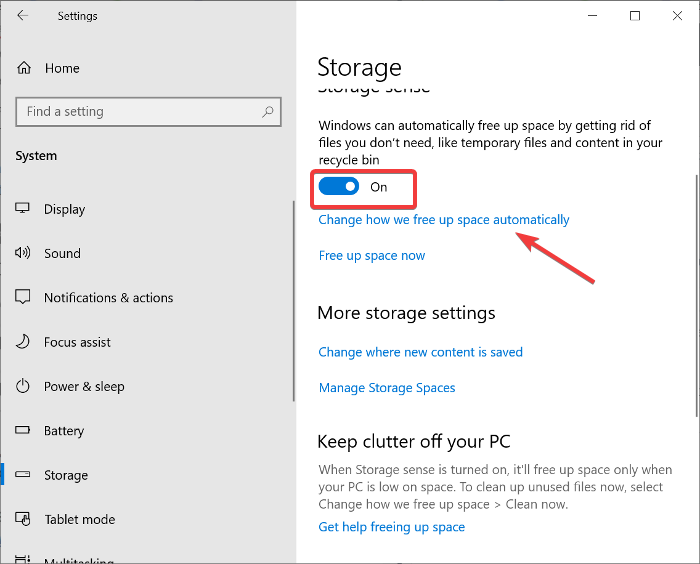
Press the Windows key + I combination to open Settings and then go to System > Storage. Here, toggle ON the Storage Sense option. This enables Storage Sense on your machine.
To configure what gets deleted and when to delete it, click on the Change how we free up space automatically.
Schedule Disk Cleanup Utility tasks
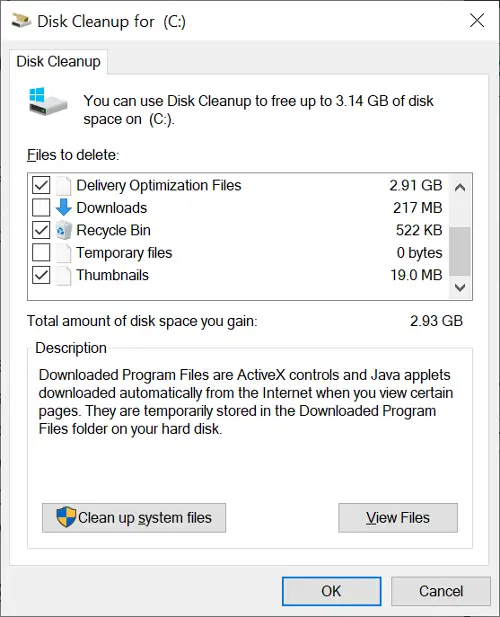
The Windows Disk Cleanup Utility needs no introduction. It gives you options to remove all kinds of junk files from your computer. With the click of a button, you can get rid of downloaded program files, temporary internet files, thumbnails, Recycle Bin files, etc.
Instead of manually using the Disk Cleanup Utility once in a while, you can schedule it to run automatically at intervals using the Task Scheduler. Here’s how to do it:
Press the Windows key and search for task scheduler. Open Task Scheduler from the search results. Click on the Action menu in Task Scheduler and select Create Basic Task.
Give the new task a name and description, and click the Next button. On the next screen, specify the interval you want the task to run. You can set it to run daily, weekly, monthly, etc. A trigger can also activate the task, such as when the computer starts, logs on, or a specific event is logged.
Next, select the Action, which refers to what you want to schedule. In this case, choose the Start a program option. Enter the following script in the Program/script field:
C:\Windows\system32\cleanmgr.exe
Finally, review the summary of your new task and hit Finish.
Read: Tips to maintain Windows in good running condition.
2] Automatically backup files
No one plans for their drives to crash to lose their vital files in any way. Backing up your files and settings regularly will save you from data loss. Most people will find it tough to remember to back up their files regularly, and that’s why automating your backups is crucial.
Fortunately, Windows comes with the File History feature that eases the backing-up routine. This feature is sophisticated but quite easy to use. All you have to do is connect an external hard drive to your computer with the feature enabled, and Windows will back up your vital files on the connected drive.
You can check out this post to learn how to use File History to back up and restore files.
3] Update Windows, device drivers, and apps at the best times
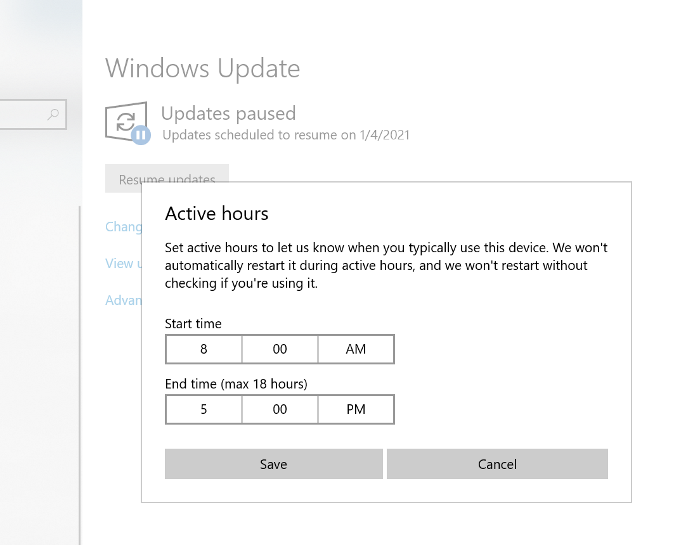
Many hardware issues that users face are due to outdated applications or drivers. Windows also doesn’t alert you when updates of your drivers are available. Users were able to block Windows updates in earlier Windows editions, but all you can do now is postpone pending updates.
The Active Hours setting prevents your machine from updating at inappropriate times. With this feature, you can now set your system to update during your active hours, which is determined by the way you use your computer.
Windows 11: Open Settings, go to Windows Updates > Advanced Options. Then you have to go to Active hours and then set a time from the Adjust active hour drop-down menu.
Windows 10: Press the Windows key + I and select Updates & Security from the Settings screen. Next, click on the Change active hours option and change it to Automatically adjust active hours for this device based on activity.
Hope this helps!
Read: Create your own Windows Maintenance tasks using dMaintenance.
How to automate repetitive tasks in Windows 11?
The easiest way to automate repetitive tasks in Windows 11 is to use the Task Scheduler. If you have a script or a batch file, you can schedule it using the Task Scheduler, and it will run according to the schedule on your computer.
Also Read: Delay a Scheduled Task in Task Scheduler in Windows.