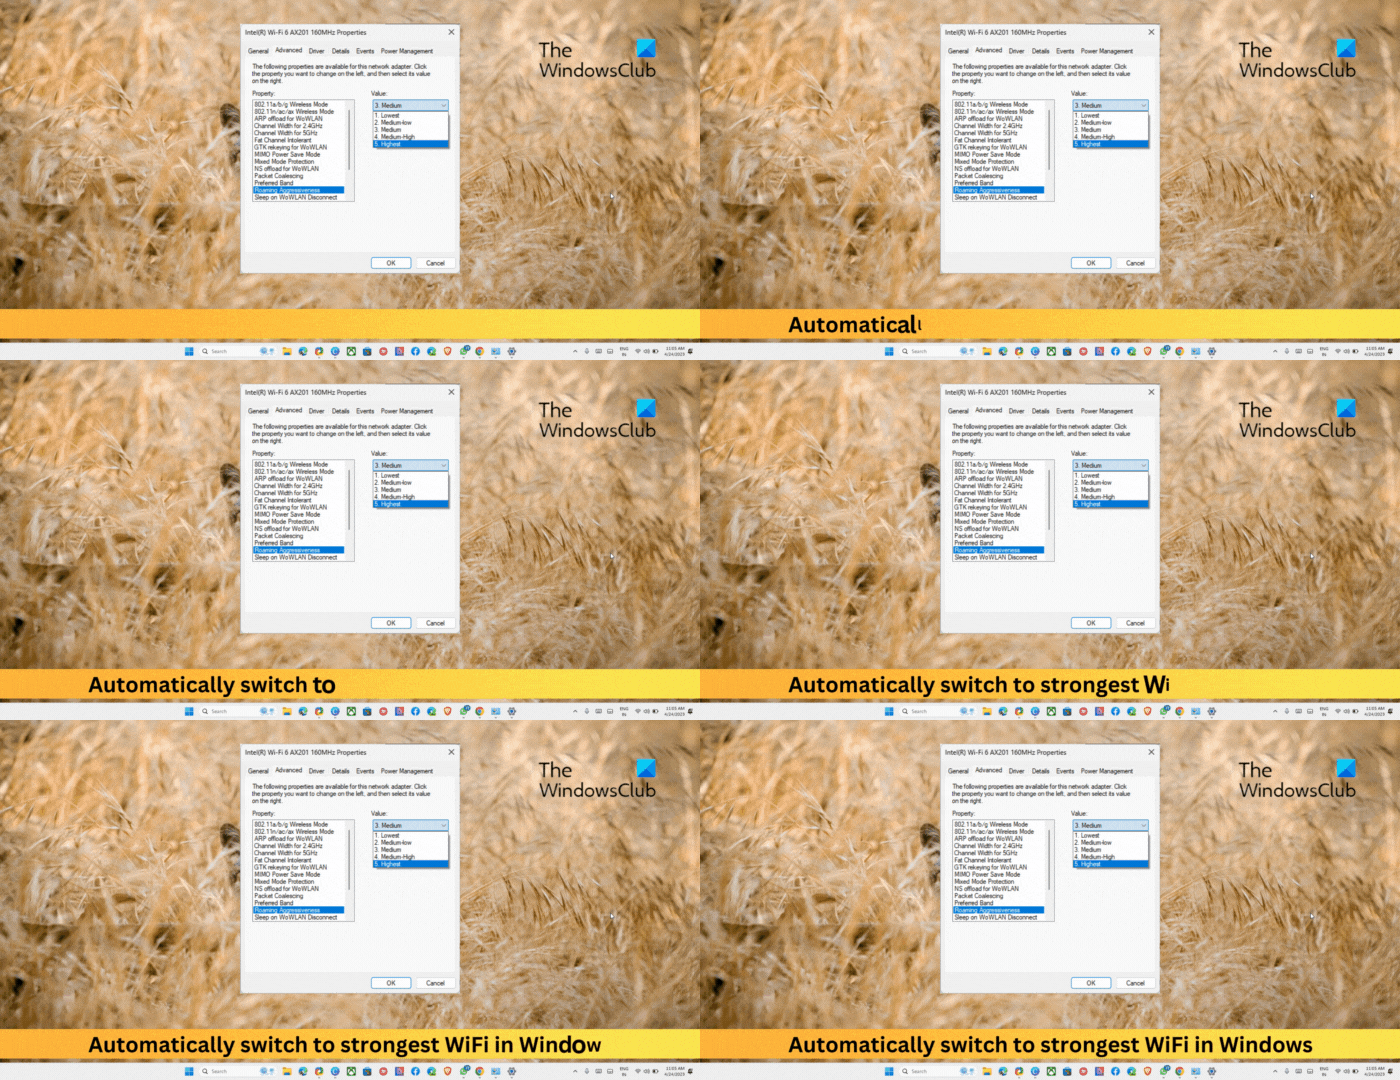
Staying connected to a reliable and strong WiFi connection is essential nowadays. Nevertheless, sometimes devices can get stuck on a weaker WiFi signal. Fortunately, Windows 11/10 has a built-in feature that automatically switches to the strongest WiFi signal available.

Automatically switch to strongest WiFi in Windows
You’ll have to enable the Roaming Aggressiveness feature to switch to the strongest WiFi in Windows automatically. This feature can automatically determine how quickly a device can switch from one WiFi connection to another with a stronger connection. Here’s how to enable Roaming Aggressiveness.
Once you’ve enabled Roaming Aggressiveness. Follow these steps:
- Once your device reboots, open Run, type ncpa.cpl, and hit Enter.
- Right-click on your WiFi adapter and select Status.
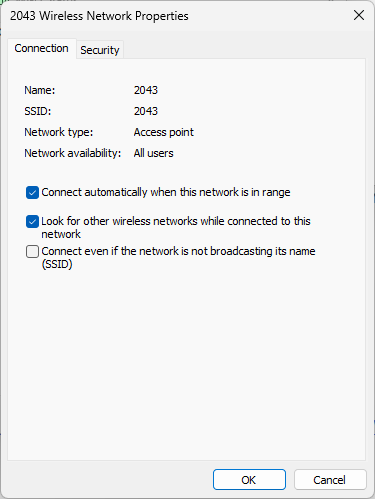
- Click on Wireless Properties and check the option Look for other wireless networks while connected to this network.
- Click on Ok to save the changes.

And Voila! You’ve now successfully configured the Roaming aggressiveness feature on your Windows 11/10 device to automatically switch to a strongest WiFi network.
Read: USB WiFi not working with 100417CF Access Violation error
How do I automatically Connect to the strongest WiFi signal in Windows 11?
To do so, you’ll have to enable the Roaming aggressiveness feature. Open your WiFi adapters Properties and click on Configure. Navigate to the Advanced tab, select Roaming Aggressiveness under Property, and set Value to Highest.
How do I force 5ghz WiFi in Windows 11?
To force 5ghz WiFi on your Windows 11 device, open Settings and navigate to Network & Internet. Click on WiFi> Advanced network settings > Hardware properties. In the WiFi Properties window, navigate to the Advanced tab, scroll down to the Preferred band option, and select 5GHz.
Leave a Reply