Windows 11/10 was subjected to some major changes ever done by Microsoft and a lot of interesting features made their debut. One feature that was carried over from Windows 7, is the Quick Access Folder. In this article, we are going to see how to backup and restore the Quick Access Folder in Windows 11/10.
Backup Quick Access Folder in Windows 11/10

To Backup Quick Access Folder, you need to type the following command in the Run box that can be launched by Win + R.
%appdata%\microsoft\windows\recent\automaticdestinations
You must not alter anything here, as doing so can delete your Quick Access files.
Go to your C Driver, create a New Folder to do that right-clicking on the screen, and select New > Folder. Name it TempQA and close Windows Explorer.
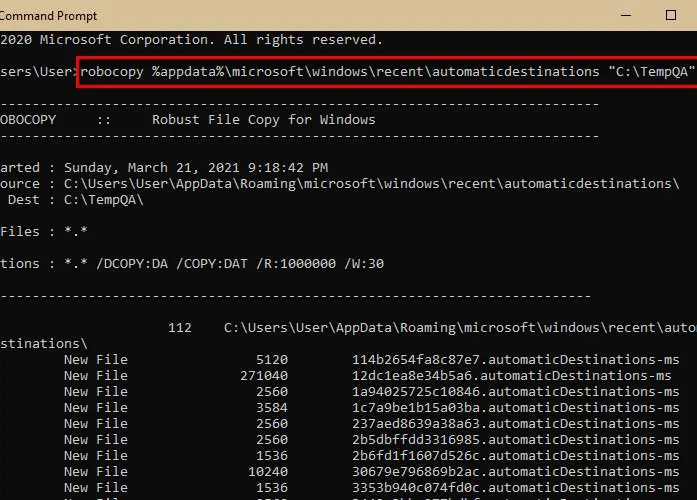
Now, launch Command Prompt as an administrator from the Start Menu, type the following command, and hit Enter.
robocopy %appdata%\microsoft\windows\recent\automaticdestinations "C:\TempQA"
Now, all your Quick Access files have been backed up in the newly created TempQA folder.
You can confirm this by visiting the C Drive and checking the “TempQA” folder for Quick Access files.
Read: How to rename Quick Access folders in Windows 11/10.
Restore Quick Access Folder in Windows 11/10

If you want to transfer your Quick Access Files to another computer, just copy the TemQA folder and paste it in the C Drive of the other computer.
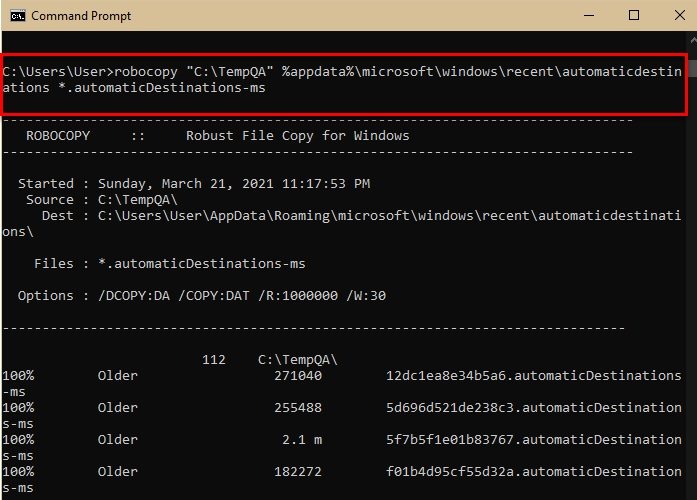
To restore the Quick Access Folder we are going to use the Command Prompt. So, launch the Command Prompt as an administrator from the Start Menu, type the following command, and hit Enter.
robocopy "C:\TempQA" %appdata%\microsoft\windows\recent\automaticdestinations *.automaticDestinations-ms
Now, launch Task Manager by Win + X > Task Manager, go to the Process tab, search for Windows Explorer, right-click on it, and select Restart.
Now, launch File Explorer and check the Quick Access Folder, it will be restored.
Read: How to show or remove Quick access and Favorites from Explorer.
I hope this helps.
How do I transfer Quick Access items to a new computer?
To transfer Quick Access Toolbar items to a new computer, export your customizations by going to File > Options > Quick Access Toolbar. Then, choose Import/Export and select Export all customizations. Save the file, then import it on the new computer using the same steps but select Import customization file.
How do I export the Quick Access Toolbar?
To export the Quick Access Toolbar in Windows, open any Office application and go to File > Options > Quick Access Toolbar. Click on Import/Export, then choose Export All Customizations. Save the file to your desired location. This process backs up your toolbar settings, allowing you to import them later.
Leave a Reply