Every now and then, many PC users may find that their Network connections fail for seemingly no reason. And, while rebooting your Windows PC works in some cases, it is not ideally the best solution. In this post, we will show you how to create a Batch File to reset, release & renew IP, Winsock, Proxy, DNS without having to reboot your Windows 11/10 PC.
Batch File to reset, release & renew IP, Winsock, Proxy, DNS
While you can easily reset TCP/IP, Flush DNS or reset Winsock, by following the usual processes – with a little planning, you can reset and renew your Windows 10 network connection using a small batch file.

To create a batch File to reset, release & renew IP, Winsock, Proxy, DNS on Windows 11/10, do the following:
Press Windows key + R to invoke the Run dialog.
In the Run dialog box, type notepad and hit Enter to open Notepad.
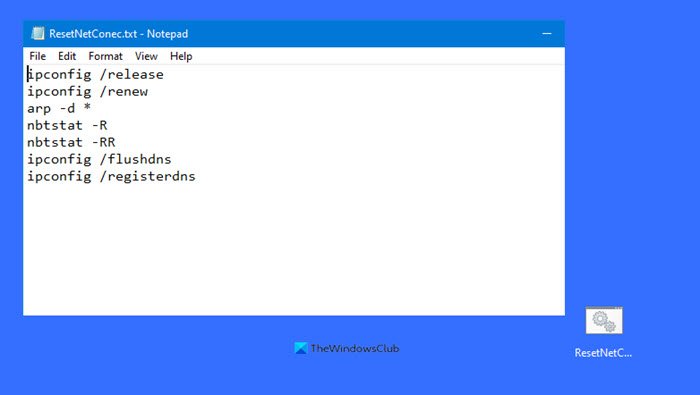
Copy and paste the code below into the text editor.
ipconfig /release
ipconfig /renew
arp -d *
nbtstat -R
nbtstat -RR
ipconfig /flushdns
ipconfig /registerdns
The description of the parameters are as follows:
- The two ipconfig commands will release the current IP address and then immediately ask for a new one.
- The arp command deletes the current hostname so we can reacquire it.
- The nbtstat -R command purges and reloads the remote cache name table.
- The nbtstat -RR command sends Name Release packets to WINS and then starts a refresh.
- The final two ipconfig commands flush the DNS and then initiate manual dynamic registration for the DNS names and IP addresses that are configured at the computer.
Save the file (to the desktop, preferably) with a name and append the .bat file extension – eg; ResetNetConec.bat.
On the Save as type box select All Files.
Now, anytime you need to reset your network connection, simply run the batch file with admin privilege and that should get your network connection up and running.
TIP: You can also use our portable freeware FixWin to reset TCP/IP, Flush DNS, reset Winsock, etc.
Leave a Reply