If you are getting error code 0x80070017 while turning on BitLocker auto-unlock in Windows 11 or Windows 10, here is the solution to fix the issue. It mainly happens when you move your encrypted drive from one hard disk to another. No matter what caused this issue on your PC, you can troubleshoot it using this step-by-step guide.

It is possible to unlock the volume automatically, which is protected by BitLocker Disk Encryption in Windows 11/10. However, let’s assume that you had BitLocker auto-unlock enabled earlier and migrated the encrypted volume from one hard drive to another. Many times, you might need more storage, and you often upgrade your SSD or HDD. After migrating, whenever you try to enable BitLocker Auto-unlock, it will greet you with the aforementioned error code. To fix the issue, you need to clear all the previous or existing keys used for BitLocker Auto-unlock functionality before migrating to the new hard disk.
Fix BitLocker Auto-Unlock 0x80070017
To fix BitLocker Auto-unlock error 0x80070017 in Windows 11/10, follow these steps:
- Press Win+X to open the WinX menu.
- Choose Windows Terminal (Admin) option from the menu.
- Click on the Yes option.
- Enter this command: manage-bde -autounlock -clearallkeys [drive-letter]:
- Enter this command: manage-bde -autounlock -enable [drive letter]:
- Close the Windows Terminal window.
To know more about these steps, continue reading.
At first, you need to open Command Prompt or Windows PowerShell or Windows Terminal as administrator. In this case, we are about to use Windows Terminal. For that, you can press Win+X to open the WinX menu and choose the Windows Terminal (Admin) option. Then, click the Yes button in the UAC prompt.
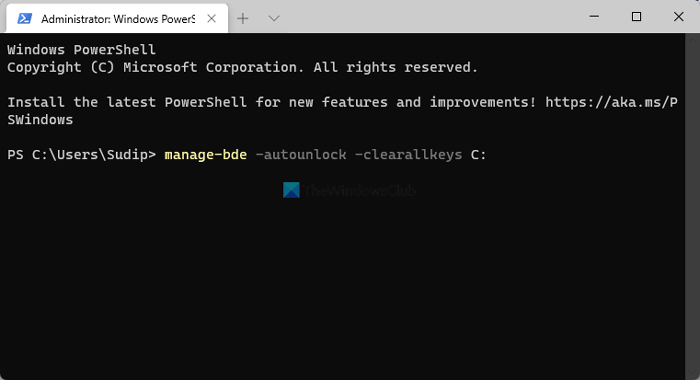
After opening Windows Terminal, enter this command:
manage-bde -autounlock -clearallkeys [drive-letter]

Don’t forget to replace [drive-letter] with the original drive letter of your encrypted volume. If it is the C drive, you need to enter the command like this:
manage-bde -autounlock -clearallkeys C:
For your information, the aforementioned command removes all the existing auto-unlock keys from your memory. However, if you have an external key to remove, you need to enter the following command:
manage-bde -protectors -delete -type externalkey C:
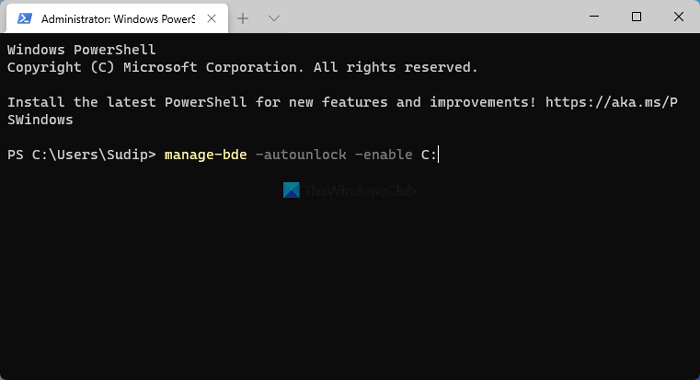
Next, you need to turn on BitLocker Auto-unlock for the encrypted drive. There are three ways to do that on Windows 11 and Windows 10 computers. However, as you have already opened an elevated Windows Terminal prompt, you can enter the following command:
manage-bde -autounlock -enable [drive letter]:

Again, don’t forget to replace [drive-letter] with the original drive letter.
Apart from that, you can use the BitLocker Manager or Windows PowerShell or Command Prompt to get the same thing done.
How do I stop BitLocker from automatically unlocking?
To stop BitLocker from automatically unlocking, you can use the BitLocker Manager on your computer. From there, you need to click on the Turn on auto-unlock option and turn it off. After that, BitLocker won’t unlock the encrypted volume automatically on your computer.
What is let BitLocker automatically unlock my drive?
If you turn on BitLocker Auto-unlock, it will unlock encrypted volumes automatically. It does such a thing using the encrypted information stored in the Registry and volume metadata. When you enable this functionality, BitLocker automatically unlocks the encrypted volumes.
That’s all! Hope this guide helped.
Read: