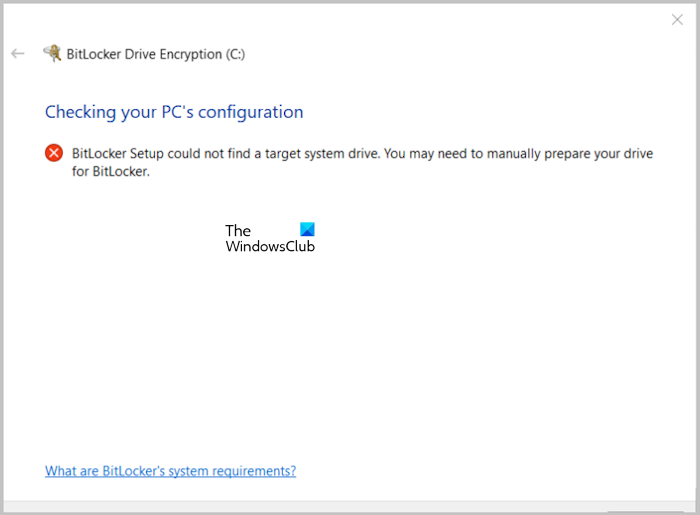
If you receive the “BitLocker Setup could not find a target system drive” message while using the BitLocker Drive Encryption Tool on Windows 11/10, then this post may be able to help you.

The complete error message is:
BitLocker Setup could not find a target system drive. You may need to manually prepare your drive for BitLocker.
BitLocker Setup could not find a target system drive to prepare
There are two scenarios that can cause this error, says Microsoft.
- You do not have sufficient free disk space
- The partition contains files that cannot be moved.
You do not have sufficient free disk space
For the setup to find that target system drive, at least 10 percent of the active partition must remain free after the partition size is reduced.
To resolve this error, you may run Disk Cleanup Tool, disable Hibernation to delete the large hiberfil.sys file and move files to another partition or an external drive.
The partition contains files that cannot be moved
The BitLocker Drive Preparation Tool may resize partitions to prepare a hard disk for BitLocker. As such, some unmovable files like the following may prevent the tool from defragmenting and resizing partitions:
- Page files
- Hibernation files (Hiberfil.sys)
- Windows Registry files
- NTFS metadata files like $mftmirr, $secure, $volume, etc.
To resolve this issue, you need to do the following:
Disable Paging as well as temporarily disable hibernation, and delete the Hiberfil.sys file and the Pagefile.sys file. Run the command powercfg -h off in an elevated Command Prompt. It will disable the hibernation mode.
To disable the Paging file, under the Virtual Memory settings. Type “performance” in the search bar and open the option for “Adjust appearance and performance for Windows.” Under the Advanced tab, click on “Change” in the Virtual Memory section. Uncheck “Automatically manage paging file size for all drives.” Select the radio button at “No paging file” and click on Set. Then on OK.
Restart the computer and run the BitLocker Drive Preparation Tool again.
If these steps don’t help, you could proceed to the following.
Technet suggests you ensure that TPM is active and shrink the drive, as follows:
- Check if TPM is active in BIOS settings
- Shrink Drive size
- Disable the GPO link that configured MBAM
We have described all these methods below.
1] Check if TPM is active in BIOS settings
First of all, check the TPM status in your system BIOS. Following are the general steps to check the TPM status in BIOS:
- Restart the computer and the second it turns ON, keep pressing the F10 key (This key might vary with the brand of the system).
- Navigate to TPM security (It again varies with the brand of the system).
- Verify that the status is ON and Active.
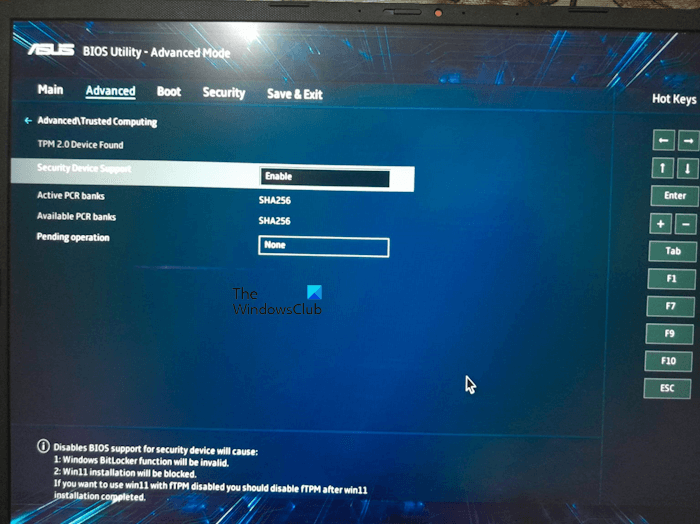
Different motherboard manufacturers have different methods to enable and disable TPM in BIOS. Therefore, you need to visit the official support website of your computer manufacturer to know the correct method to enable TPM in BIOS. We have explained the steps to enable TPM in ASUS motherboard M1603QA BIOS.

- Completely shut down your ASUS computer.
- Press and hold the F2 key and then press the power button. Keep the F2 button pressed until you enter BIOS.
- Now, select the Advanced Mode from the bottom right side. Alternatively, you can also press the F7 key to enter the Advanced Mode.
- Go to the Advanced tab and select the Trusted Computing option.
- Check the status of the Security Device Support option. If it shows disable, click on it and select Enable.
- Save the changes and exit.
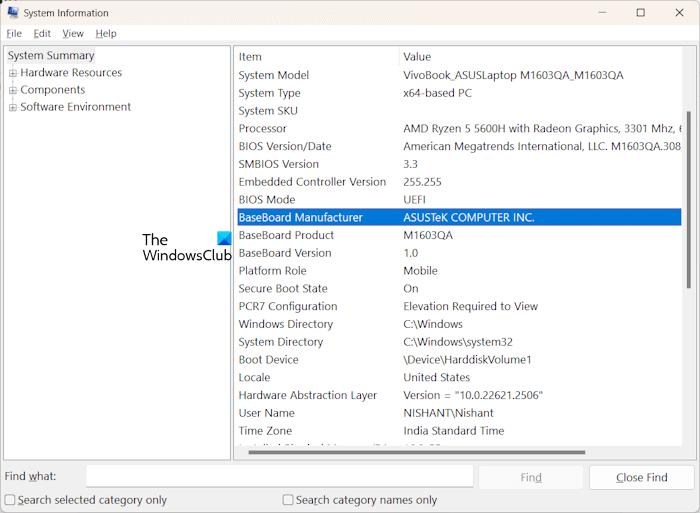
You can check the motherboard manufacturer of your computer system by using the System Information tool. Follow the steps provided below:

- Click on Windows 11/10 Search and type system information.
- Select the best match from the search results to open the System Information tool.
- Select System Summary from the left side.
- You will see the Baseboard manufacturer on the right side.
2] Shrink Drive size
Open Command Prompt (Administrator) and execute the following command:
C:\Windows\System32\BdeHdCfg.exe -target default -size 300 -quiet
Where c: is the System Drive. This will shrink the drive, create the small BitLocker partition and allow you to run the encryption.
3] Disable the GPO link that configured MBAM
Says Microsoft:
The tool is trying to write the boot files to the new system drive, but you might have applied an MBAM policy to prevent write-access to unecnrypted datadrives. With the data drives being unencrypted the system volume will be created but the tool will tell you that the drive is write protected This is due to the write-access prevention policy you created earlier for MBAM.
To know more about disabling the Microsoft BitLocker Administration and Monitoring (MBAM) GPO, please check the reference at docs.microsoft.com.
Once you have run the tool successfully, you can relink the MBAM GPO by force-updating the Group Policy by running gpupdate /force.
That’s it. I hope this helps.
Can I shut down my PC while BitLocker is encrypting?
According to Microsoft, when a computer is turned off or put into a hibernation state while the BitLocker encryption or decryption is in process, the encryption and decryption process will resume the next time you start your computer. Moreover, the BitLocker encryption and decryption process will also resume the next time you start your computer if the power becomes unavailable suddenly.
How much does BitLocker cost?
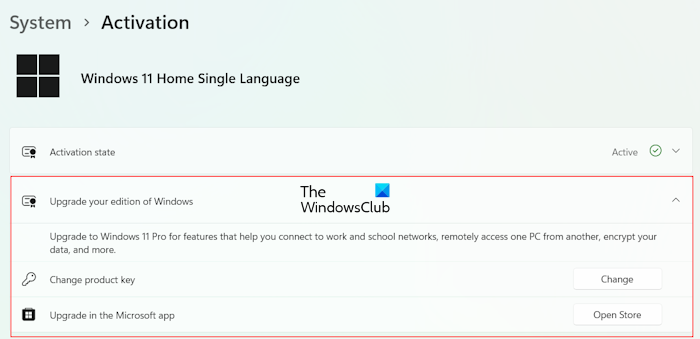
BitLocker is free for Windows users. However, it is not available in Windows 11/10 Home editions. Other Windows editions have BitLocker, such as Windows 11/10 Pro, Enterprise, Education editions, etc. Therefore, if you have Windows 11/10 Home Edition, you need to spend money to purchase Windows 11/10 Pro Edition in order to use BitLocker.

You can purchase the BitLocker key from Microsoft Store. Open Windows 11/10 Settings and go to System > Activation. Now, expand the Upgrade your edition of Windows tab and click on the Open Store button next to the Upgrade in the Microsoft app option.
Related read: BitLocker Setup failed to export the BCD (Boot Configuration Data) store.
Leave a Reply