If a black screen appears after you upgrade the RAM upgrade on your Windows laptop, then this article will help you fix this issue. This issue can occur due to incompatible RAM, incorrect RAM installation, outdated BIOS, etc.
Black screen after RAM upgrade on Windows laptop
If the black screen appears after a RAM upgrade on your Windows 11/10 laptop, then use the following fixes:
- Restart the Graphics Card driver
- Make sure that the RAM is compatible
- Reseat your RAM sticks and check individual RAM sticks
- Clear CMOS
- Flash BIOS
- Get professional support
Before you proceed with further troubleshooting steps, make sure all your cable connections are tight.
1] Restart the Graphics Card driver
The first step is to restart the Graphics Card driver. In Windows 11/10, the key combination Ctrl + Shift + Win + B restarts the Graphics card driver. This key combination is useful for resolving display problems. Try it and see if it helps.
2] Make sure that the RAM is compatible
The RAM you purchase to install on your motherboard should be compatible with it, otherwise, you will experience several issues, like booting issues. Refer to the user manual of your computer motherboard to confirm whether the RAM sticks are compatible or not. If the RAM sticks are incompatible with your motherboard, replace them.
3] Reseat your RAM sticks and check individual RAM sticks
Incorrect RAM installation can cause the black screen issue. Make sure that all the RAM sticks are seated properly. Remove the RAM sticks and place them again properly. If you have multiple RAM sticks, boot your computer with one RAM stick at a time. This will help you to identify whether the issue is with a particular RAM stick or not. Also, before installing the RAM sticks, clean your RAM sticks and RAM slots, as sometimes dust and debris inside the RAM slots stop the computer from detecting the RAM sticks.
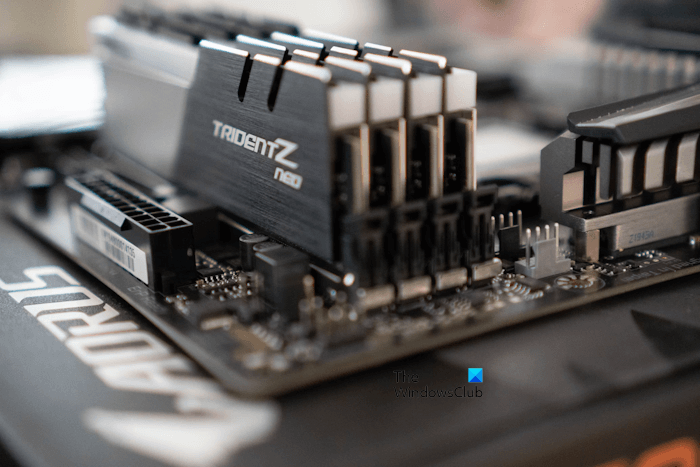
You can also try different combinations with your RAM sticks. For example, if you have two RAM sticks and four RAM slots, try inserting them into slot 1 and slot 2, slot 2 and slot 3, etc. If you have only one RAM stick, insert it into all available RAM slots one by one and boot your computer.
4] Clear CMOS
Sometimes, clearing the CMOS can help to fix the issue. This process will also reset BIOS to default settings. If the Black screen appears due to a misconfigured BIOS setting, resetting BIOS to its default values will fix the issue.
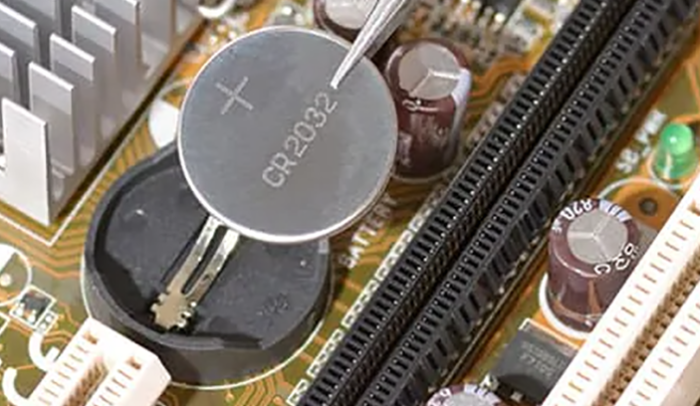
The CMOS battery is a small coin-based battery. To clear the CMOS battery, you have to open your computer case and then remove and reinstall it. Turn off your computer and disconnect the power cord to avoid electric shock.
Locate the CMOS battery on the motherboard. Do note the orientation of the + and – on the battery. Gently pry the battery free from its connector with a medium flat-blade screwdriver. Wait for a few minutes after removing the CMOS battery. This will reset the BIOS to its default settings. Reinsert the battery and try booting again.
5] Flash BIOS
We also suggest you flash your BIOS. This method is useful if you have installed a new CPU or RAM and start getting no display problem after the installation. Some motherboards support flashing the BIOS without a CPU and RAM.
Supported motherboards have a dedicated button to flash BIOS without a CPU and RAM. To perform this method, first, you need to download the latest version of your BIOS from the official website of your computer manufacturer.
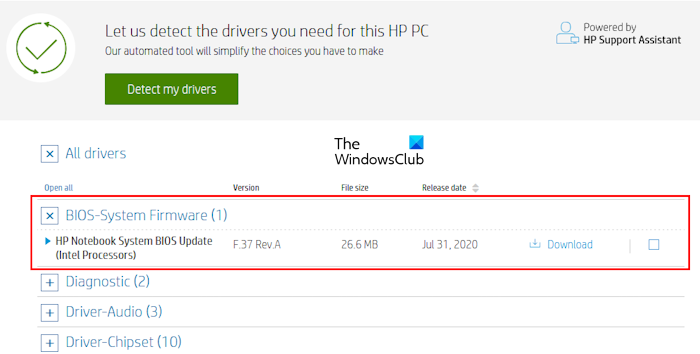
The below-mentioned steps are the general steps to flash BIOS without a CPU and RAM:
- On a working computer, download the latest version of your BIOS.
- Insert a USB flash drive and format it in FAT 32 format.
- Now, copy the BIOS file to the USB flash drive in the required format.
- Insert the USB flash drive into the dedicated USB port (refer to your user manual).
- Now, press the dedicated button on the motherboard to flash BIOS. Make sure that the power supply is connected to your computer.
The LED indicator on the motherboard starts blinking. This indicates that the flashing BIOS is being processed. Wait until the LED indicator stops flashing. When it stops flashing, your BIOS is updated to the latest version. This process can take up to 5 to 10 minutes, or you have to wait until it is completed. Do not interrupt the process because this can break your motherboard.
We strongly recommend you always refer to the user manual of your motherboard to know the exact method of flashing the BIOS without a CPU and RAM. Following the incorrect method can damage your motherboard.
6] Get professional support
If nothing helps and you are unable to fix this issue from your end, we suggest you get professional help. Take your computer to a professional computer repair technician.
Can faulty RAM cause no display?
Yes, a faulty RAM can cause no display issues. There are some signs that a computer shows if the RAM is going to die. If you notice these signs, test the health of your RAM, and do not forget to back up your data.
Why is my computer screen black with RAM?
There can be a few reasons why your computer screen is black with RAM. The most common reasons are incompatible RAM, RAM stick not seated properly, etc. Make sure your RAM is compatible and it is seated properly to avoid black screen issues.
Read next: Black screen after installing Graphics driver.