If you have just upgraded to Windows 11, you may have noticed that the Settings app looks and feels very different from what you were used to in Windows 10. The reason for this is that each Setting app in a new operating system has its own style.
In this blog post, we will explore what’s new in the Bluetooth and devices panels in Windows Settings. Here you’ll also learn how to use the Devices Panel in Settings, including Bluetooth, Printers & scanners, Your Phone, Cameras, Mouse, Touchpad, Pen & Windows Ink, Autoplay, and USB. To clarify any confusion, we’ve included a few images.
Bluetooth & devices Settings in Windows 11
This new operating system comes with a completely updated Settings app that accounts for most of the visual changes in this update. With the new application, you can easily modify system settings and customize them.
To get it started, open the Windows 11 Settings menu first using the Windows+I keyboard shortcut. Then select the Bluetooth & devices tab from the left pane. From here, we will cover all the sections under Bluetooth & devices and explain them in detail. Windows 11 Settings includes the following sections under the Bluetooth & devices tab.
- Bluetooth
- Devices
- Printers & scanners
- Your Phone
- Cameras
- Mouse
- Touchpad
- Pen & Windows Ink
- AutoPlay
- USB
The Windows 11 Settings app has undergone some changes. One of the major changes in the new Bluetooth and devices tab in the Settings menu. Here, we’ll take a look at what you can find in this new interface and how to get around quickly. Below is a detailed explanation of each section listed above:
1] Bluetooth

In this section, you can turn on or off Bluetooth settings to connect the nearby Bluetooth devices. Here the paired devices will automatically connect as soon as Bluetooth is activated.
2] Devices
In the Devices tab, you will find details about the Bluetooth devices connected to your PC like the mouse, audio, pen, keyboard, displays and docks, and others.
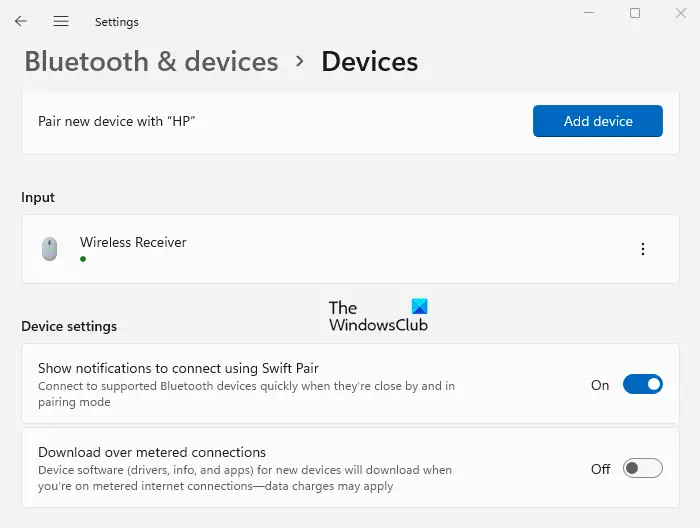
If you want to add a new device, click on Add device and choose the device you want to add. As you open this section, you will see the connected devices listed here. You can remove paired devices by clicking on the three dots next to each device and selecting the Remove device option.
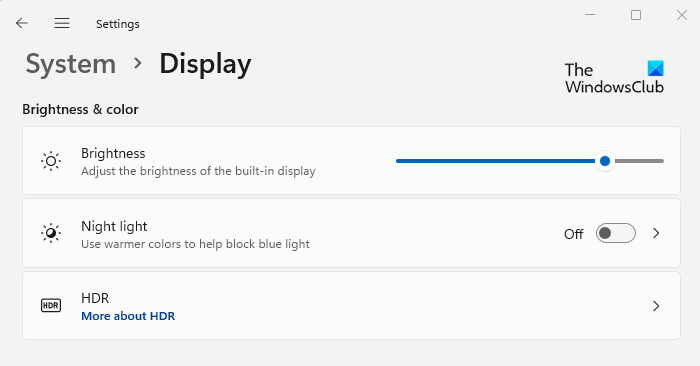
Furthermore, there are some advanced options related to Sound and Display. The Sound section helps you choose a device for recording and speaking, troubleshoot common sound problems, and more. If you go to Display settings, you can adjust the color and brightness of the screen as well as the device’s size and layout. In the brightness setting, you can determine the brightness of the built-in display. There is also an option called Night Light which allows you to use warmer colors to block blue light.
Changing the size of text, apps, and other items is possible under the Scale & layout section. Additionally, you can adjust the resolution to fit the connected displays.
3] Printers & scanners
The Printers and Scanners tab shows all the printers and scanners connected to your computer. If you click on the Add device button, you can also add a printer or a scanner. Here you will find that the device is configured for Microsoft Print to PDF, Microsoft XPS Document Writer, and Send to OneNote 2016.
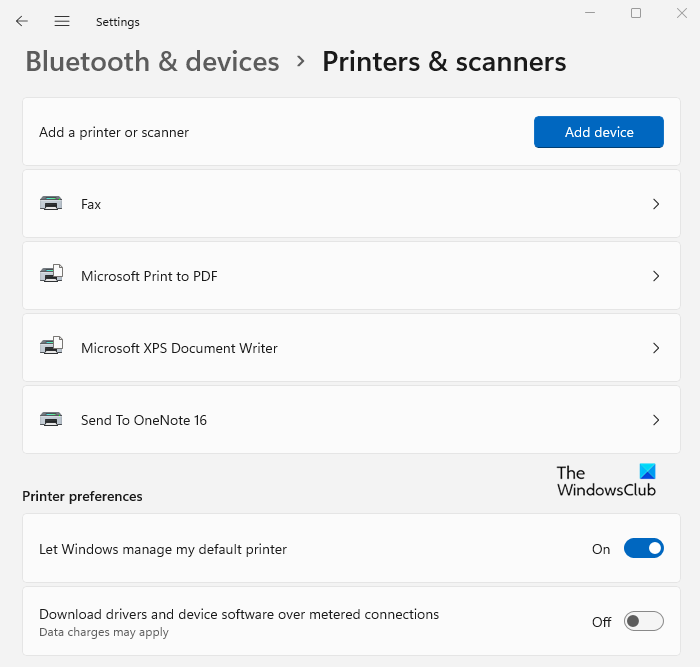
Under the Printer preferences section, you can see a button where you can turn on / off the metered connection for downloading drivers and device software.
With this button turned off, you will save your data when you are on a metered connection. Additionally, Windows can be set here to manage your default printer.
4] Your Phone
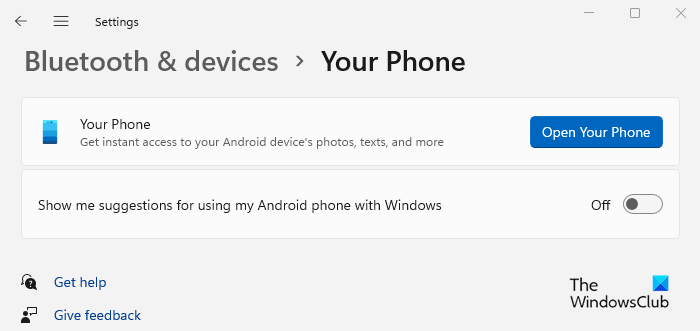
Using this tab, you get instant access to the photos and texts on your Android device. In this way, you can avoid constantly checking for messages, receiving alerts, or even making or receiving calls on your Smartphone.
In addition to this, it is also possible to enable or disable suggestions for Android phones when used with Windows.
5] Cameras
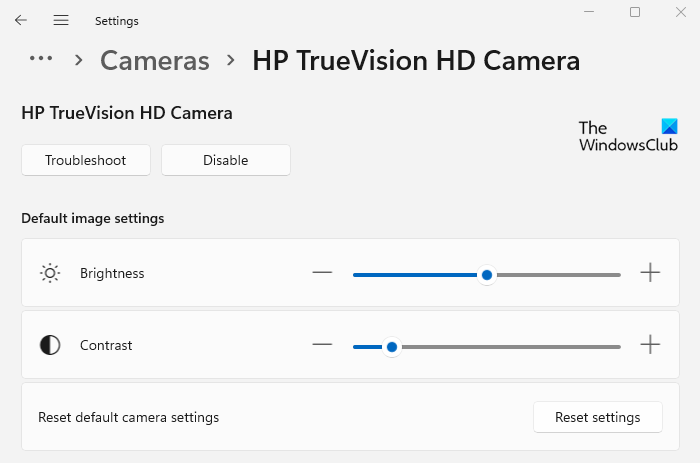
There is a new camera tab included in Windows 11 Settings that provides settings for managing cameras and setting up network cameras.
You can manually adjust brightness, contrast, and even the Camera privacy settings, which let you choose which apps are allowed access to your camera.
6] Mouse
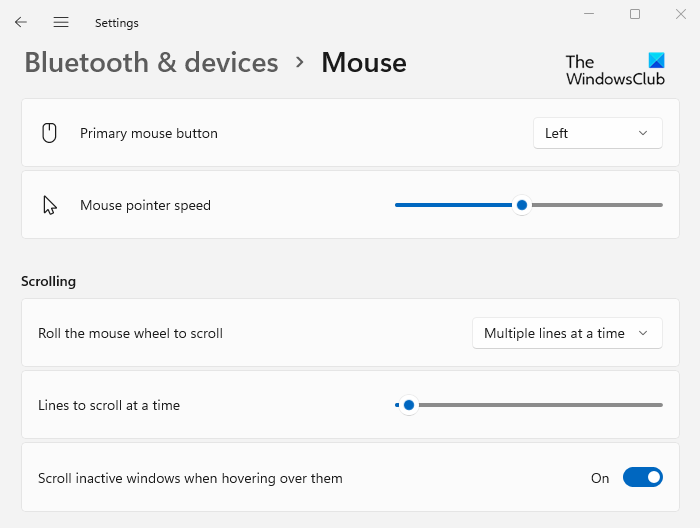
On this tab, you can select either the left or right mouse buttons as your primary buttons. In addition, here you can change the speed at which the mouse points. It is possible here to adjust the scrolling rate of the mouse wheel so that you can scroll multiple lines at once or one screen at a time.
The number of lines you want to scroll each time can range from 1 to 100. In addition, you can toggle the ability to scroll inactive windows when you hover over them.
7] Touchpad
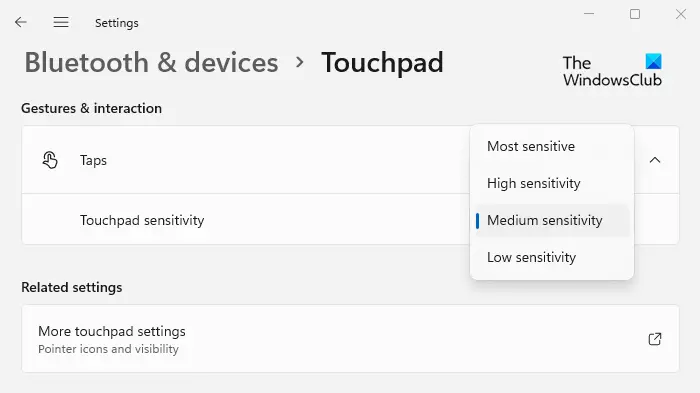
The gestures and interactions of your laptop’s touchpad can be configured here. There are four different options for adjusting the touchpad’s sensitivity: most, high, medium, and low. We recommend you set the sensitivity to Medium since it prevents the cursor from moving too fast.
8] Pen & Windows Ink
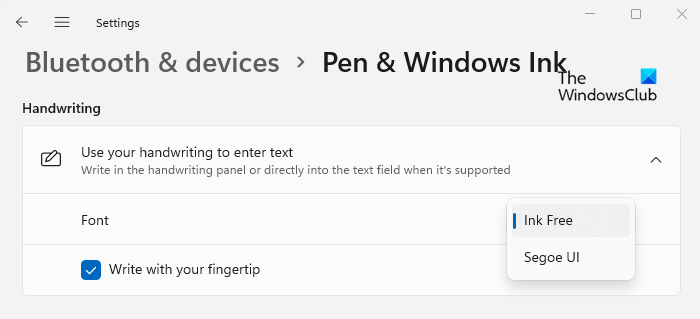
On the Pen & Windows Ink page, you can choose the font to use for handwriting. Additionally, you can check or uncheck the box if you’d like to write with your fingertip in the handwriting panel.
9] AutoPlay
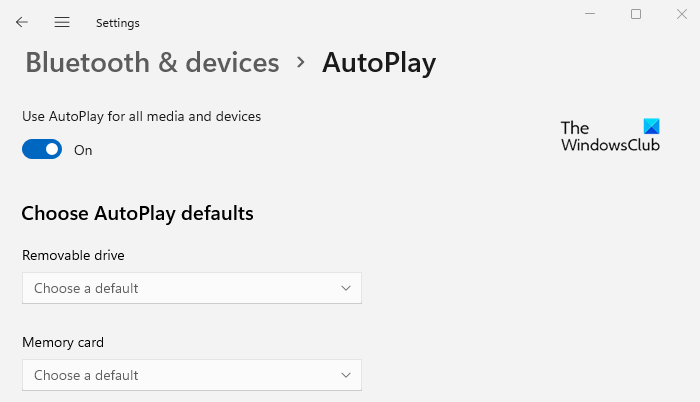
With this tab, you are able to use the AutoPlay feature across all media and devices. When you connect a USB drive, memory card, or other media to your computer, AutoPlay allows you to decide what to do by default.
For those of you who do not find this feature useful, or would prefer a different default action when you connect a USB flash drive or other media or device, the Default app settings page makes it easy to manage this feature.
10] USB
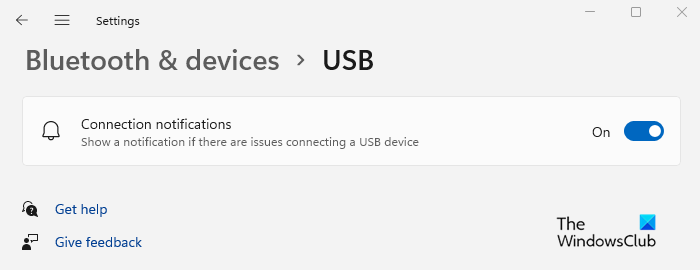
This tab shows you an alert in case there are issues with connecting a USB device. For this feature to work, it is necessary to turn on the toggle next to the Connection notifications option.
Where is the Bluetooth option in Windows 11?
Here are the steps you can follow to locate the Bluetooth option on your new Windows 11 PC:
- To do so, open Windows Settings first. For this, press the Win+I keyboard shortcut. Alternatively, you can open Windows Search (using Win+S) and search for Settings.
- Choose Bluetooth & Devices from the left sidebar of the Settings menu.
- Click the toggle switch next to Bluetooth and turn it on.
How do I update Bluetooth drivers on Windows 11?
The following steps will help you update the Bluetooth drivers on Windows 11.
- Right-click on the Start menu and select Device Manager from the menu list.
- Expand the Bluetooth section and then right-click on the one you want to update.
- Then select Update Driver from the context menu.
- Select the Search automatically for drivers option.
Why is Bluetooth hidden in Device Manager Windows 11?
Problems with Bluetooth drivers are likely to be the cause of missing Bluetooth devices. There is yet another reason which may cause the same problem. Windows 11 doesn’t display Bluetooth devices until you connect them to your computer. That being said, in order to find the device properties, you need to connect the device first.