Owning a Bluetooth headset is important for many Windows 11/10 users because these audio devices tend to lack wires. You see, wires can get entangled and break, and no one likes when their wired headphone is giving problems. With wireless headphones, things are much simpler, but one needs to bear in mind it comes with a charging requirement. Failure to charge means no music or whatever else you use a Bluetooth headphone for, these days.
Now, we should also point out that there will come a time when your wireless headphone will have problems connecting to your Windows 10 computer. These problems are nothing new where Bluetooth is concerned. It has been happening for years, so we’ve gotten quite used to it by now, though it’s still an annoyance.
Some folks in recent times have come across an issue where the headphone is showing up on their system, but at the same time, the thing is showing up as disconnected. When they make attempts to get sound from the device, nothing happens. This suggests the Bluetooth headphone is indeed disconnected in some shape or form, but why is it giving the impression that everything is fine? We do not have the answer for that, but we can help in getting the issue under control and back to normal. If your Bluetooth headphone is disconnected or if it is connected/paired but not showing in playback devices, then this post has the working fixes.
Bluetooth Headset disconnected on Windows PC
A strange problem where Bluetooth headsets are disconnected, but still appear in sound devices is causing issues, but we have figured out how to fix it:
- Turn off and turn on the device
- Set the headphone as default
- Run the Bluetooth Troubleshooter
- Update the Bluetooth driver.
Let us take a look at these suggestions in detail.
1] Turn off and turn on the device
The first step before all else is to restart the product. Simply turn off the audio device, then turn it back on again. Usually, this simple solution is the fix for many issues when it comes down to Bluetooth headphones.
You can even try to unpair and pair the audio device all over again to see if that fixes the problem. Also, restart the computer and try to connect the device again.
2] Set the headphone as default

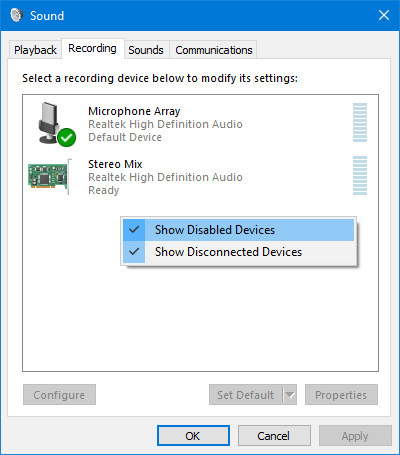
- Open Control Panel> Sound > Recording tab.
- Right-click in the window and click on Show Disabled devices.
- Check if the Headphone is listed there, right-click on it and select Enable.
- Finally, select the headphone and click on Set as Default.
3] Run the Bluetooth Troubleshooter

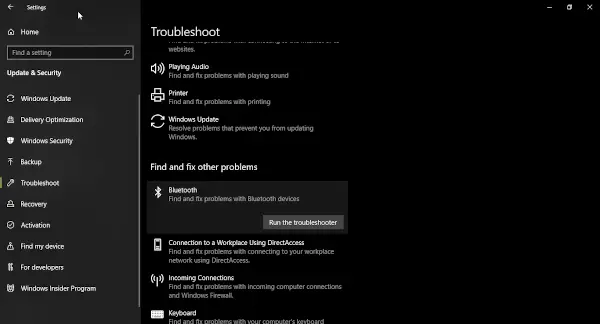
The next step, then, is to run the Bluetooth Troubleshooter from within the Windows 10 operating system. We do this by firing up the Settings menu, and from there, click on Updates & Security. After that, be sure to select Troubleshoot, and navigate directly to the Bluetooth section.
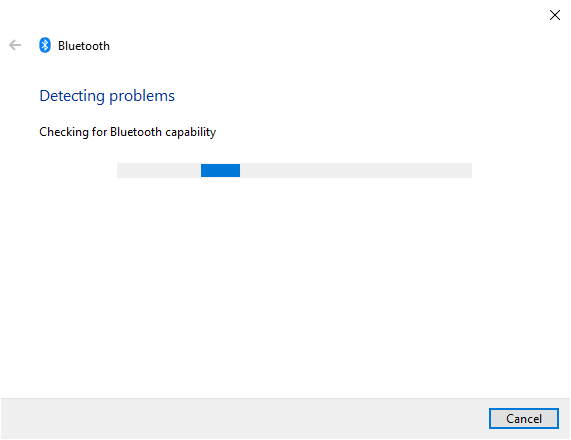
Click on it and select the option that says Run the troubleshooter. The troubleshooter should now come up on-screen, so follow the instructions, and you should be good to go.

We should point out that it doesn’t take a long time to fix issues, if any, so please keep that in mind as you make attempts to correct all problems.
4] Update the Bluetooth driver

OK, so we’d like to suggest updating the Bluetooth driver before going any further. This is a very simple task, so just follow the instructions, and you’ll be fine.
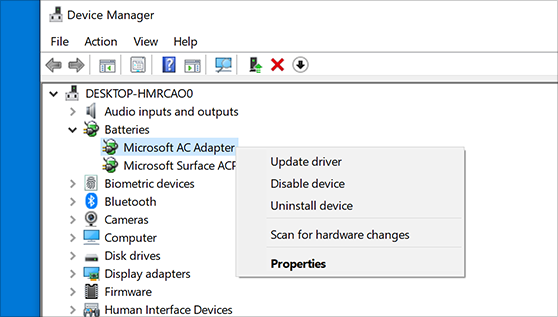
To update the driver, search for Device Manager via the search box in Windows 10. When the result comes up, click on Device Manager to open the window. Click the category that says Bluetooth, and from there, right-click on the preferred option, then select Search automatically for updated driver software.
Finally, click Update Driver to gain access to the latest driver update. Now, if that fails, then we suggest visiting the manufacturer website to locate the latest version of the driver if any is available.
Leave a Reply