Boot failure is a common issue that prevents proper PC startup. It can result from hardware malfunctions, corrupted system files, or boot configuration issues in Windows 11. A lot of users are unable to open their system as the loading screen says Boot failure detected. In this post, we will discuss this issue in detail.
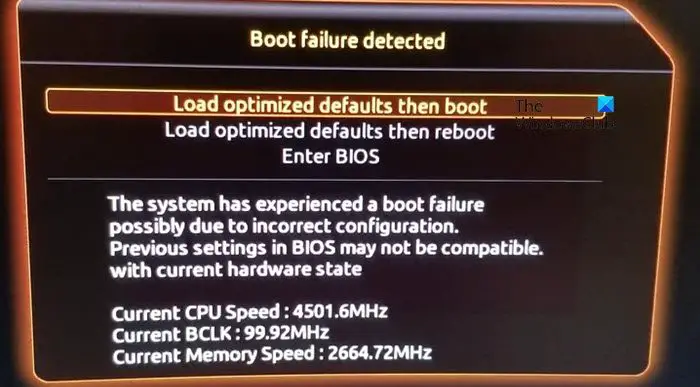
The system has experienced a boot failure possibly due to incorrect configuration. Previous settings in BIOS may not be compatible with the current hardware state.
Fix Boot Failure detected error in Windows 11
If you see Boot failure detected error message in Windows 11/10, follow the solutions mentioned below
- Check the power supply unit and the power cable
- Use Startup Repair
- Reset BIOS to default settings
- Update BIOS
- Rebuild the MBR
- Replace the CMOS battery
1] Check the power supply unit and the power cable
If the PSU is faulty or the power cable is damaged, the system may not receive enough power to boot. Ensuring that the PSU is functioning correctly and that the power cable is connected and undamaged can help rule out power-related issues as the cause of the boot failure. For that, unplug the power cable, and battery, wait for some time, and then plug it in. Now, restart the PC; if it does, it indicates that the battery needs to be replaced. If it doesn’t, users are recommended to change their power cable.
2] Use Startup Repair
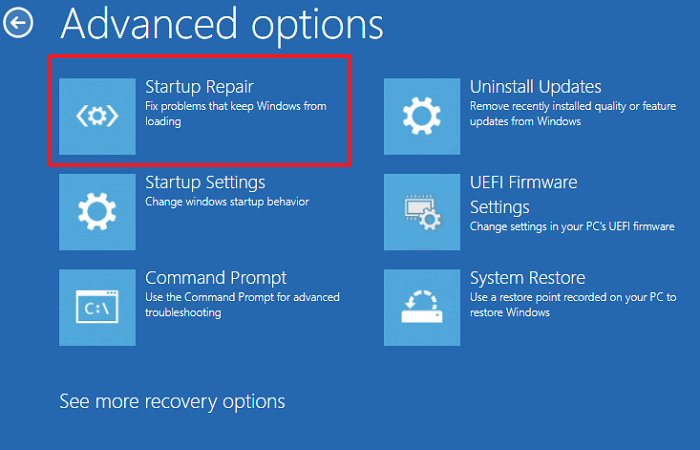
Startup Repair can automatically diagnose and attempt to fix factors preventing the Operating System from starting properly. This tool addresses common problems such as corrupted system files, missing or damaged boot configuration data, and incompatible drivers. Here’s how to run the Startup Repair.
- Create a bootable Windows Installation Media drive, and plug it into the USB drive.
- Now, boot the PC from it, and once the installation screen appears on the screen, click on the Repair your computer option.
- Navigate to the Troubleshoot tab, select the Advanced option, and then the Startup Repair option.
Follow the on-screen prompts to initiate the repairing process. Wait for the process to complete, and then check whether booting the device is now possible or not.
3] Reset BIOS to default settings
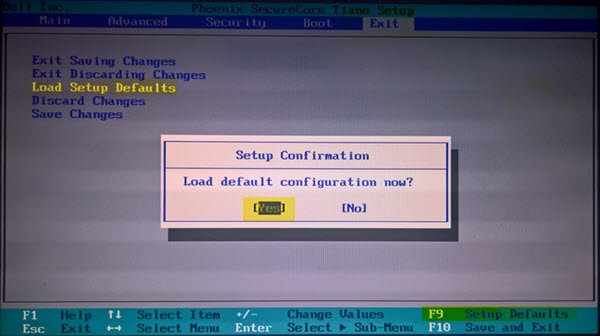
In this solution, we are going to reset the BIOS to default to eliminate the factor of incorrect or conflicting configurations. This is necessary as the BIOS settings can prevent the system from booting properly. This step is often effective in troubleshooting boot issues and restoring normal system operation.
- Restart the PC, and launch the BIOS setup.
- Once it launched, select an option similar to Load Setup Default, Load Default Settings, or something resembling them to reset BIOS settings to default.
- Save the changes, exit BIOS, and relaunch the device.
4] Update BIOS
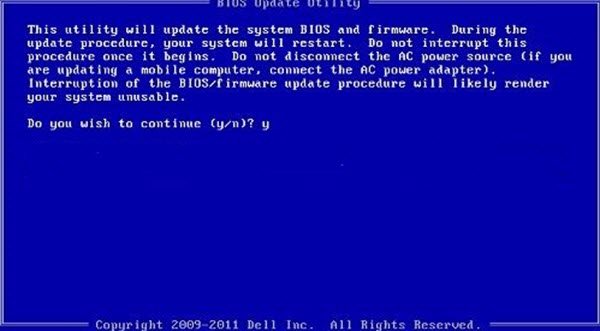
An outdated can cause compatibility issues with newer hardware or software, leading to boot failures. Updating the BIOS will provide the latest firmware, ultimately helping restore normal boot operations. Follow the steps mentioned below to update your BIOS.
- Restart the PC, and then launch the BIOS setup, and then navigate to the BIOS version information to check if you are running the latest version of BIOS.
- Go to the motherboard manufacturer’s website and search for the motherboard model from the Support section.
- Install the latest BIOS update, save the file on a bootable USB flash drive, and once done, reboot the PC.
- Plug the drive into the computer you want to upgrade the BIOS of.
- Select the flash drive when prompted and then hit Enter.
- You will get a Command Prompt pop-up, which you need to follow to complete the process.
Hopefully, updating the BIOS will help.
5] Rebuild the MBR
MBR is a critical component that helps the system locate, and load the Operating System during the boot process. If the MBR is corrupted or damaged, the system may not be able to find or load Windows, resulting in boot failure. We are going to rebuild the MBR to restore proper boot functionality, and to do so, follow the steps mentioned below:
- Create a bootable Windows Installation media drive, and then plug it into the PC, and boot through it.
- On the installation screen, click on the Repair your computer option, and then navigate to the Troubleshoot tab.
- Click on Advanced options, and follow it by clicking on Command Prompt.
- Execute the following commands:
bootrec /fixmbr
bootrec /fixboot
bootrec /rebuilbcd
- After executing the command, unplug the USB device, and restart the device.
6] Replace the CMOS Battery
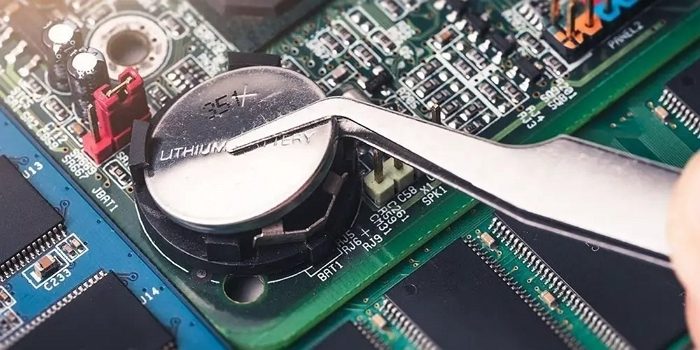
If the CMO battery, responsible for storing essential system settings including the date, time, and hardware configuration, is weak or dead, boot failures are guaranteed. In such cases, replacing the CMOS battery ensures that the BIOS retains its settings, further resolving the boot problems. For that, switch off the device, unplug the power source, and then open the PC case. Now, search the CMO battery on the motherboard, and cautiously, remove the battery, and replace it with the new one. Close the case, plug in the PC, and switch it on.
Hopefully, you will be able to resolve the issue using the solutions mentioned in this post.
Read: Fix Alert! TPM device is not detected error on Dell computers
How to fix UEFI boot problems in Windows 11?
Facing UEFI booting problems can be quite a hassle, however, we can fix it by ensuring that the BIOS/UEFI settings are configured correctly. If the settings are correct, users can also utilize the Windows Recovery Environment (WinRE) to access the Advanced Starting options.
Read: How to solve Disk Boot Failure, Insert System Disk error?
How do I fix a Boot failure on Windows?
To fix a boot failure on Windows 11/10, check and adjust BIOS settings, run the Startup Repair Tool for the WinRE, and use Command Prompt to rebuild the Boot configuration data.
Also Read: No boot disk has been detected or the disk has failed.
Leave a Reply