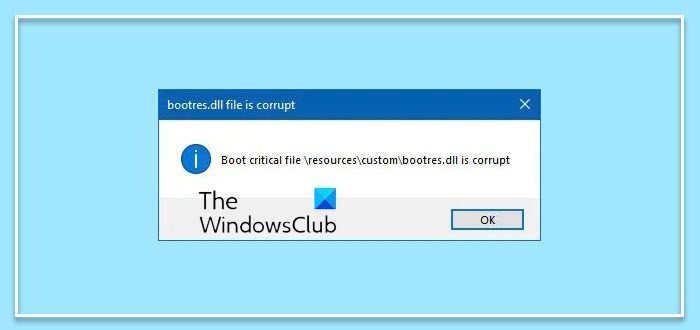
In this post, we will see what the bootres.dll file in the Windows OS is and where it is located. We will also see how to fix or replace a corrupt bootres.dll file that may prevent you from booting to your Windows desktop and throw up an error message – bootres.dll file is corrupt, Boot critical file \resources\custom\bootres.dll is corrupt. At times this error may even boot you to the Automatic Repair screen.

What is the bootres.dll file
Dynamic Link Libraries (DLLs) and are external parts of applications that run on Windows or any other operating systems. Most applications are not complete in themselves and store code in different files. If there is a need for the code, the related file is loaded into memory and used. If the OS or software is not able to find the concerned DLL file, or if the DLL file is corrupted, you could receive an error message.
The bootres.dll is a system-critical OS file of size 90 KB approximately located in the Windows folder. It is a part of the Boot Resource Library and plays an important part in ensuring that the computer boots correctly.
If it gets corrupted, the computer may fail to boot and you may receive an error message – bootres.dll is corrupt.
Fix bootres.dll file is corrupt error in Windows 11/10
If your bootres.dll is corrupt, here are a few things you could try to fix the problem.
If your computer is booting automatically to the Automatic Repair screen, you may click on that option to run Automatic Repair.

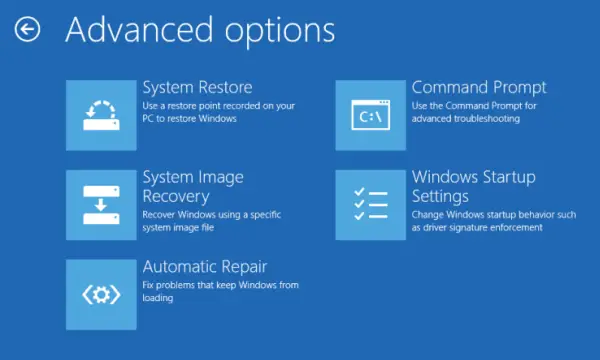
If it does not, then to access and run Automatic Repair manually, you need to boot into Advanced Startup options and when in Advanced Options, you can:
- Use System Restore
- Start Windows from an external device,
- Run Automatic Repair,
- Access the Command Prompt
- Use System Image Recovery to restore Windows from a Factory image.
If Automatic Repair fails, you may try a System Restore or use the Command Prompt to carry out some other steps mentioned below.
1] Run SFC scan
Run System File Checker in Safe Mode as it could give better results. This post shows how to boot Windows in Safe Mode.
The safest way to fix DLL file missing or corrupted errors thrown up by your Windows operating system would be to run the built-in System File Checker, which will replace missing or corrupted system files.
The scan may take 10 minutes, and once it completes successfully, you should restart your PC.
TIP: This post will help you if you receive a Windows resource protection found corrupt files but was unable to fix them error message while running the scan.
2] Run DISM scan
The next thing to do would be to Run DISM to repair the System Image. Again, in an elevated command prompt window, copy-paste the following command and hit Enter:
Dism /Online /Cleanup-Image /RestoreHealth
This checks for Windows component store corruption and restores good health. The scan may take around 15 minutes, and once it completes successfully, you should restart your PC.
TIP: This post will help you if DISM fails.
3] Repair MBR and rebuild BCD
Finally, you may try to Repair MBR and rebuild BCD and see. This is known to help in most cases where Automatic Repair couldn’t repair your PC.
4] Run ChkDsk
In an elevated CMD window, execute this command to run ChkDsk.
chkdsk c: /f /r
If this command fails, opt to run it at startup, and restart your system.
5] Reset or Repair Windows
If nothing helps, you may need to select the Reset This PC option from Advanced Options > Troubleshoot > Reset this PC, selecting Keep my files, or alternatively use the Repair my computer option.
All the best!
How do I fix Windows not booting?
If your Windows computer is not booting, you can try to boot into Safe Mode or to the Advanced Startup options screen. Once there you can use the CMD to troubleshoot or use the System Restore option to go back to a good state.