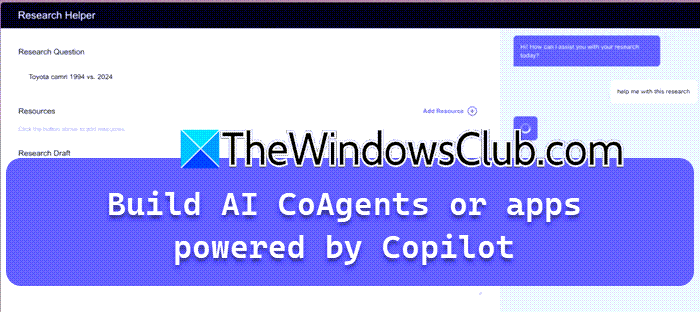
CoAgent offers a toolkit required to integrate LanGraph agents into React apps in order to build Agent-Native applications. In this post, we will talk about this tool and see how you can build AI CoAgents or apps powered by Copilot.

What is CoAgents?
As mentioned earlier, CoAgent is a toolkit that lets you to integrate AI agents into apps to create Agent-Native applications. Let us now talk about its features.
- CoAgents has a feature called Shared State, due to which, even a single line of code allows your application to fetch an insight of the agent, and the agent can fetch the insight application as they are synchronized and can interact in real time.
- It also gives you Realtime Frontend agents that can perform both frontend and backend actions as per the context provided by the user and the status of the application, as it is generative UI, these tool calls are automatically disseminated as per the requirement.
- Human-in-the-Loop allows seamless integration of human oversight and intervention into AI workflows, specifying breakpoints for input or approval to enhance safety and performance.
- We also have Stream Intermediate Agent State, that visualizes agent thought processes in real-time, providing transparency and engaging user experiences, crucial for agent performance and UX that meets user expectations.
- CoAgent’s Agentic Generative UI creates dynamic, AI-generated interfaces that adapt to user needs and agent outputs, providing visibility into the agent’s state and building trust.
If you like the features stated earlier, you might want to consider using CoAgents for your business, let us see how to do that.
Build AI CoAgents or apps powered by Copilot
Follow the steps below to build AI CoAgents or apps powered by Copilot.
- Install CopilotKit
- Configure Remote Backend Endpoint
- Add LangGraph agent
Let us talk about them in detail.
1] Install CopilotKit

Before we begin with CoAgents, we need to first install CopilotKit on your device. We are presumming that you have already installed Node.js and npm on your computer and have created a folder for React applications, however, the last part is optional for this step. CopilotKit uses an open source LLM model, in this tutorial we will be using OpenAI API key. Without further ado, let’s get started.
- Open Windows Terminal and go to the location where you have created the React app using cd (change directory) command.
cd C:\React\myapplication
- Now, run the following command.
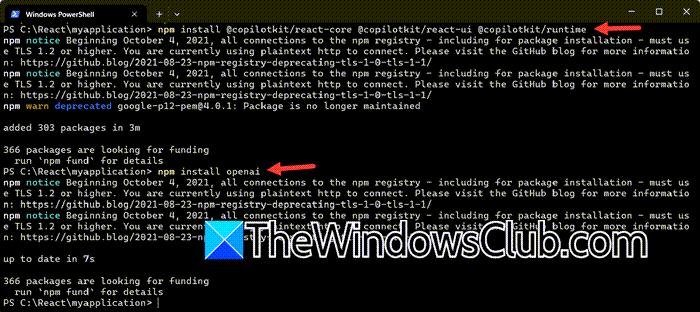
npm install @copilotkit/react-core @copilotkit/react-ui @copilotkit/runtime
- Then, execute the command mentioned below to install OpenAI.
npm install openai
- In your project, go to the .eve file, it will be located in the root, and add the following line.
OPENAI_API_KEY=your_api_key_here
After making changes to the file, we recommend you navigate to docs.copilot.ai/quickstart to know how to configure the End Point and configure CopilotKit provider in your project.
2] Configure Remote Backend Endpoint

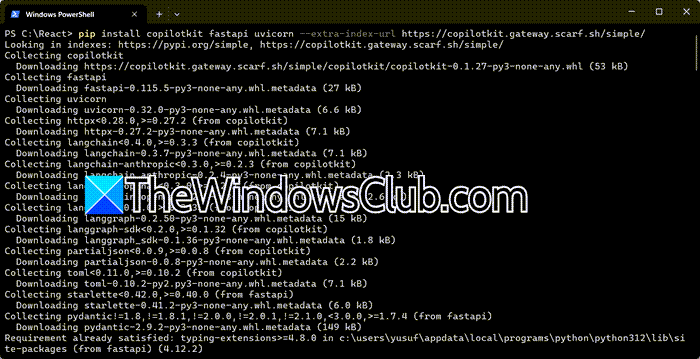
In order to integrate Python-based services (or any other Node.js alternative), we have to connect Copilot app to a Remote Backend endpoint. To do that, let us first install Copilot dependencies in Windows Terminal using the following query.
pip install copilotkit fastapi uvicorn --extra-index-url https://copilotkit.gateway.scarf.sh/simple/
Now, we need to setup FastAI server, to do that, run the commands mentioned below.
mkdir my_copilotkit_remote_endpoint
cd my_copilotkit_remote_endpoint
echo. > server.py
If the echo didn’t work, you can open the folder in Visual Studio Code, and then create server.py file.

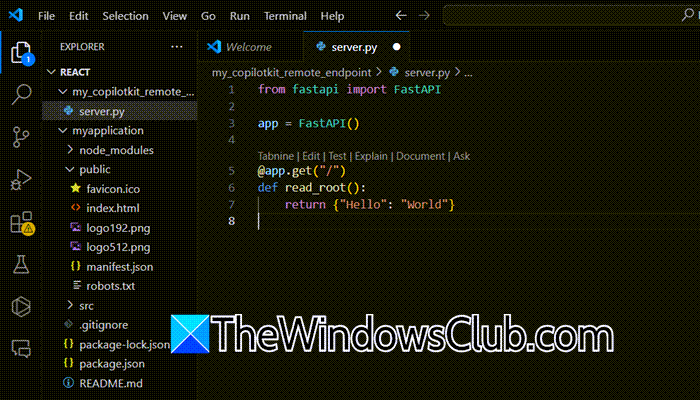
Open the server.py file in VSCode and then paste the following lines of code.
from fastapi import FastAPI

app = FastAPI()

@app.get("/")
def read_root():
return {"Hello": "World"}
Now, go back to Windows Terminal and install FastAPI and Uvicorn.
pip install fastapi uvicorn
Once you are done with that, go to docs.copilot.ai guides to learn more.
Read: Best free AI Extensions for Visual Studio Code
3] Add LangGraph agent
Next up, we need to integrate LangGraph agent to the server.py file. First, locate the CopilotKitSDK instance within your Python Remote Endpoint, usually found in server.py. Next, adjust the CopilotKitSDK instance (established in the preceding step) to accommodate LangGraph agents. You need to add the following lines of code.
agents=[
LangGraphAgent(
name="basic_agent",
description="Agent that answers questions about the weather",
graph=the_langraph_graph,
# copilotkit_config={ # if you use Google Gemini, uncomment this code (and import `copilotkit_messages_to_langchain`, see above)
# "convert_messages": copilotkit_messages_to_langchain(use_function_call=True)
# }
)
],
This should be enclosed under CopilotKitSDK tag.
To know more, we recommend you follow the guide mentioned in docs.copilotkit.ai/coagents.
Related read: How to create Copilot agents using Microsoft AI
How do I build my own Copilot?
To create a new copilot, go to the Copilot Studio home page (at /copilotstudio.microsoft.com) and select Create in the left navigation, then choose the Copilots page. Alternatively, you can select + New copilot on the Copilots page. Use the chat to describe your copilot, guided by the provided questions, or select Skip to configure and fill out the form. Finally, select “Create” to complete the process.
Read: Best AI tools for Developers
Can Copilot generate code?
Yes, Copilot can generate code. However, it can not be perfect; there can be multiple glitches and bugs. Therefore, one should not integrate the code provided by any AI chatbot without thorough manual inspections. You can use Microsoft’s Copilot in Edge, the built-in app or use GitHub Copilot in Visual Studio using extension.
Also Read: Use Copilot to Refractor Code.