In this article, we will see what you can do if your computer can’t connect to 5GHz WiFi on Windows 11/10. The 5 GHz WiFi band has a higher speed than the 2.4 GHz WiFi band. That’s why users want to connect to the 5 GHz WiFi band (if their devices support this WiFi band). According to the users, when they connect their computers to a 5 GHz WiFi band, Windows shows them the following error message:
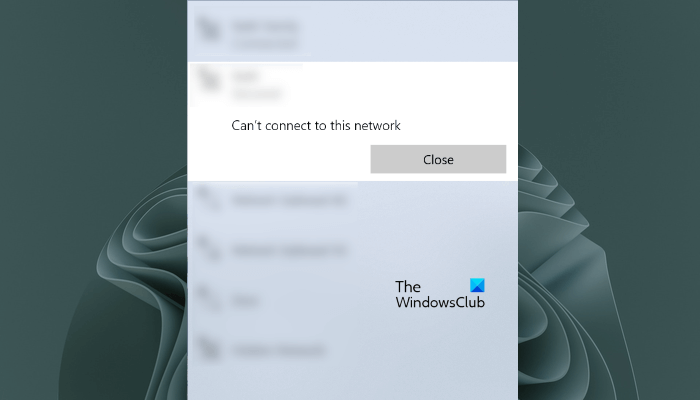
Can’t connect to this network.
They do not face any issues while connecting their computers to the 2.4 GHz WiFi band. If you are in such a situation, follow the suggestions provided in this article.
Can’t Connect to 5GHz WiFi on Windows 11/10
If you can’t connect to 5 GHz WiFi on Windows 11/10 but the 2.4 GHz WiFi band works fine on your system, use the solutions provided below.
- Make sure that you are using the correct password
- Power Cycle your router
- Remove your WiFi network
- Enable IPv6
- Update your Wi-Fi Adapter
- Install another version of your WiFi driver
- Set your preferred WiFi band to 5GHz
- Reset your network
- Use a Dual Band USB WiFi Dongle (if you have it)
- Perform an In-place Upgrade
Let’s see all these fixes in detail.
1] Make sure that you are using the correct password
Make sure that you are entering the right password to connect to the 5 GHz WiFi band. In dual-band WiFi routers, we can set different passwords for 2.4 GHz and 5 GHz WiFi bands. It is possible that you are entering the wrong password. The easiest way to check this is to connect another 5G device, like a 5G Smartphone to the 5 GHz WiFi band. If you cannot connect your smartphone to 5 GHz WiFi, the password you are using is wrong.
Read: How to switch between 2.4 GHz and 5 GHz Wi-Fi bands in Windows
2] Power Cycle your router
The next thing that you can try is to power cycle your router. Follow the steps provided below:
- Turn off your router.
- Unplug the cable from the wall socket.
- Wait for 5 to 10 minutes.
- Plug the cable into the wall socket and turn on the router.
Now, check if the issue persists.
3] Remove your WiFi network
If your computer connects to the 2.4 GHz WiFi band, that WiFi network is added to your known networks list. Remove it from the list and then connect to the 5 GHz WiFi band. See if it helps.
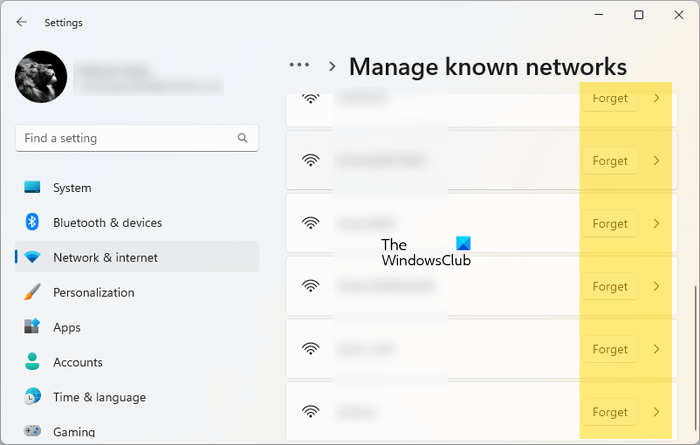
- Open Settings on your computer.
- Go to Network & internet > Wi-Fi.
- Click Manage known networks.
- Find your network in the list and click Forget.
- Now connect to the 5 GHz WiFi band.
4] Enable IPv6
If IPv6 is disabled on your system, you may experience issues while connecting to the 5 GHz WiFi band. Go through the following instructions:
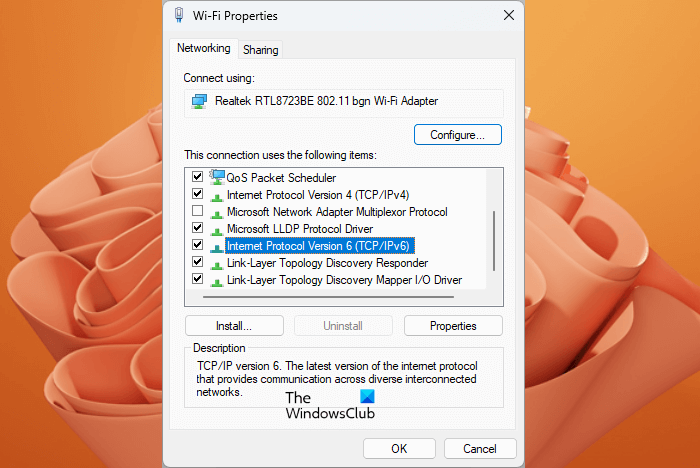
- Open the Control Panel.
- Select Category in the View by mode.
- Go to Network and Internet > Network and Sharing Center.
- Click on your WiFi network. A new window will open in which you have to click Properties. This will open the Wi-Fi Properties window.
- Now, select the Internet Protocol Version 6 (TCP/IPv6) checkbox.
- Click OK to save the changes.
Now, check if you can connect to the 5 GHz WiFi band or not.
5] Update your Wi-Fi Adapter
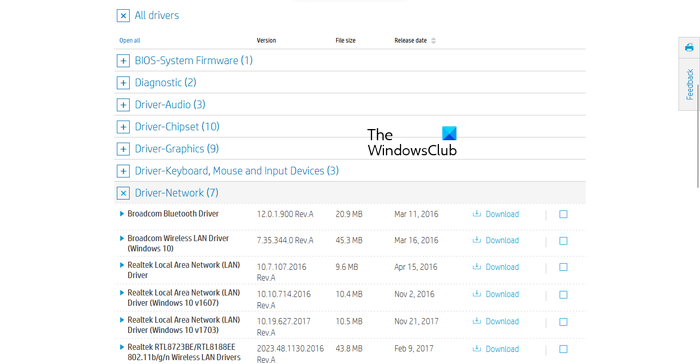
If you are still not able to connect your system to the 5 GHz WiFi band, the problem may be associated with your Network driver. We suggest you update your Network driver and see if it helps. First, visit your computer manufacturer’s official website and download the latest version of your Wi-Fi Adapter from there. Now, open the Device Manager and uninstall your Wi-Fi Adapter from there. After uninstalling the Wi-Fi Adapter, restart your computer and then run the installer file to reinstall the Network adapter.
6] Install another version of your WiFi driver
If updating the Wi-Fi Adapter did not fix the issue, install another version of the Wi-Fi Adapter available on your system. The following instructions will guide you on this:
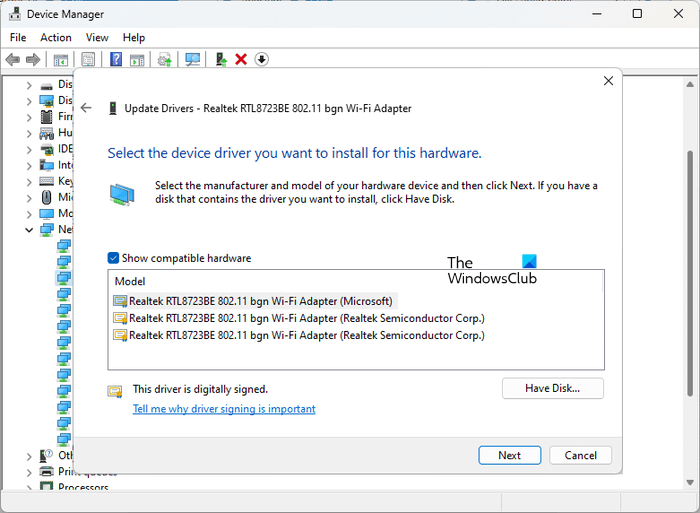
- Open the Device Manager.
- Expand the Network adapters branch.
- Right-click on your Wi-Fi Adapter driver and select Update driver.
- Select Browse my computer for drivers.
- Now, select Let me pick from a list of available drivers on my computer.
- Make sure that the Show compatible hardware checkbox is selected.
- Now, install all the available Wi-Fi drivers one by one.
7] Set your preferred WiFi band to 5 GHz
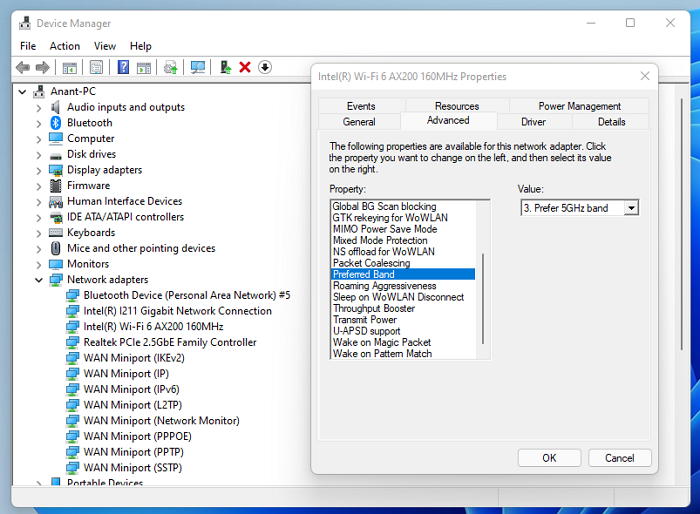
You can force your computer to connect to the 5 GHz WiFi signal by setting it as the preferred WiFI band.
8] Reset your network
If the problem still persists, reset your network. This action will reinstall the Network Adapters and set the networking components to the default. Network Reset is helpful if you are experiencing issues with the internet connection on your system.
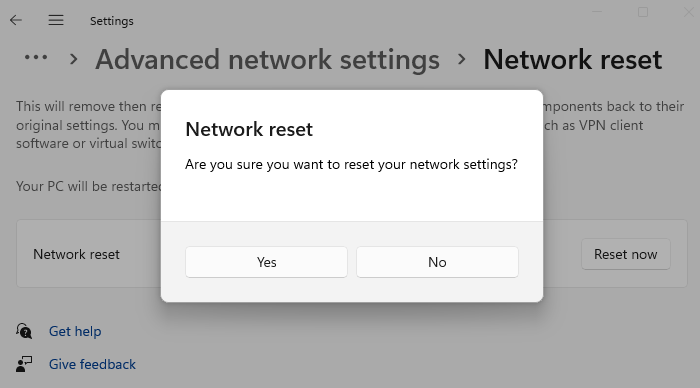
This process will take 5 minutes. Hence, save your work within 5 minutes or perform Network Reset after saving your work. After 5 minutes, your computer will restart automatically. Windows will show you a message before restarting your device.
9] Use a Dual Band USB WiFi Dongle (if you have it)
You can also use a Dual Band WiFi Dongle to connect your computer to a 5 GHz WiFi network. If the dongle is available, connect it to your computer.
10] Perform an In-place Upgrade
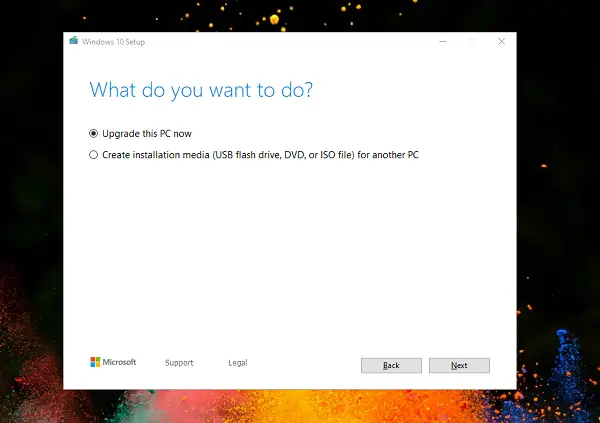
If the problem is not resolved despite trying all the above solutions, there might be some damaged files on your system that need to be repaired. Perform an In-place Upgrade to repair Windows OS. An in-place Upgrade does not uninstall your current Windows OS, so there is no risk of data loss during this process. However, from a safety point of view, we suggest you back up all your files.
Read: How to fix WiFi problems in Windows.
Why is my PC not connecting to 5GHz WiFi?
If your PC is not connecting to 5 GHz WiFi, maybe your PC’s WiFi card does not support the band. If it supports the band but is not connecting to it, the problem may be associated with your WiFi Adapter – or you may be entering the wrong password for the 5 GHz WiFI band.
Does 802.11 b support 5GHz?
No, 802.11 b does not support the 5 GHz WiFi band. It supports only the 2.4 GHz WiFi band. You can also use the Command Prompt to check whether your computer supports the 5 GHz or 2.4 GHz WiFi signals.
Read next: How to replace damaged WiFi adapter in laptop.
Leave a Reply