At times, you may not always be able to turn on or off Real-time protection in Windows Defender on Windows 11. There could be many reasons for this error, so we have consolidated some of the common reasons along with the respective solutions to troubleshoot the issue here.
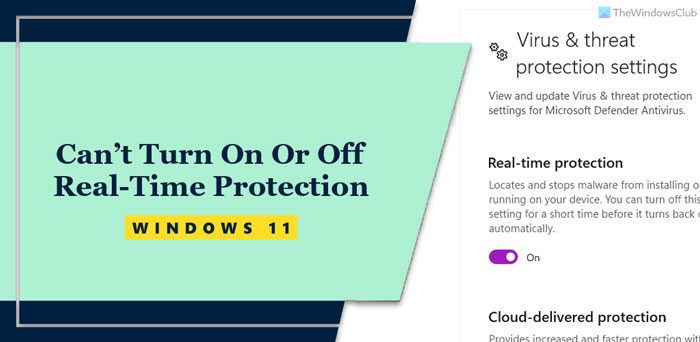
In case you don’t know, Real-time protection is an integral part of Windows Security, which protects your computer from various malware, viruses, etc., in real-time and automatically deletes or quarantines malware that it detects. It is possible to enable or disable it from the Virus & threat protection panel in Windows Security. However, you may sometimes find that you can’t turn on or off Real-time protection.
Can’t Turn On or Off Real-Time Protection on Windows 11
If you can’t turn on or off Real-time protection in Windows Defender on Windows 11, follow these solutions:
- Disable third-party security software
- Verify Group Policy setting
- Check Registry value
- Use System File Checker
- Use Terminal to turn Protection on or off
- Reset Windows Defender to default settings.
To learn more about these solutions, continue reading.
1] Disable third-party security software
The built-in security software doesn’t work natively when you have installed and enabled a third-party antivirus. Some third-party antivirus allow users to enable or disable certain functionalities of Windows Security. If that is the case, you need to disable the third-party antivirus temporarily to check if it resolves the issue or not.
2] Verify Group Policy setting
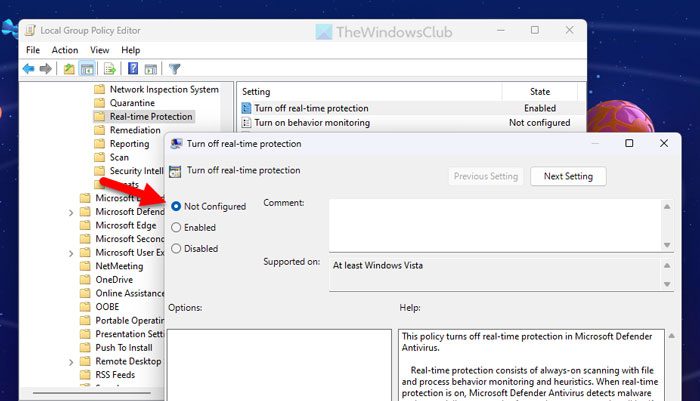
Real-time protection can be enabled or disabled via the Local Group Policy Editor. If you used it earlier to turn it on or off, you need to reverse that change in order to have the option to do the same via Windows Security. To verify the Group Policy setting, follow these steps:
- Press Win+R to open the Run prompt.
- Type gpedit.msc and click the OK button.
- Navigate to this path: Administrative Templates > Windows Components > Microsoft Defender Antivirus > Real-time protection
- Find the Turn off real-time protection setting.
- If the State is set as Enabled or Disabled, double-click on it.
- Choose the Not Configured option.
- Click the OK button.
Finally, restart your computer.
3] Check Registry value
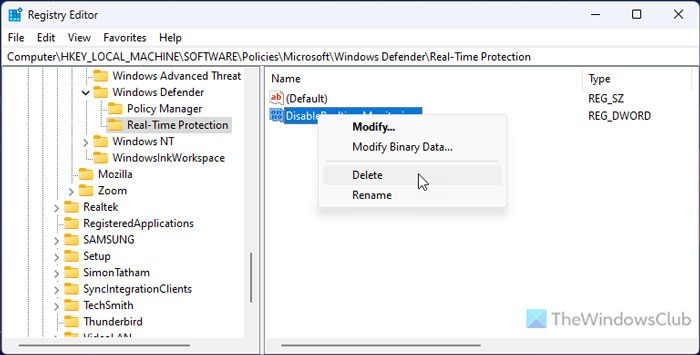
Like GPEDIT, it is possible to enable or disable this setting using Registry Editor as well. Having said that, it is required to modify the Registry value or tweak it in such a way that allows you to have the default option in Windows Security to turn on or off Real-time protection. Therefore, follow these steps to check the Registry value:
Open Registry Editor on your computer.
Navigate to this path:
HKEY_LOCAL_MACHINE\SOFTWARE\Policies\Microsoft\Windows Defender\Real-Time Protection
Right-click on DisableRealtimeMonitoring REG_DWORD value.
Select the Delete option.
Click the Yes button.
Restart your computer.
However, if you cannot find the path, it implies that you haven’t changed anything using Registry Editor. In that case, you do not need to do anything else.
4] Use System File Checker
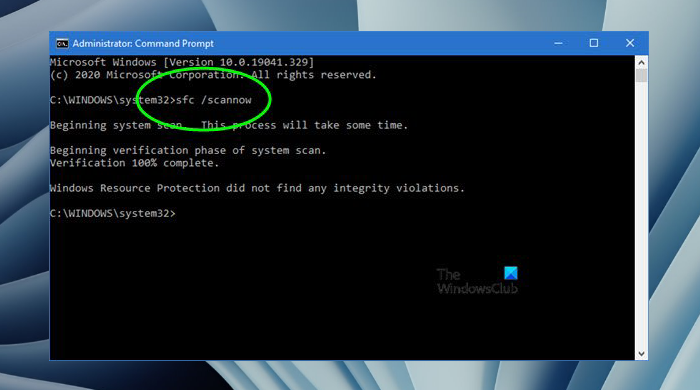
If this problem occurs due to a corrupt system file, it is possible to resolve the issue by running the System File Checker or performing an SFC scan.
5] Use Terminal to turn Protection on or off
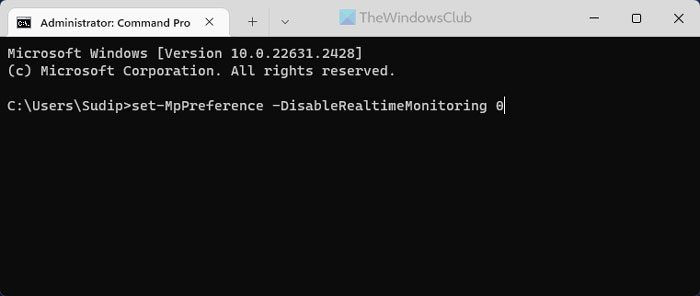
It is probably the last option you can use if you need to enable or disable it quickly. As it overwrites all the existing settings, you can use the Terminal to get the job done in a moment.
To get started, open Windows Terminal as administrator first.
To turn on Real-time protection, enter this command:
set-MpPreference -DisableRealtimeMonitoring 0
To turn off Real-time protection, enter this command:
set-MpPreference -DisableRealtimeMonitoring 1
I hope this works for you.
6] Reset Windows Defender to default settings
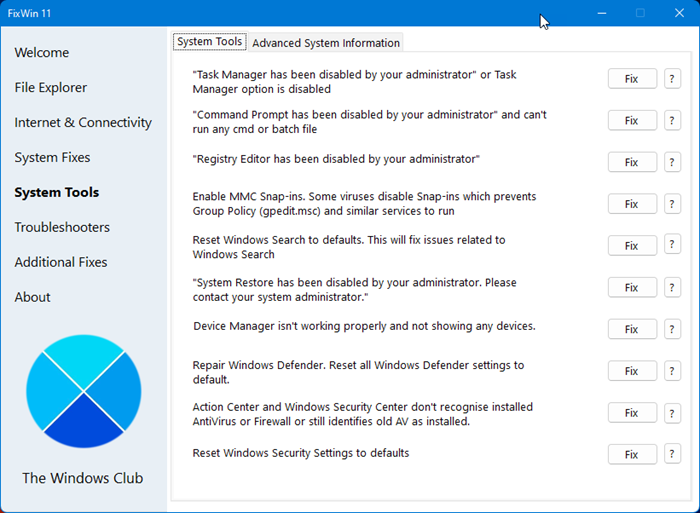
You can use our freeware FixWin to reset Windows Defender to default settings. See if this helps.
That’s all.
Read: Cannot turn on Windows Defender
Why can’t I turn off real-time protection on Windows 11?
The most common reason why you can’t turn off or on Real-time protection on Windows 11 is because you already have a third-party antivirus installed on your computer. If that’s not the reason, you might want to check the Local Group Policy Editor setting that can force-enable/disable Real-time protection. On the other hand, the same thing can be done with Registry value as well.
How do I force shut off Real-time protection on Windows 11?
To force shut off Real-time protection on Windows 11, you need to use the Local Group Policy Editor. Open it and navigate to Real-time protection in Computer Configuration. Double-click on the Turn off real-time protection and select the Enabled option. Click the OK button and restart your computer.