This post will show you how to change Boot defaults when dual-booting using Advanced Startup Options in Windows 11/10.
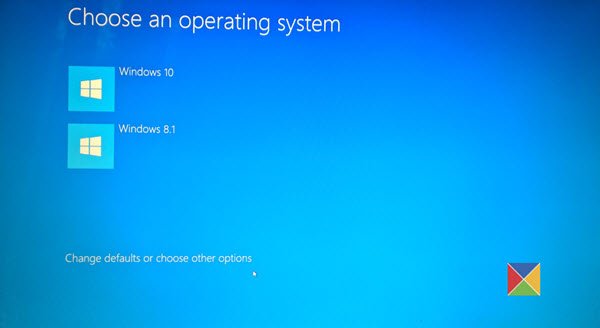
When you dual-boot Windows 11/10 with an earlier version of Windows like Windows 8.1 or Windows 7, before you log in, you will see the following screen offering you the available operating systems. You can choose the operating system you wish to boot in, or by default, you will be booted into the default operating system after 10 seconds.
Change Windows Boot default settings
How to change default operating system in Windows 11/10
If you wish to change some of your default boot and login options and settings, you may click on the Change defaults or choose other options link, which you will see towards the bottom.
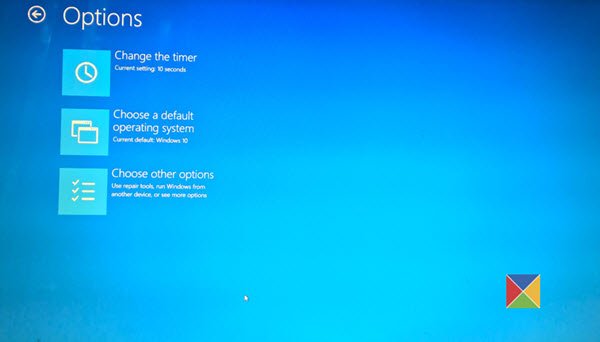
Once you do this, you will see the following Options screen. Here you can change the Timer settings, set the default operating system to boot into, and set other options too.
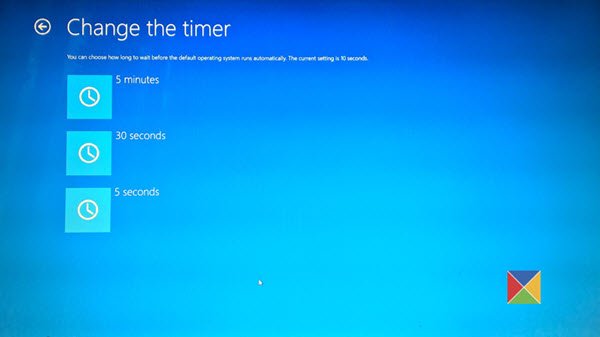
1] Clicking on Change the timer will bring you to the following screen, where you can set the boot timer to 5 seconds, 30 seconds, or 5 minutes. This is the time you have to wait before the default OS is automatically loaded. The default setting here is 10 seconds.
2] Clicking on Choose a default operating system will let you set the operating system you want to automatically load, after waiting for the set amount of time.
Here you can set the default operating system for your PC to boot into.
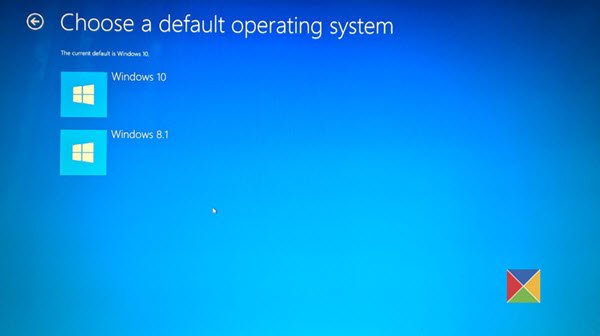
The setting in my case is Windows 10.
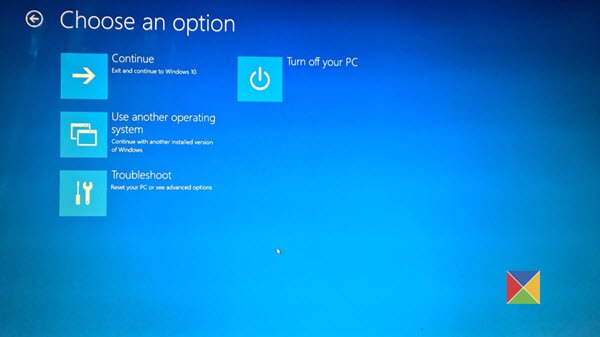
3] Clicking on Choose an option will present you with the following options.
- You can click on Continue and exit to your default OS
- You can use another installed operating system
- You can troubleshoot your PC by opening Advanced Options
- Or you can Turn Off your PC.
That’s it.
We hope the post helps you change the default operating system on your computer.
See: How to change Boot Menu Timeout in Windows
Related reads: