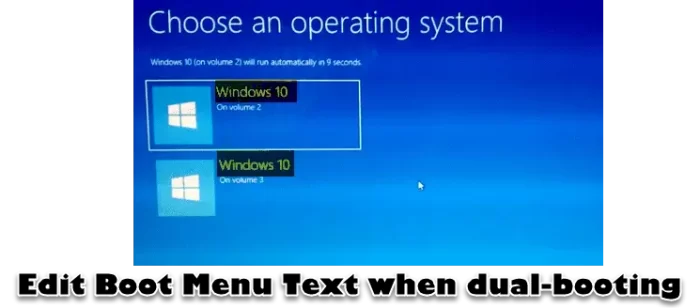
The boot loader has been moved from boot.ini to a utility called BCDEdit or Boot Configuration Data Editor Tool in Windows 11/10. In this post, we will see how to modify, change, or edit the Boot Menu Text in Windows 11/10.

If you set up a dual-boot system using, say, Windows 11 Home, and say Windows 11 Pro, the boot menu text will be the same for each: viz Microsoft Windows 11.
Edit Boot Menu Text when dual-booting same version of Windows
You will, therefore, be unable to tell which is which, since by default, the setup will add the generic entry: “Microsoft Windows 11” for each installation of Windows 11, irrespective of the version.
So, to make the boot menu text more clear, you can take the following steps:
Start your machine, on which you have installed the two versions of Windows Windows 11.
Choose either of the two entries from the boot menu.
Related: Rename or change OS name in Windows Boot Manager.
After the computer startup is completed, make a note of which installation is running.
Let us say you chose the first option, and the installation you found running to be was Windows 11 Home.
Then type “cmd” in Windows 11 Start Menu Search Box and hit Ctrl+Shift+Enter to open an elevated Command Prompt window. Click OK to the UAC prompt.
Now type the following:
bcdedit /set description “Windows 11 Home”
Do include the quotation marks.
Hit Enter.
Restart your computer and you will see that the menu description you entered now appears.
Now select the other menu option and repeat the same procedure as mentioned above using the text instead, now, as “Windows 11 Pro”.
Hit Enter.
Reboot.