The height of rows and the width of columns in Excel are usually automatic, but you can change the row’s height and column width manually. The row height in spreadsheets increases and decreases according to the data’s size entered into the rows; Excel will automatically increase and decrease the rows. Setting the rows’ height is used for specific reasons, such as a cell with an orientation text.
Change Row Height and Column Width in Excel
In this tutorial, we will explain how to:
- Change the height of a row.
- Change the width of a column.
What are Rows and Columns in Excel?
- Rows: On the Excel Spreadsheet, rows run horizontally. The rows are identified by row numbers which run vertically on the left side of the spreadsheet.
- Columns: On the Excel spreadsheet, columns run vertically and are identified by alphabetical column headers that run horizontally on the spreadsheet’s top.
1] Change the Height of a row
There are two options to change the height of a row.
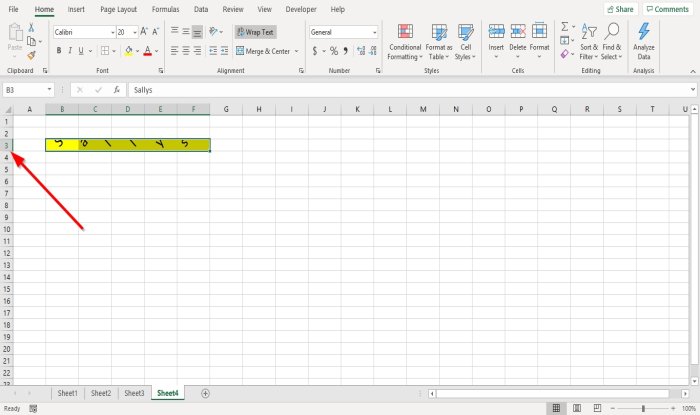
Option one is to go to where row number three is, place the cursor on the bottom border of the number three-row, hold and drag the cursor down.
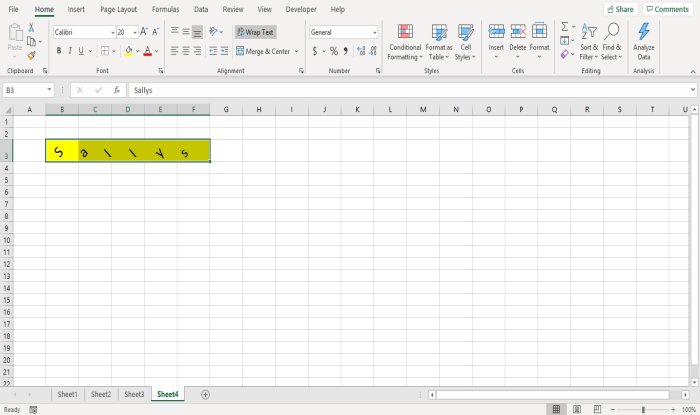
You will see the result.
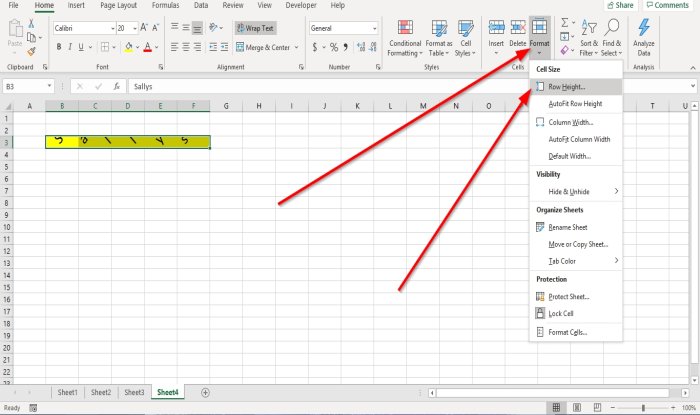
Option two is to click row three.
Then go to the Home tab in the Cells group and click Format.
In the drop-down list, select Row Height

A Row Height dialog box will appear.
Inside the dialog box, place the number of height you want the row to be, then click OK.
2] Change the Width of a column
There are two methods to change the width of the column.
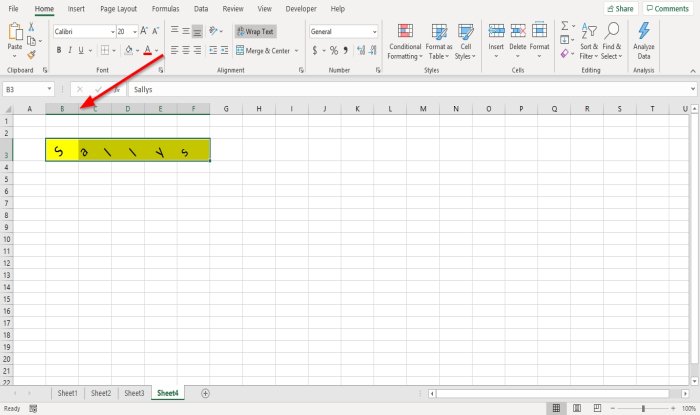
Method one is to go to the right border of column B.
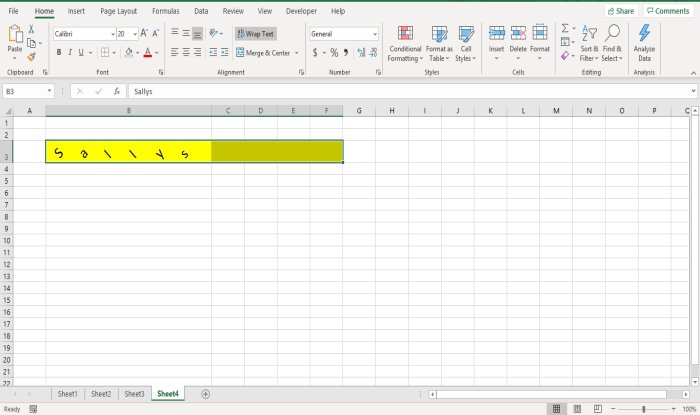
Drag the right border of column B, and you will notice that the column width gets wider.
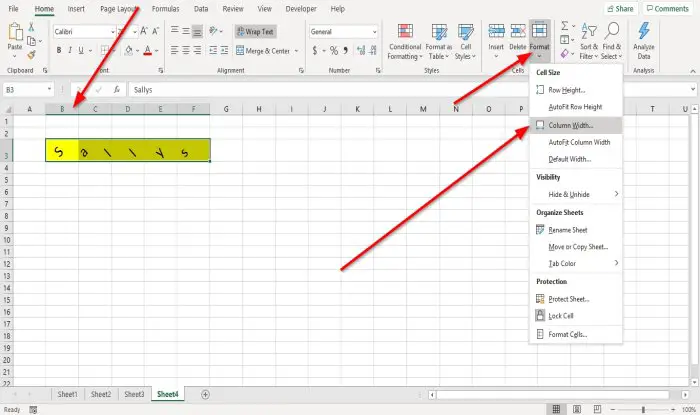
Method two is to click column B.
Then go to the Home tab in the Cells group and click Format.
In the drop-down list, select Column Width.
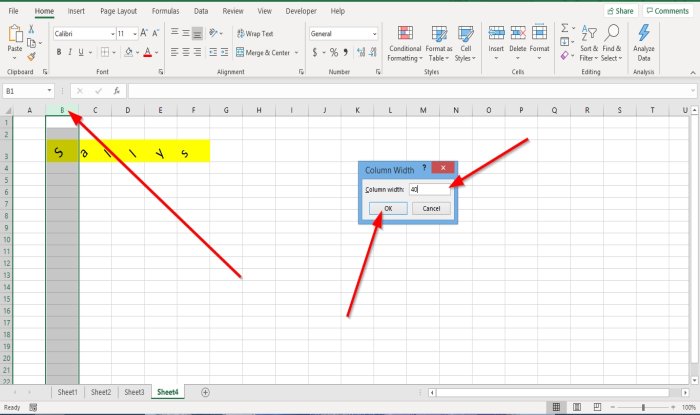
A Column Width dialog box will appear; enter the width number you want the column to be and click OK.
I hope this helps; if you have questions, please comment below.
Read next: How to add or remove Borders to Cells in Excel.
Leave a Reply