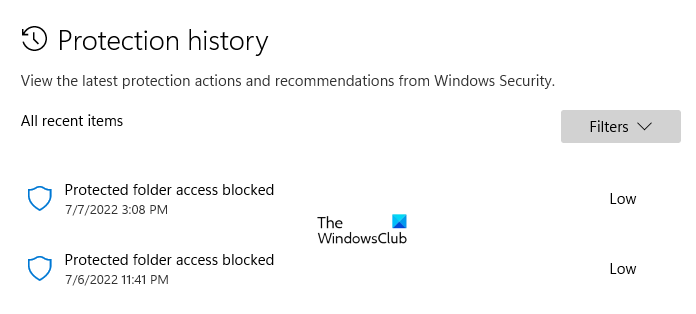
Windows Security is a free virus and threat protection tool from Microsoft. It is available on all Windows 11/10 computers. The features that Windows Security offers include virus and threat protection, account protection, Firewall and network protection, etc. All the actions taken by Windows Security to protect your devices remain available on the Protection history page for a definite time. After this time, Windows automatically clears the protection history. If you want Windows Security to retain the protection history for a long time, you can change the default time settings. In this article, we will see how to change the time to clear Windows Security Protection History.

What is the Protection History in Windows Security?
Windows Defender is an antivirus developed by Microsoft. From time to time, it runs security checks on your system. You can also scan your system manually by using Windows Defender. The threats found by Windows Defender and the actions taken by it to resolve the threats are saved on the Protection History page of Windows Security.
Change Time to Clear Windows Security Protection History
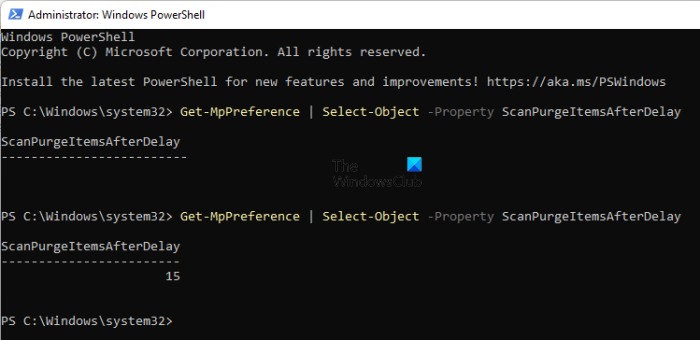
The default time to clear Windows Security Protection History is 15 days. This means that the protection history of Windows Security will be cleared automatically after 15 days. You can view this default time on your computer by running a command in an elevated Windows PowerShell.
Go through the following instructions to view the time to clear Windows Security Protection History.
- Click on Windows Search.
- Type PowerShell.
- Right-click on Windows PowerShell and select Run as Administrator.
- Click Yes in the UAC prompt.
- When the PowerShell (Admin) appears on your screen, copy the command written below, paste it into the PowerShell, and hit Enter.
Get-MpPreference | Select-Object -Property ScanPurgeItemsAfterDelay

You will see the time to clear Windows Security Protection History after the ScanPurgeItemsAfterDelay in the result. Do note that, there should be no space after the command, otherwise, you will get a blank result (see the above screenshot).
Close Windows PowerShell (Admin) and launch it again as an administrator. Copy the following command and paste it into the Windows PowerShell (Admin). After that, hit Enter.
Set-MpPreference -ScanPurgeItemsAfterDelay days

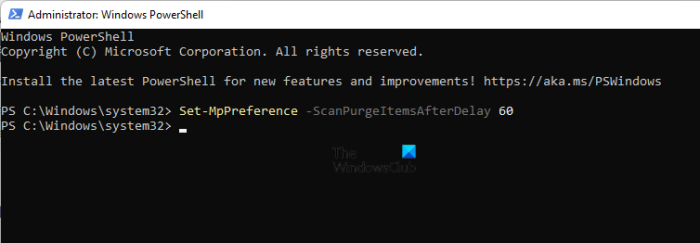
In the above command, replace days with the number of days after which you want Windows to clear the protection history of Windows Security automatically. For example, if you want to clear the protection history of Windows Security automatically after 60 days, type 60 in place of days in the above command. In this case, the command will be:
Set-MpPreference -ScanPurgeItemsAfterDelay 60
If you want Windows to not clear the protection history automatically, type 0 in place of days in the above command. Hence, in this case, the command will be:
Set-MpPreference -ScanPurgeItemsAfterDelay 0

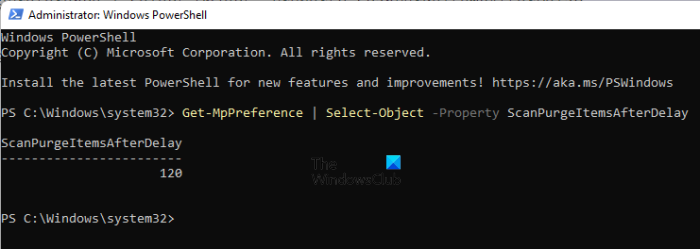
That’s it. You have successfully changed the time to clear the protection history of Windows Security. You can check this by executing the command used to view the time to clear protection history. I changed the time to clear the protection history of Windows Security on my computer to 120 days. You can view this in the above screenshot.
Read: How to Enable or Disable Core Isolation and Memory Integrity in Windows.
How do I delete my Protected History in Windows?
You can delete the Protection History of Windows Security manually. Windows saves the protection history in the History folder locally on your C drive. You can view it by navigating to the following path:
C:\ProgramData\Microsoft\Windows Defender\Scans\History
Here, you can manually clear the protection history of Windows Security. Alternatively, you can also execute a command in Windows PowerShell for the same.
Hope this helps.
Read next: How to read Windows Defender Event Log.
Leave a Reply