Microsoft has made the implementation of the User Account Control settings much friendlier on Windows 11/10. After getting feedback that in Windows Vista, that the User Account Control or UAC prompt would often irritate users, due to its frequent appearance, Microsoft reduced the appearance of the UAC prompts and further polished and improved upon the UAC user experience.
User Account Control (UAC) in Windows 11/10
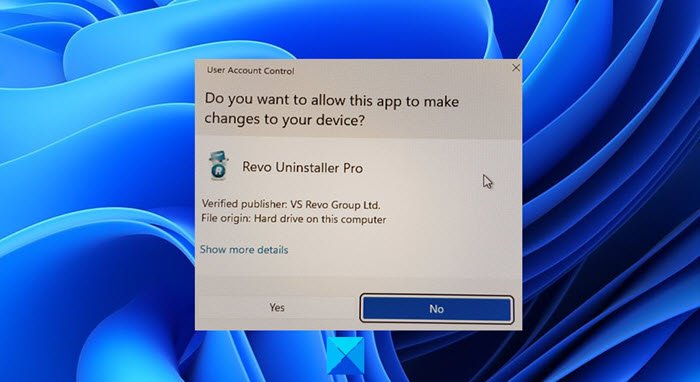
Do you want to allow this app to make changes message?
The User Account Control basically notifies you before changes are made to your PC – not all changes, but only those which require Administrator level permissions. These changes could have been initiated by the user, by the operation system, by genuine software – or even malware! Every time such an administrator-level change is initiated, Windows UAC will prompt the user for approval or denial. If the user approves the change, the change is made; in not, no changes are made to the system. Till such a time that the UAC appears, the screen may go dark.
Broadly speaking, the following are some of the actions which may trigger a UAC prompt:
- Install or Uninstall of applications
- Changing Firewall settings
- Installing Drivers & ActiveX controls
- Installing/Configuring Windows Update
- Adding/Removing/Changing user accounts/types
- Accessing, Viewing or Changing another User’s files & folders
- Configuring Parental Controls
- Running the Task Scheduler
- Restoring backup system files
- And even while changing UAC settings
Its default settings are:
Notify me only when apps try to make changes to my computer
Whenever the UAC Consent Prompt appears and asks for your permission, you may have noticed that it darkens the screen and temporarily turns off the Aero interface – and it appears without the transparency. This is called Secure Desktop and is a security feature in Windows. The credential prompt is presented when a standard user attempts to perform a task that requires a user’s administrative access token.
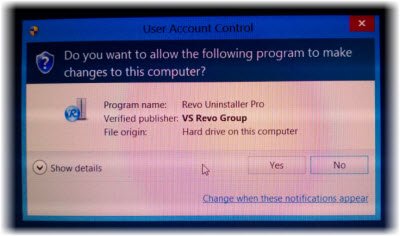
The UAC elevation prompts are color-coded to be application-specific, enabling for immediate identification of an application’s potential security risk.
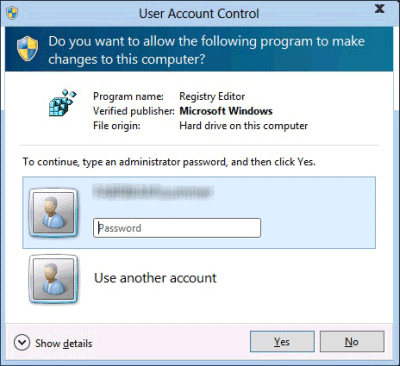
Read: UAC Yes button missing or grayed out.
Change User Account Control (UAC) settings
If you wish, you can change User Account Control settings in Windows 8. You can change its behavior and decide how often or when all, the UAC should notify you.
To do so, open Control Panel and select User Accounts.
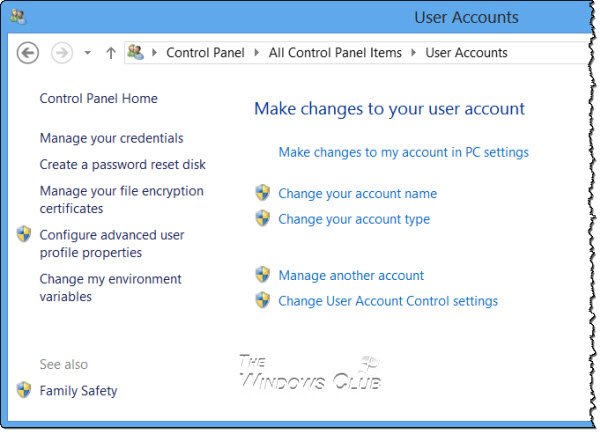
Click on Change User Account Control settings. The settings box will open.
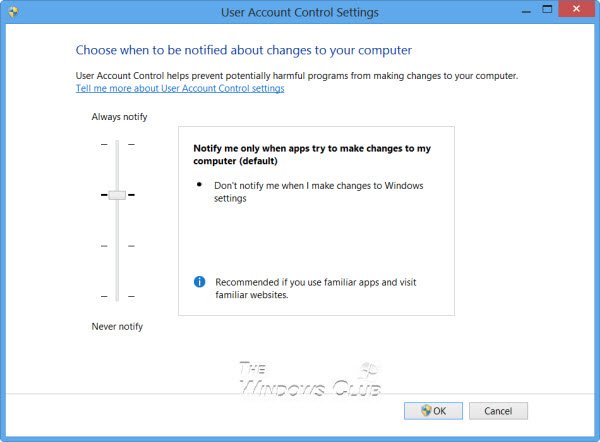
Use the vertical slider to change the settings. The changes you make will impact your security settings, so while its best to leave the User Account Control settings at its default, you should be aware of how the changes in the UAC setting will impact your Windows PC’s security.
| Setting | Description | Security impact |
|---|---|---|
| Always notify me |
|
|
| Notify me only when apps try to make changes to my computer (default) |
|
|
| Notify me only when apps try to make changes to my computer (don’t dim my desktop) |
|
|
| Never notify me |
|
|
If you are using an accessibility device, such as a screen reader, Microsoft recommends that you choose either the Always notify or the Default – Notify me only when programs try to make changes to my computer UAC setting, since Assistive technologies work best with these two settings.
Read: How to turn off or disable Secure Desktop in Windows.
How to Disable UAC in Windows 11?
As discussed, to disable UAC in Windows 11/1o, open Control Panel > User Accounts > Click on Change User Account Control settings > Move the vertical slider to never Prompt. You can also use the Registry to do this.
To do so, open regedit and navigate to the following key:
HKEY_LOCAL_MACHINE\Software\Microsoft\Windows\CurrentVersion\Policies\System
Change the value of EnableLUA key, from its default 1 to Value data 0. This will disable the UAC.
You can read more about all the UAC Group Policy Settings and Registry Key Settings here at TechNet.
Read: How to turn off or disable Secure Desktop in Windows
How to disable UAC prompt for a single application?
While you should not disable the UAC prompts for the whole computer, you may want to disable it for certain applications. Using the Microsoft Application Compatibility Toolkit and following the steps below, you can disable the UAC prompts for one or more specific applications that you trust. This will NOT disable the User Account Control feature for the whole computer.
- Create a system restore point first.
- Download and install the Microsoft Application Compatibility Toolkit 5.0.
- In the Start menu, locate the new folder. Find the shortcut icon for Compatibility Administrator. Right-click it and click Run as administrator.
- In the left-hand pane, right-click on the database under Custom Databases and select Create New, and select Application Fix.
- Enter the name and other details of the application you want to alter behavior on and then browse to it to select it. Click Next.
- Click Next until you are in the Compatibility Fixes screen.
- On the Compatibility Fixes screen, find the item RunAsInvoker, and check it.
- Click Next and then Finish.
- Select File and Save As. Save the file as a filename.SDB type file in a directory you will easily find it.
- Copy the <filename>.sdb file to the Vista computer you want to alter the elevation prompt behavior on.
- Open a Command Prompt as administrator.
- Run the command: sdbinst <path>\<filename>.sdb
- For example, if you saved the .SDB file as abc.sdb in the c:\Windows folder, the command should be like this: sdbinst c:\windows\abc.sdb
- It should prompt: Installation of <name> complete.
Have a great day!
Check this if you cannot change User Account Control (UAC) settings.
Do you know that the dialog “User Account Control Settings” looks different if you logged in as administrator or non administrator ? As an administrator the default is the third switch and as non administrator the default switsch is on the top in this dialog. Is this an error ?
You are an ACE, man!
It worked! :))
Doesn’t work for me, still getting the UAC prompt.