In case the battery icon in the system tray disappears due to a glitch, one can use Command Prompt or Windows PowerShell to check the battery levels of their computer. In this guide, we will see how you can check the battery level using the Command line in Windows 11/10.
Check Battery level using command line

As you may already know, by default, Windows 11/10 contains Command Prompt and PowerShell. We can use either of them to check the battery level. To do the same, you need to launch Command Prompt and then run the following command.
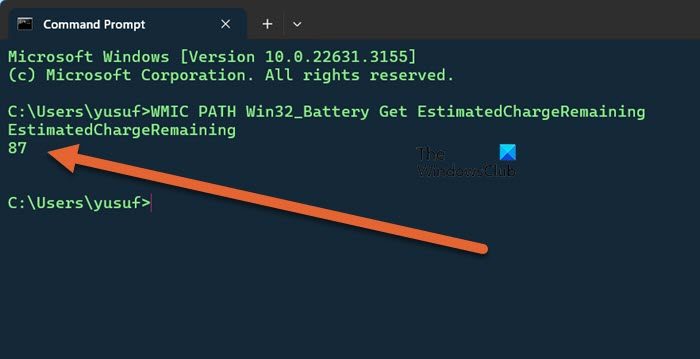
WMIC PATH Win32_Battery Get EstimatedChargeRemaining
The output for that command would look something like this:
EstimatedCharge
Remaining <Battery percentage left>
You can see the estimated battery charge remaining.
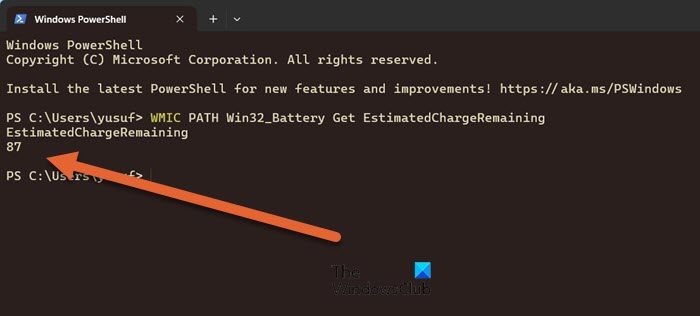
You can also use PowerShell to run the same command.

The result will be the same!
I hope you found this small tip useful.
Read: Laptop Battery drains after shutdown
How to check battery on Windows 11 using CMD?
You can use the WMIC command mentioned earlier to get the battery percentage, but if you need to check the health of your battery, you need to use PowerCFG. In this article, we will learn how to use PowerCGF to find out the health of your laptop battery.
Read: Best Laptop Battery Test software & Diagnostic tools
How do I analyze battery usage in Windows 11?
You can analyze battery usage from Windows 11’s Settings. Just open Settings using Win + I, go to System, and then Power & Battery. Next, click on Battery Usage. You will see all the apps using your battery and the amount they are using.
Also Read: Fix Wrong Battery Percentage in Windows laptop.
Leave a Reply