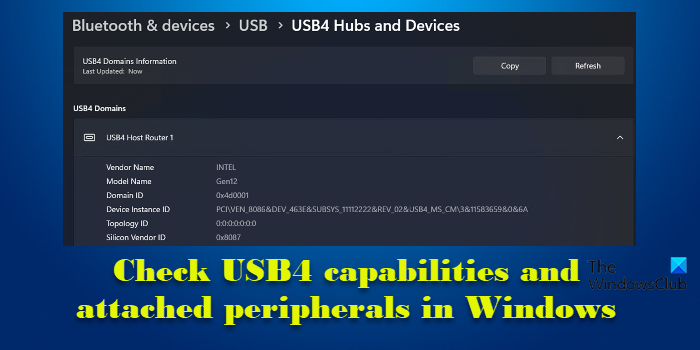
This post explains how to check USB4 capabilities and attached peripherals in Windows 11. USB4 is the latest version of the USB connector technology that offers significantly faster data transfer speeds (up to 80Gbps) and ‘tunneling’ of PCle and display ports to external devices for increased data throughput. It operates using existing USB Type-C cables and maintains compatibility with all previous USB versions, including USB 3.2 and USB 2.0.

Does Windows 11 support USB4?
Starting with Windows 11 builds 22621.3235 and 22631.3235, Microsoft is adding support for USB4 80Gbps (also known as USB4 2.0) and a dedicated USB4 Settings page to USB4-capable systems. Users can refer to this page to find information about their system’s USB4 capabilities and attached peripherals. They can also copy these insights and share them with their device manufacturer or system administrator for support or troubleshooting assistance.
Check USB4 capabilities and attached peripherals in Windows 11
To check USB4 capabilities and attached peripherals on your Windows 11 PC, you may follow these steps:
- Open Windows Settings.
- Go to Bluetooth & devices.
- View information about your system’s USB4 capabilities and attached peripherals.
Let us see this in detail.
Click the Windows icon in your taskbar and select Settings from the Start menu. Alternatively, you can use the Win+I keyboard shortcut to open the Settings page on your Windows PC.
You will see a list of tabs in the left panel. Click on the Bluetooth & devices tab (third tab from the top). You will see the options available under ‘Bluetooth & devices’ in the right panel. Scroll down to the bottom and click the USB option. Next, click USB4 Hubs and Devices.
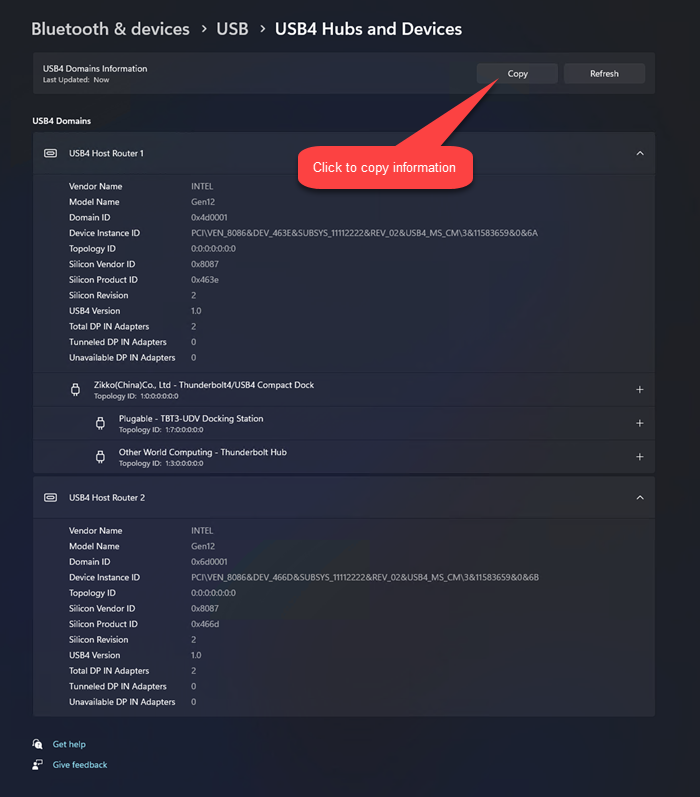
You will see the USB settings page displaying information about your system’s USB4 capabilities and attached peripherals.

To copy this information to your system’s clipboard, click on the Copy button in the top right corner.
Note:
- The USB4 settings page will only appear on USB4-capable systems.
- The USB4 settings page will appear when a USB4 host router is detected. For most PCI-enumerated USB4 host routers, the USB4 settings page will appear automatically.
Use Windows Registry to make the USB4 settings page visible (OEMs only)
If the USB4 host router is dynamically enumerated only when a USB4 hub or device is attached, device manufacturers can set a registry value to make the USB4 settings page appear even in the absence of a connected hub or device. Here’s how:
Press Win+R and type ‘regedit‘ in the Run dialogue that appears. Press the Enter key. Windows Registry will open up.
Navigate to the following key in the Registry editor:
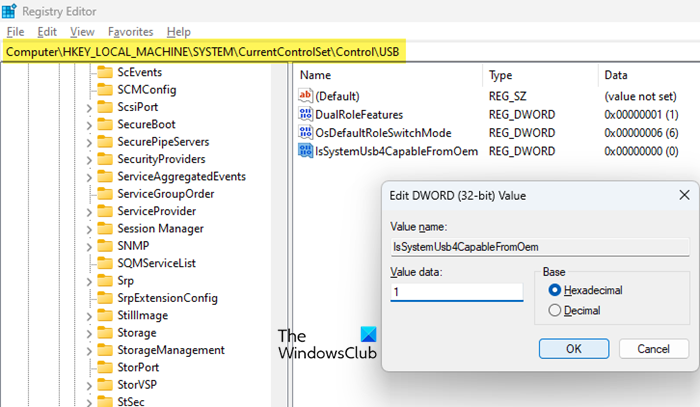
HKEY_LOCAL_MACHINE\SYSTEM\CurrentControlSet\Control\USB
Now right-click in the right panel and select New > DWORD (32-bit) Value. Rename the DWORD as IsSystemUsb4CapableFromOem.

Double-click on the DWORD and set Value data to 1 (keeping ‘Base’ as ‘Hexadecimal’). Click OK to save changes.
That’s it! I hope you find this useful.
Read: How to enable or disable USB Ports in Windows.
Why is my USB C port not working on Windows 11?
If your USB-C port is not working on your Windows 11 PC, there could be several reasons behind this, such as loose connections, outdated drivers, or certain power-saving settings. Make sure that the USB-C cable is securely plugged into both your device and the port, and that your OS and USB-C port drivers are up to date. Then restart your PC and see if it resolves the connectivity issue.
Read Next: How to identify USB 3.0 Port on laptop.
Leave a Reply