When installing any software or operating system, the user will normally be prompted by the installer for 32-bit or 64-bit version. You can download and install both the versions in 64-bit CPUs. We have seen how to tell if your computer is 32 or 64-bit using Settings. Today we will see how to check Windows 11/10 OS architecture (32-bit or 64-bit) using PowerShell or Command Prompt.
Check Windows OS architecture using PowerShell

To check Windows 11/10 OS architecture using PowerShell, do the following:
- Press Windows key + X to open Power User Menu.
- Then press i on the keyboard to launch PowerShell.
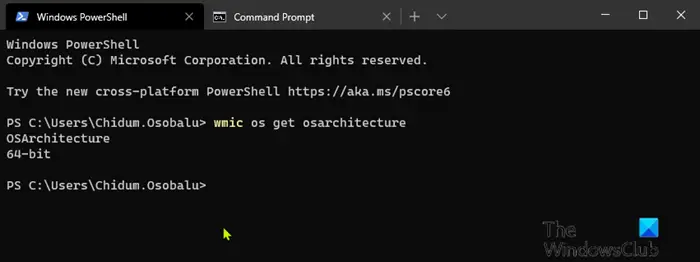
- In the PowerShell console, type in or copy and paste the command below and hit Enter.
wmic os get osarchitecture
The command will output the Windows 11/10 OS architecture accordingly.
Read: How to determine an application is 64-Bit or 32-Bit
Check Windows 10 OS architecture using Command Prompt

- Press Windows key + R to invoke the Run dialog.
- In the Run dialog box, type cmd and hit Enter to open Command Prompt.
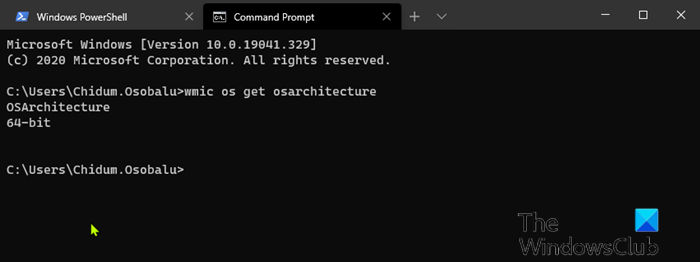
- In the command prompt window, type or copy and paste the command below and hit Enter.
wmic os get osarchitecture
The command will output the Windows 11/10 OS architecture accordingly.
Windows is available in both 32 and 64-bit architectures. What this basically means is the amount of memory your computer is capable of addressing. Some computers might be 64-bit capable but are limited by the amount of memory that can be installed. Windows 11/10 Home 64-bit supports up to 128 GB of RAM, while Windows 11/10 Pro, Education and Enterprise 64-bit support up to 2 TBs of RAM, Pro for Workstation can use up to 6 TBs.
The 32-bit versions are limited to 4 GB of RAM. Windows 11/10 Home is limited to a single CPU, while Windows 10 S, Pro, Education, Enterprise editions can go up to 2 sockets and Pro for Workstation goes up to 4 sockets. If you buy a modern PC today, more than likely, it shipped with a 64-bit CPU.
Leave a Reply