A Lock screen is a computer user interface on a computer or mobile phone. It requires the user to enter a password, pin and swipe the screen upwards if the screen is a touchscreen to gain access. The lock screen displays whenever the user shuts down, restarts, or leaves the machine alone for some time.
An app is an application that allows the user to perform a specific task. The user can customize the Lock screen with pictures. But what if the user wants to add an app to the Lock screen? In this tutorial, we will explain the steps to add apps to the Lock screen.
Add App to Lock Screen in Windows 11 to show status
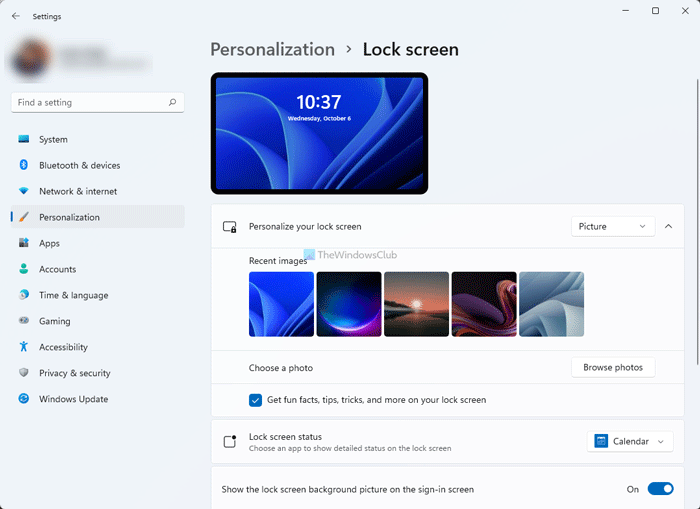
To add an App to the Lock Screen in Windows 11 to show status, follow these steps:
- Press Win+I to open Windows Settings.
- Go to Personalization > Lock screen.
- Expand the Personalize your lock screen section.
- Locate Lock screen status
- It is possible to show Calendar notifications, Mail, Weather, etc., information on the lock screen. For that, you need to choose an option from here.
Add Apps to Windows 10 Lock Screen
To add Apps to the Windows 10 Lock Screen, follow these steps:
- Open Settings
- Select Personalization
- From the left side, select Lock Screen
- You will two settings on the right side:
- Choose an app to show detailed status
- Choose an app to show quick status
- Click the ‘+’ sign to add apps of your choice.
Let us see the procedure in detail.
Choose apps to show Quick Status in Windows 10 Lock Screen
Open Settings.
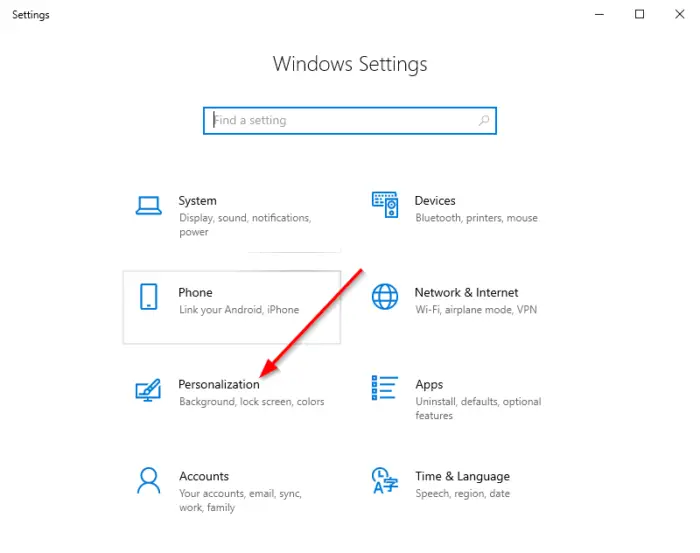
Click Personalization.
The Personalization settings will appear
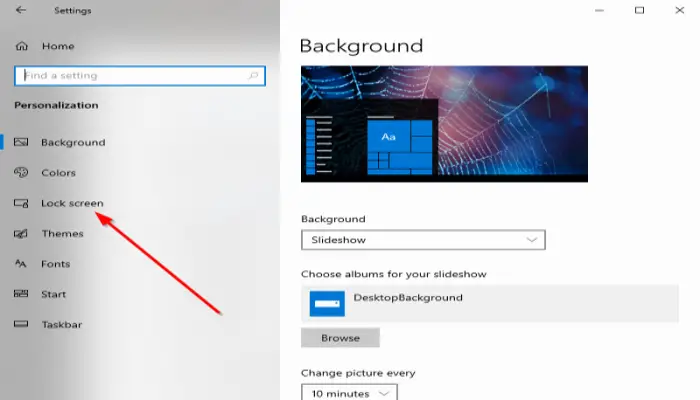
Click Lock screen. You will see two different options for adding apps:
- Choose an app to show detailed status, which is the primary app that allows one to choose one app
- Choose an app to show quick status, known as sub-apps. The quick status will show you notifications on your Lock screen.
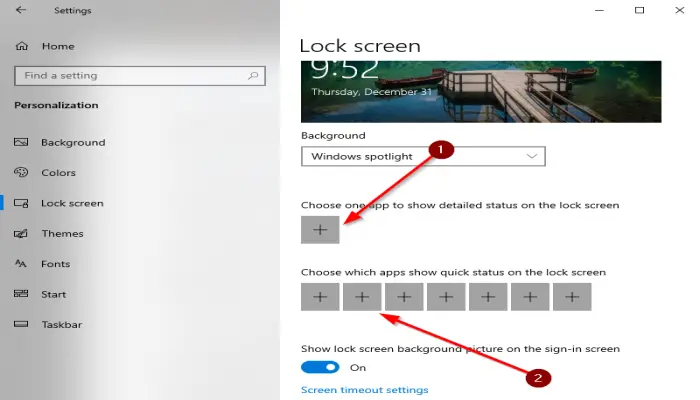
To set a quick status icon for an app, click a Plus ‘+’ Button.
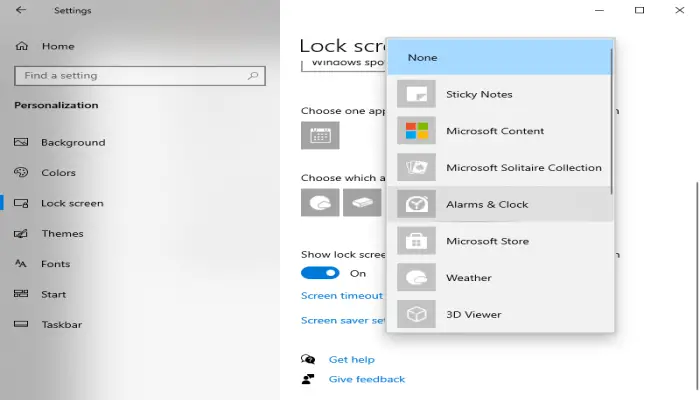
A small window will appear to choose an app. Select an app you want to add to your lock screen, and click the other Plus Buttons to add more apps to the Lock screen.
Windows will automatically save these apps when selected. If you do not want a detailed status app, select None.
Next, under Choose apps to show quick status click on the e’+’ icons to show various app options. Click on the one’s you want, one by one. You can set up to 7 apps to show quick status.
Once you do this, you may close the System settings window. The next time you boot Windows 10, you will see the app icons in the bottom right corner of your lock screen.
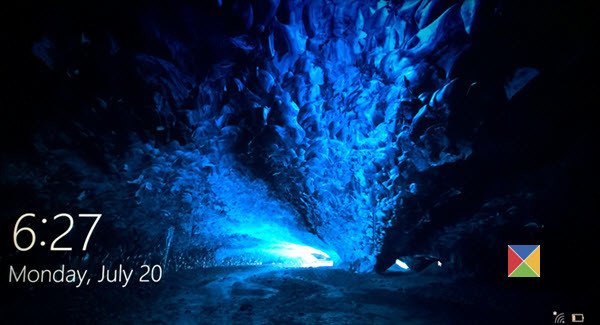
In this way, you can show notifications, reminders, alarms, and more on the lock screen. It should be apps you often use because the Lock screen does not show apps you do not use, and there will be no notification, but if you often use these apps, both the app and notification will show on the Lock screen.
While on the subject of lock screens, there are ways where you can change the Windows Lock Screen, if you don’t like the default one.
This is just one of the many Windows 10 Tips and Tricks we have covered.
Other ways to customize Windows 10 Lock Screen
Apart from this, there are other things you can do here.
- For Windows 10 Lock Screen Background you can set:
- Windows spotlight
- Picture
- Slideshow.
- If you like the background, you can show or not show the lock screen background on the sign-in screen as well.
- Under Cortana > Lock screen, you can also opt to Use Cortana even when the device is locked
- You can make Firefox display Media Controls on the Lock Screen.
That’s it.
Also see: Choose Quick Actions to display in Windows 10 Notification Area.
Leave a Reply