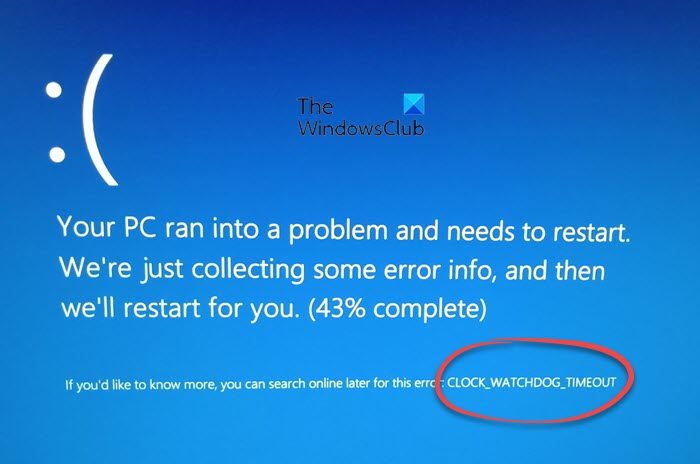
CLOCK WATCHDOG TIMEOUT Blue Screen Stop Error 0x00000101 can occur on a Windows system when the specified processor is not processing interrupts. It usually happens when the processor is nonresponsive or is deadlocked.
This error occurs when the processor is having problems with the cooperation of its cores and threads. Threads are tasks performed by the cores, and some cores can have many threads simultaneously. The problem is that one thread is waiting for an adequate response from another thread—or one kernel is waiting for a response from another kernel—and those responses are not coming.
In technical terms, when the processor is not able to continue processing tasks because its resources are occupied and interdependent and need to be freed, this state is called a Deadlock. So, today, we will be trying to fix this Blue Screen error and prevent it from happening in the future.
The CLOCK_WATCHDOG_TIMEOUT bug check has a value of 0x00000101. This indicates that an expected clock interrupt on a secondary processor, in a multi-processor system, was not received within the allocated interval.
CLOCK WATCHDOG TIMEOUT Blue Screen error 0x00000101
The following potential fixes will be carried out to fix BSOD errors related to error CLOCK_WATCHDOG _TIMEOUT on Windows 11 and Windows 10.
- Rollback a recently updated device driver
- Run Windows Memory Diagnostics Tool
- Disconnect new hardware.
- Troubleshoot in Clean Boot State.
- Update the BIOS.
If you tend to create a System Restore point usually, you can try to undo any modifications on your computer, by performing System Restore. Secondly, it is recommended that you carry out these tasks mentioned below in Safe Mode with Networking only.
If you Overclocked your system, first undo the overclocking and see if that makes the BSOD go away.
1] Rollback a recently updated device driver
If you recently updated your driver, I suggest you roll back your driver and see if that helps.
2] Run Windows Memory Diagnostics Tool
To fix any issues with your RAM, follow these steps.
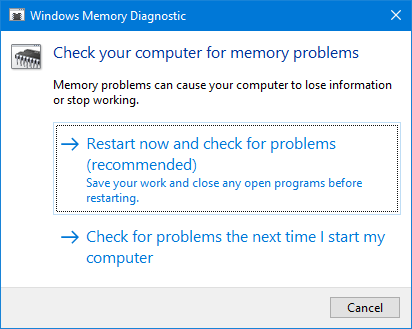
Run the Memory Check on your computer. Start by hitting the WINKEY + R button combination to launch the Run utility. Then type in, mdsched.exe, and then hit Enter. It will launch the Windows Memory Diagnostic Tool and will give out two options-
- Restart now and check for problems (Recommended)
- Check for problems the next time I start my computer
Now, according to the option you selected, the computer will restart and check for memory-based problems.
If you encounter any issues there, it will fix them automatically. Otherwise, if no issues are detected, this is probably not the cause of the issue.
3] Disconnect new hardware
You can try disconnecting any new hardware device you recently plugged in. This error can also be triggered if the newly installed device keeps the processor engaged with various instructions, such as faulty driver installation.
Hence, it is recommended that you remove any such hardware devices one by one and check if that fixes your issues. If you find that particular device that triggers the error, you can check if the latest driver for it is stable enough with your operating system.
4] Troubleshoot in Clean Boot state
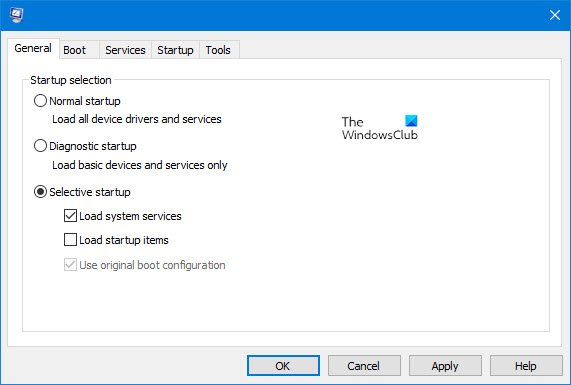
You can troubleshoot further manually by performing a Clean Boot. A Clean Boot starts a system with minimal drivers and startup programs. When you start the computer in clean boot, it uses a pre-selected minimal set of drivers and startup programs, and because the computer starts with a minimal set of drivers, some programs may not work as you expected.
Clean-boot troubleshooting is designed to isolate a performance problem. To perform clean-boot troubleshooting, you must disable or enable one process at a time and then restart the computer after each action. If the problem goes away, you know that the last process created it.
5] Updating the BIOS or UEFI
The BIOS is a sensitive part of a computer. Though it is a software component, the functioning of the hardware largely depends on it. Hence, it would be best if you were highly careful when modifying anything in the BIOS. I recommend skipping this method if you do not know what you are doing or do not know how to do it particularly well.
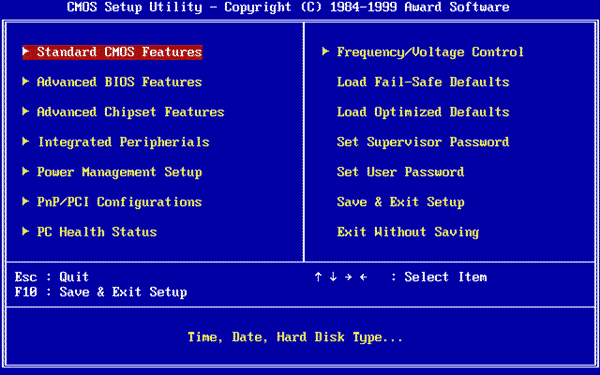
To update the BIOS, start by hitting the WINKEY + R button combination to start the Run box and type in msinfo32, and then finally hit Enter.
This will open System Information. At the bottom, you will find a search field; there you have to search for BIOS Version and hit Enter.
There, you will be able to see the version and developer of the BIOS installed on your computer.
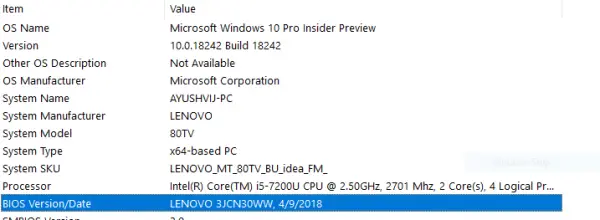
Now, you go to your manufacturer’s website and download the latest version of the BIOS onto your computer.
If you use a laptop, keep it plugged in until this BIOS update is installed.
Double-click the newly downloaded file to install the new version of the BIOS. Once you’ve done this, Reboot your computer for the changes to take effect.
If you use an assembled CPU to run your copy of Windows 11/10, it will be a bit complicated. If you do not see a proper manufacturer’s name in the System Information window, you must check your motherboard’s manufacturer’s website.
Once you visit the website, go to the downloads section to get the latest version of your computer’s BIOS. American Megatrends are usually used to assemble computers, but you can even check Windows Updates for any new version of BIOS available for your computer.
How to Update BIOS or UEFI without going into it?
Some PCs have a dedicated BIOS Update or UEFI Update port and button. Once you download the latest BIOS file, please place it in the USB device and press the button; the system automatically updates the file. However, this needs to be done after powering down the PC. Check your motherboard board manual for such an option, and know the status codes.
Is it safe to update BIOS from Windows?
No, it is not. While there is software, even from the OEMs, that can initiate the BIOS update from within the PC, you should avoid it. You should either update it from the BIOS interface or use a dedicated BIOS update port. That said, while it works the same way, but it’s best not to use that option.
Similar BSOD: PDC WATCHDOG TIMEOUT Blue Screen.
How do I know if there is a BIOS or UEFI Update available?
That is a challenge because I have noticed that even for new PCs and modern motherboards, the BIOS update notification is usually a miss. I have been using the Asus ROG Crosshair VIII Hero for some time and have never received any notification from the Armory Crate software. So, the best way is to check in a few months and update if available.
Leave a Reply