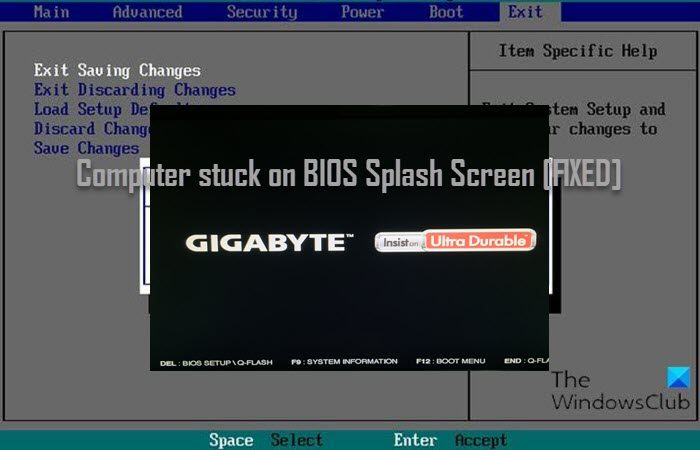
If when you boot your Windows 11 or Windows 10 system, you find that the computer is stuck on then BIOS Splash Screen, then this post is intended to help you. In this post, we will identify the potential causes, as well as provide the most adequate solutions to resolve the issue.

When your PC is stuck on the BIOS splash screen, you simply cannot do anything else on your system since you have to move from there to boot your computer to the desktop normally. This issue may occur due to any of the following reasons;
- Bad RAM stick or memory slot.
- Incorrect or wrong Boot configuration.
- Corrupt BIOS.
- Bad Windows update
Computer stuck on BIOS Splash Screen
If your Windows PC is stuck is on the BIOS Splash Screen for a long time and can’t enter BIOS, then here are comprehensive, & proven solutions to fix the issue:
- Initial checklist
- Startup Repair computer using Installation Media
- Restore BIOS to default settings
- Clear CMOS
- Perform System Restore
- Clean Install Windows
Let’s take a look at the description of the process involved concerning each of the listed solutions.
1] Initial checklist
Before you try the solutions below, as a possible quick solution, you can do the following, and after each task see if your system can boot normally without getting stuck on the BIOS splash screen:
- Boot PC without connected peripherals. External peripherals can sometimes conflict with your system and trigger errors of all sorts. So, disconnect all peripherals including your printer, scanner, webcam, mouse, iPod, external storage devices etc.
- Hard reboot PC. It’s likely your PC is experiencing minor and very temporary BIOS Power-On Self-Test (POST) errors – so, hard rebooting your system since it’s stuck will help it to reload the correct settings and boot successfully.
- Check boot order. Incorrect or wrong boot configuration is a likely culprit. So, if you have changed the boot order, your PC will struggle to figure out where to boot from – so, change the boot priority and set the hard drive on top of the list.
- Check physical RAM. As your computer is unresponsive during startup, it’s likely your RAMs are not well installed, or in some cases, one or more of your RAM modules or RAM slots is faulty. So, remove your RAMs from the memory slots and reinsert your RAMs back into the slot one by one while trying to boot each time. The issue isn’t with your RAM modules if your computer starts without one or more of the RAMs – then it’s likely one or more memory slots on your motherboard are defective. You may want to try removing the modules and insert them in different slots to find if one of the slots is faulty.
- Rollback BIOS update. A botched BIOS update is a likely culprit. So, if you recently updated BIOS, you can downgrade BIOS to a previous version. Likewise, if the issue started after a recent Windows update, you can uninstall update when Windows is unable to boot..
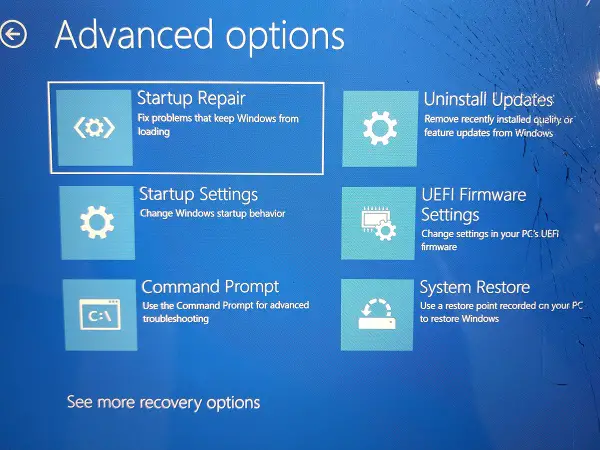
2] Startup Repair computer using Installation Media

If your Windows 11/10 computer is stuck on BIOS Splash Screen, even after you have gone through the initial checklist, you can try to boot and repair your computer using Installation Media.
The Windows Startup Repair can fix some of the most common problems using the advanced recovery method in some cases where you are unable to boot into Windows 11/10 and cannot access your files – your data will not be lost during the repair process.
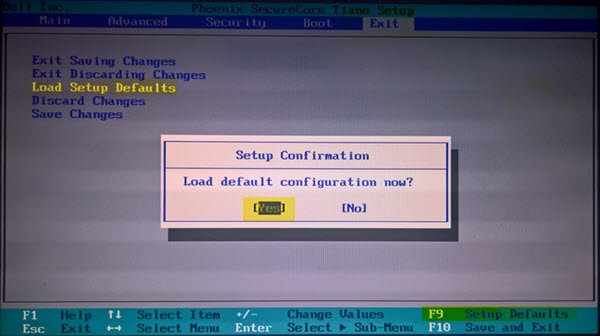
3] Restore BIOS to default settings

In cases like this, it is safe to reset the BIOS to default. Most often, resetting the BIOS will reset the BIOS to the last saved configuration, or resets your BIOS to the BIOS version that shipped with the PC. Sometimes the latter can cause issues if settings were changed to take into account changes in hardware or OS after installation. In any case, though, resetting BIOS to default settings is a simple procedure for new and experienced PC users alike.
4] Clear CMOS
On the RAM of your computer’s motherboard, a CMOS chip is present – with the help of a CMOS Battery, the chip can be powered constantly, hence, your computer’s setting will not get deleted. So, when you turn ON your computer the CMOS chip will provide the necessary information to the BIOS to boot your computer.
The essence of clearing or resetting the CMOS battery on your MOBO is to reset your BIOS to factory settings.
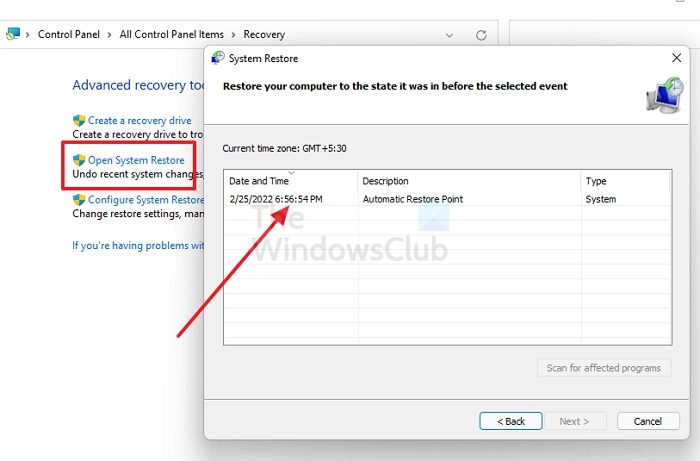
5] Perform System Restore

You can perform this task in either of two ways: boot into Safe Mode and then perform System Restore normally by selecting a restore point when you know your PC was booting perfectly fine without issues OR in the case where your PC won’t boot to the desktop, you can perform System Restore via Advanced Startup Options.
If system restore didn’t work to resolve the issue at hand, you may reset Windows 11 using Advanced Startup Options and see if that helps. Otherwise, try the next solution.
6] Check if motherboard is faulty
Ultimately, the issue you’re currently facing might not be software-related. In this case, you need to check if your motherboard is bad. If the PC is still under warranty or the MOBO itself is a new purchase, you can have the hardware diagnosed by an authorized PC hardware technician. In any case, if the hardware is faulty, you will need to replace the MOBO.
Hope this post helps you!
Related post: Computer unable to boot into BIOS
How do I get rid of BIOS splash screen?
Access the BIOS and look for anything that refers to turning on, on/off, or showing the splash screen (the wording differs by BIOS version). Set the option to disabled or enabled, whichever is the opposite of how it is currently set. When set to disabled, the screen no longer appears.
Read: Windows is stuck on loading some screen
What is Splash Screen?
In general computer terminology, the splash screen (alternatively referred to as a boot screen, boot skin, or welcome screen) is an introduction page that is displayed as a program or computer is loading or booting. Typically, the splash screen can include a logo or other image, as well as a company name, and sometimes the company’s slogan.
Leave a Reply