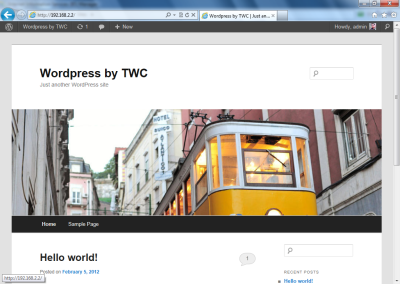
Welcome to the second part of the tutorial on Hosting a Website with Microsoft IIS. In this part, we will learn about configuring and creating the MySQL server and configuring WordPress. Now that you have followed all the steps of Part-1 let’s proceed to Part-2.
Install WordPress blog using Microsoft IIS
Creating a database in MySQL
- Run MySQL command-line client.
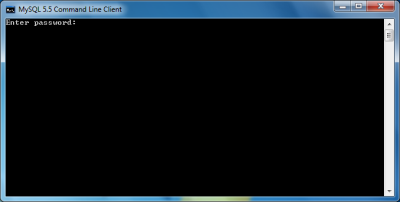
- Enter your root password that you set in subpart 2 of part 1, in the 12th step.
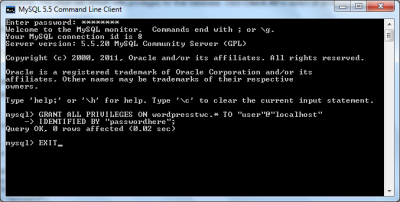
- Enter the following:
mysql> CREATE DATABASE databasename; Query OK, 1 row affected (0.00 sec) mysql> GRANT ALL PRIVILEGES ON databasename.* TO "username"@"hostname" IDENTIFIED BY "password"; Query OK, 0 rows affected (0.00 sec) mysql> EXIT |
Configuring WordPress
- Now go to your browser and type in your LAN IP that generally starts from “192.168”.
- Click on “Create a configuration file.”
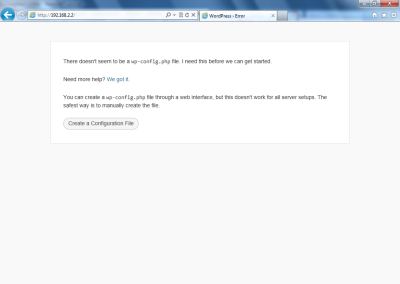
- Click on “Let’s go.”
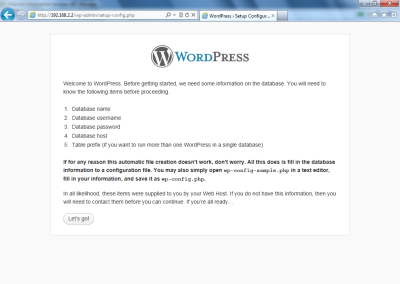
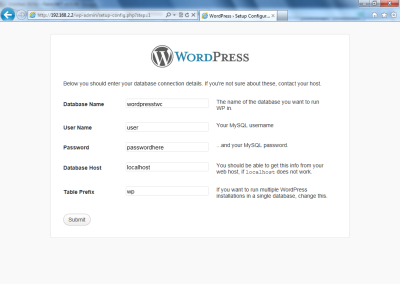
- Enter the details that you entered during creating the new Database and click submit.
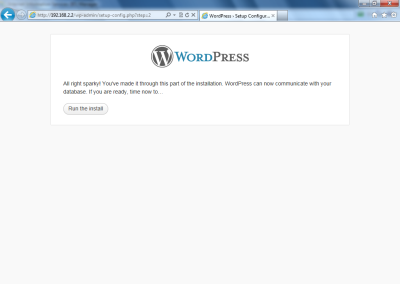
- In the next step click on “Run the install.”
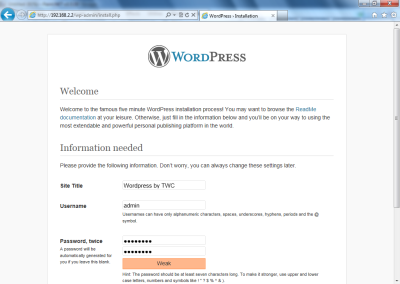
- Enter your details like Site Title, Username, Password, etc. in this step.
- Now click on Log in.
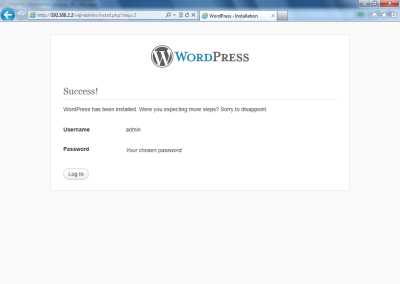
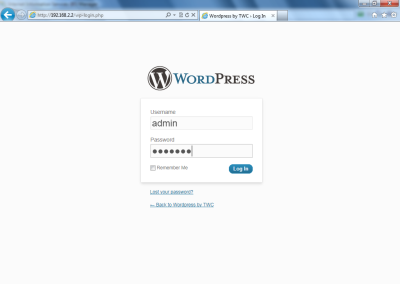
- Enter with your username and password that you created in this part to login.
- You will now be able to see your dashboard and operate your blog from this dashboard.
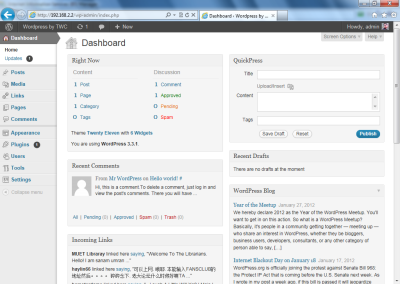
Your website is now live on your IP address. You can convert your IP into text or some website name, using many services out there like www.no-ip.org.
You have successfully hosted your website. If you face any problems or find that you are getting some error messages, don’t panic just go through all the steps again and try to solve your problem.
