Google Chrome is the world’s most used web browser. Group Policies help an Administrator configure their browser as per their conditions. You can now use the Group Policy to configure Google Chrome as well. We have already seen how to integrate Firefox with Windows Group Policy, now let us see how to configure Google Chrome via Group Policy.
Configure Chrome using Group Policy in Windows 11/10
You can start by getting the latest templates and documentation for Google Chrome in a ZIP Archive from google.com. And after it is downloaded, extract its contents into a separate folder.
Now we have to add the template to the local computer
Type in gpedit.msc in the Search box and hit Enter. Once Group Policy Editor opens, navigate to the following setting-
Computer Configuration > Administrative Templates
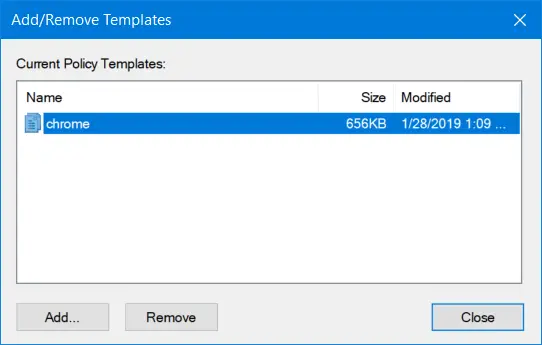
Right click on the right side panel and click on Add/Remove Templates… from the context menu.
It will open a new window. Select Add and then navigate to the location where you extracted the downloaded templates and documentation.
From the cluster of files inside the following location-
Windows/ADM/am/EN-US
Select the file named as chrome.adm.
Finally, click on Close in the Add/Remove Templates mini window.
Now, when you navigate to this following location, you will find all the Group Policy Editor entries for Google Chrome-

Computer Configuration > Administrative Templates > Classic Administrative Templates (ADM) > Google
Now, using the Windows Group Policy Editor, you will able to configure the Google Chrome browser on your computer.
I hope this helps!
How to set Group Policy for Google Chrome?
To set Group Policy for Google Chrome, open Local Computer Policy and go to Computer Configuration > Administrative Templates. Right-click Administrative Templates and choose Add/Remove Templates. Add the Chrome ADM template file through the dialog box provided. This allows you to manage Chrome settings centrally via Group Policy Editor.

Leave a Reply