Microsoft Security Copilot is an AI-powered solution that boosts the efficiency of security defenders, improving outcomes at scale. If you are setting up an environment and want to make it secure, we recommend you install & configure the Microsoft Security Agents. In this post, we are going to learn how you can set up Microsoft Security Copilot.
Install and Configure Microsoft Security Agents in Windows 11/10
Microsoft Security Copilot is a generative AI-driven security solution designed to enhance defenders’ efficiency and deliver faster, scalable security outcomes. It provides an assistive natural language experience to support tasks like incident response, threat hunting, posture management, and intelligence gathering. With seamless integration into Microsoft’s security ecosystem, including Defender XDR, Sentinel, Intune, and Entra, as well as third-party tools like Red Canary and Jamf, Security Copilot offers a unified yet standalone experience for security professionals.
If you want to install & configure Microsoft Security Agents in Windows 11, you need to follow the steps mentioned below.
- Meet the minimum system requirement
- Provision Capacity
- Configure Security Copilot
Let us discuss them in detail.
1] Meet the minimum system requirement
First, we need to meet the system requirements to install the security agents. To use this tool, you need an Azure subscription; for that, go to azure.microsoft.com and buy security compute units.
Security Copilot uses a provisioned capacity model, billed hourly in blocks rather than by minutes, with a minimum charge of one hour. Any SCU usage within the same hour is billed as a full unit, regardless of start or end times. For example, provisioning SCUs at different times within the same hour incurs charges for multiple units. To optimize usage and avoid unnecessary charges, make provisioning changes at the start of an hour.
When getting a subscription, you also need to take into account the Capacity, which in this case contains SCUs, which will be provisioned for Security Copilot.
To learn more about the usage of the Security agent, you can go to read this guide.
2] Provision Capacity

In order to provision capacity, you have two options. You can provision capacity using the Security Copilot or the Azure Portal. To do the same using the Security Copilot, follow the steps mentioned below.
- First of all, go to securitycopilot.microsoft.com and sign in to Security Copilot.
- Now, you need to click on the Get started option.
- Choose the Azure subscription, associate capacity with a resource group, name the capacity, select the evaluation location, and specify the number of Security Compute Units (SCUs). Data is stored in your home tenant’s geo.
- Acknowledge the terms and conditions mentioned there and click on Continue.

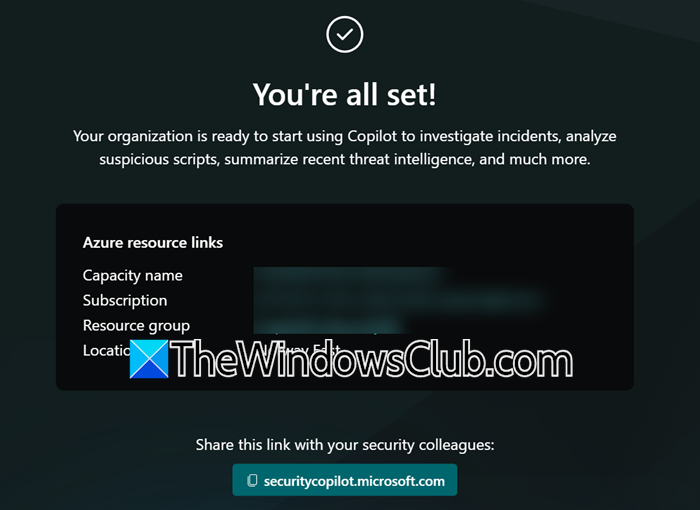
You need to wait for a few minutes for the provisioning to complete.
Alternatively, you can provision capacity from the Azure Portal. Do keep in mind that your billing will start as soon as the capacity is created; it doesn’t really matter if the SCU is attached to an environment or not. Also, you need to be the owner of the Azure subscription or a contributor to create capacity
Follow the steps mentioned below to do the same.
- Go to portal.azure.com and log in.
- From the list of services, select Security Copilot.
- Now, go to the Resources groups.
- Navigate to Plan > Microsoft Security Copilot and then click on Create.
- Select a subscription and resource group, name the capacity, choose the evaluation location, and specify the number of Security Compute Units (SCUs). Data is stored in your home tenant’s geo.
- Acknowledge the terms and conditions and then click on Review + create.
- Go through the provided information and then click on Create.
- Finally, select “Finish setup in the Security Copilot portal”.
SCUs are allocated hourly, and the estimated monthly cost is displayed. If your selected location is too busy, you can evaluate prompts globally by choosing the appropriate option in the capacity creation screen.
3] Configure Security Copilot
Now that we have provisioned the capacity, let us go ahead and set up a default environment. To do this, you need to have a Security Administrator role or something with more privilege. Also, you need to be an Azure Owner or a contributor for the capacity resource to associate capacity to Security Copilot.
Follow the steps mentioned below to set up the environment.
- If you have created the capacity in the Azure portal, you need to integrate it into the Security Copilot environment.
- Click on Continue when you are on the page where they tell you where your data is stored.
- Again, click on Continue on Microsoft 365 services.
- Choose whether Security Copilot should record and save administrative actions, user activities, and system responses, then click Continue.
- Then, choose a data-sharing option and click Continue.
- Select a role and click on Continue.
- When you are on the confirmation page, click on Finish.
I hope this guide will help you use Security Copilot (microsoft.com). If you want to know more, go to learn.microsoft.com.
Read: How to install Agents with Windows Configuration Designer
How to configure Microsoft monitoring agent?
First, download and install the Microsoft Monitoring Agent from the Azure portal to configure it. Open the agent setup and connect it to your Log Analytics workspace by entering the Workspace ID and Key provided in the portal. Once connected, the agent will start collecting data based on the configured settings. Also, you need to ensure the machine meets the system requirements and restart it to apply the changes effectively.
Read: How to connect Windows Server to Azure
How do I enable Microsoft Security Essentials on Windows 11?
Microsoft Security Essentials is not available on Windows 11, as it has been replaced by Microsoft Defender Antivirus, which is built into the operating system. To enable Microsoft Defender, open Windows Security from the Start menu, navigate to Virus & Threat Protection, and ensure real-time protection is turned on.
Also Read: Create Copilot agents using Microsoft AI.