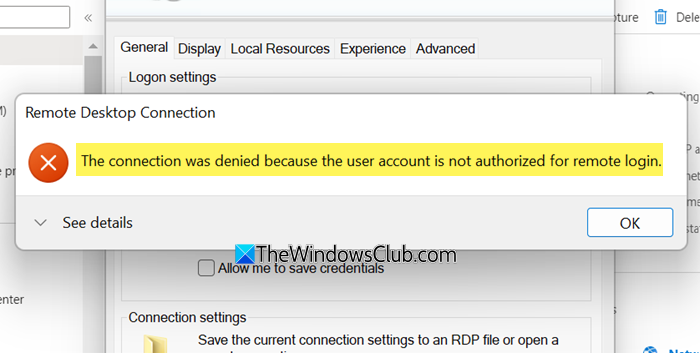
If you are trying to establish a remote connection, but you see an error message – The connection was denied because the user account is not authorized for remote login then know that this occurs when the target host doesn’t allow you to access that system remotely. If you are facing this issue even after obtaining the correct permission, follow this guide to fix this problem.

The connection was denied because the user account is not authorized for remote login
If you face this issue in Windows 11/10, you need to carry out the following tasks to resolve the issue:
- Check Remote Desktop Users group
- Add user to Security group
- Check Remote Desktop service.
1] Check Remote Desktop Users group
If the Remote Desktop Users group doesn’t have any permission for your user account that you are using to build a remote connection, you might face this problem. Therefore, follow these steps to ensure your user account is a Remote Desktop Users group member.
Open the Command Prompt and execute this command-
lusrmgr.msc
Alternatively, you can search for the same in the Taskbar search box. After opening it, select Users and double-click on your username to open the Properties. Then, you need to switch from General tab to Member Of tab.

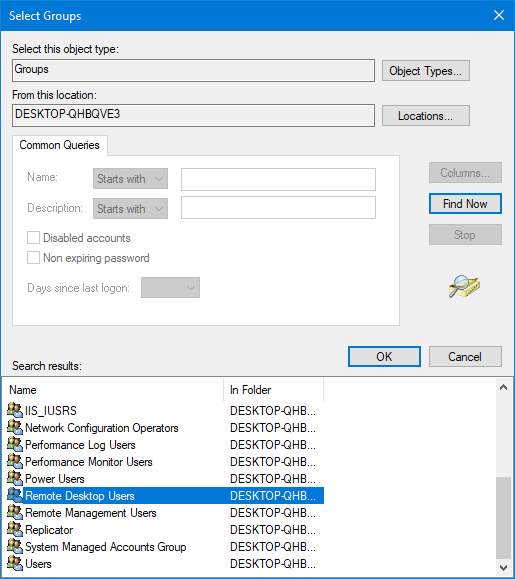
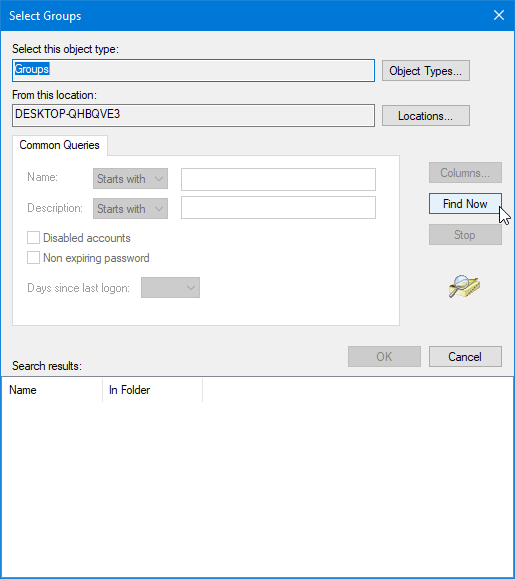
If you cannot find any Remote Desktop Users group under the Administrator, you need to add it. For that, click the Add button on your screen. After opening the next window, click the Advanced and Find Now buttons respectively.
You will find a list in the Search results box. From the list, double-click on Remote Desktop Users.

After that, click the OK button and save your settings. Now check if you can connect to a remote host or not.
2] Add user to Security group
You can allow or block a user from logging on through Remote Desktop Services. If you do not have the correct setting, you will not be able to use this functionality.
To confirm this setting, you need to open the Local Security Policy panel. Type this command in the Start search box and hit Enter-
secpol.msc
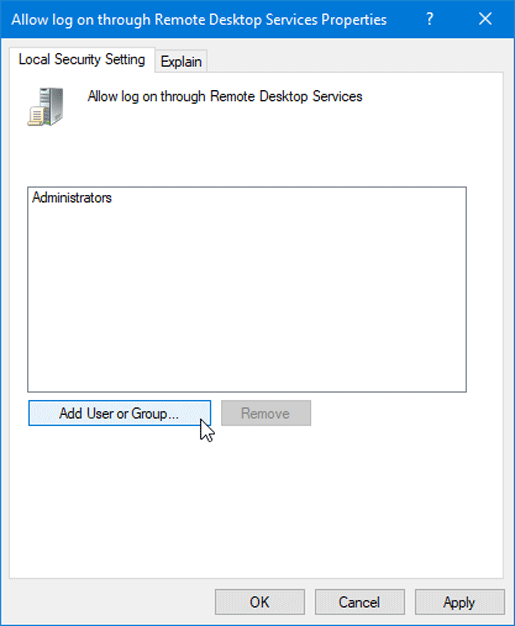
Now go to Local Policies > User Rights Assignment. On your right-hand side, you should find a policy named Allow log on through Remote Desktop Services. Double-click on this policy to open the Properties.

If you cannot find Remote Desktop Users under Administrator, you need to add it. For that, click the Add User or Group button and enter Remote Desktop Users in the empty box and hit the OK button.
After saving the change, restart your computer and try to connect to the host.
Read: No Remote Desktop License Servers; Remote session disconnected.
3] Check Remote Desktop Users group
There is a service that should be running and needs to be set up correctly. You need to make sure that the service is up and running. For that, open the Services panel. You can search for “services” in the Taskbar search box and open the Services Manager. After that, locate the service called Remote Desktop Services and double-click on it to open the Properties.
Next, go to Log On tab > select This account option > click the Browse button.
On the next screen, you can find an Advanced button. You need to click it and use the Find Now button to search. You will see NETWORK SERVICE.

Double-click on it and save the settings.
Restart your computer and check if you can connect to the remote host. I hope this helps you fix the problem.
Related read: How to enable or disable Remote Desktop Connection in Windows.
What does it mean when it says An account is not authorized?
When an account is not authorized, it means you lack permission to access a specific page or resource. This often occurs if someone shares a link you aren’t allowed to view. To resolve this, ensure you have access rights or contact the page owner for permission.
How to authorize a user account for remote login?
To authorize a user account for remote login, access the system settings on the host computer. Navigate to the “Remote Settings” or “Remote Desktop” section, select the user you want to authorize, and ensure they have the necessary permissions. It’s important to verify network settings and maintain security protocols during setup.