If you constantly keep having to reset your Network Adapter on Windows 11/10, this article will help you fix this problem. This issue can occur due to outdated network card drivers, corrupted system files, power management settings, etc.
Constantly keep having to reset Network Adapter on Windows 11
If you constantly keep having to reset your Network Adapter on Windows 11/10 use the fixes provided below:
- Run Network and Internet troubleshooter
- Change your power plan
- Update Network Driver
- Uninstall and reinstall the Network adapter
- Reset TCP/IP, flush DNS cache, reset Windows sockets
- Disable IPv6
- Run SFC and DISM scans
- Reset network
Let’s start.
1] Run Network and Internet troubleshooter
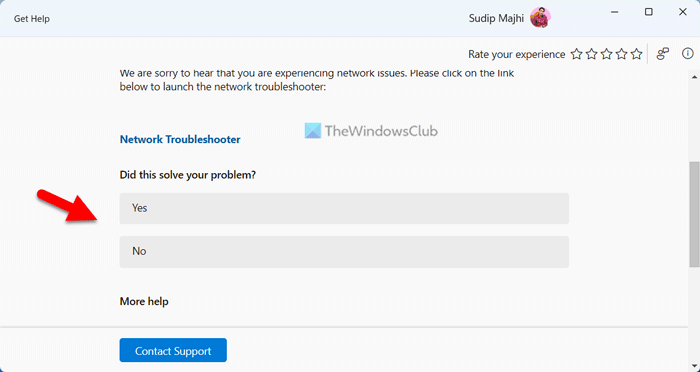
The first step is to run the Network and Internet Troubleshooter using the Get Help app. This is an automated troubleshooter in Windows 11/10 that helps you fix network-related problems. Run the Network and Internet Troubleshooter via the Get Help app in Windows 11 and see if it works.
2] Change your power plan
You can also try to change your power plan. Open the Control Panel and type power in the search bar. Select Power Options from the search results and then select another available power plan.

If you see only the Balanced Power plan available in the Control Panel, you can restore the missing power plans via the Command Prompt. If the command does not work, it means that your system is in the Modern Standby S0 state. Disable this state to restore the missing power plans.
3] Update Network Driver
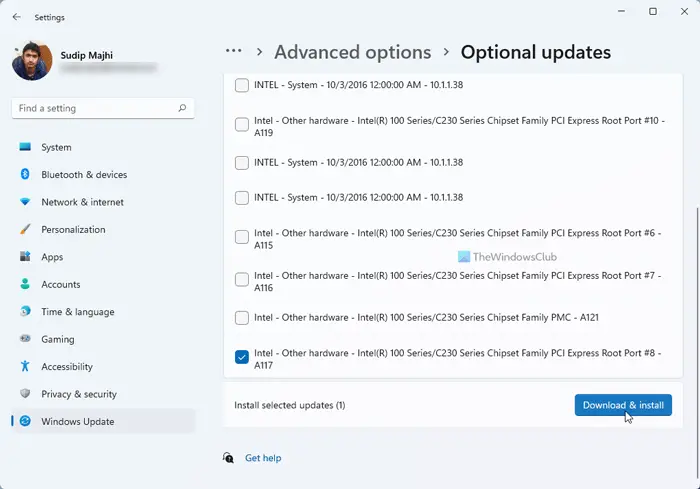
We also suggest you update the Network Driver. You can update the driver from the manufacturer’s website or use free driver updater software. After updating drivers, check if the issue is resolved.
4] Uninstall and reinstall the Network adapter
A corrupted or outdated network adapter can also cause the issue. In this case, uninstalling and reinstalling the network adapter can help to fix the issue. To do so, use the steps mentioned below:
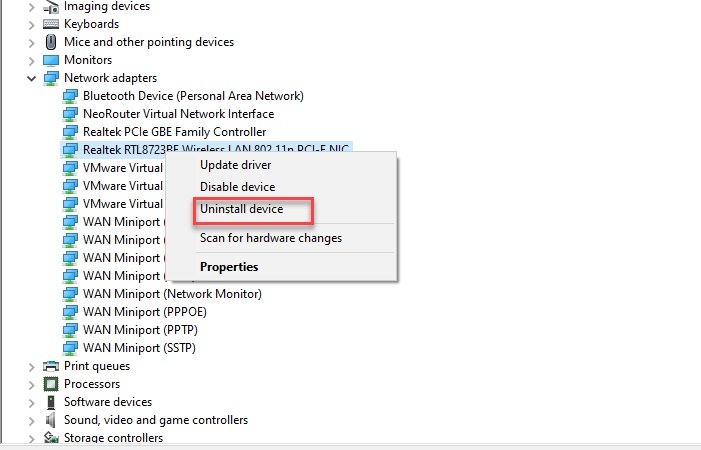
- Go to the Device Manager.
- Expand the Network adapters.
- Right-click on your network adapter and click on Uninstall device.
After uninstalling the network adapter, restart your PC to reinstall it. Alternatively, you can also Scan for hardware changes by selecting the Action tab.
5] Reset TCP/IP, flush DNS cache, reset Windows sockets
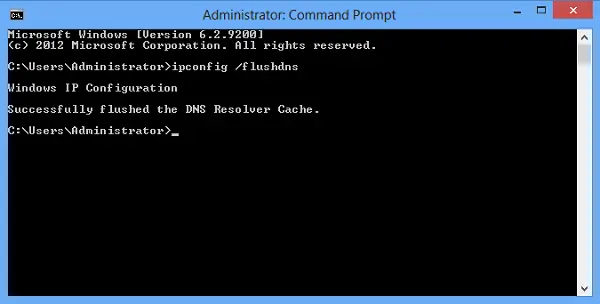
There is a possibility that corrupt TCP/IP or Internet Protocol, corrupt DNS cache, and corrupt Windows Sockets cause this issue. In this case, we suggest you reset TCP/IP, flush your DNS cache, and reset Winsock. You have to execute the required commands in the elevated Command Prompt window. However, if you do not want to execute the commands, you can also use our FixWin11 utility for the same.
Alternatively, you can create a batch file to perform all the above-mentioned actions with a single click.
6] Disable IPv6
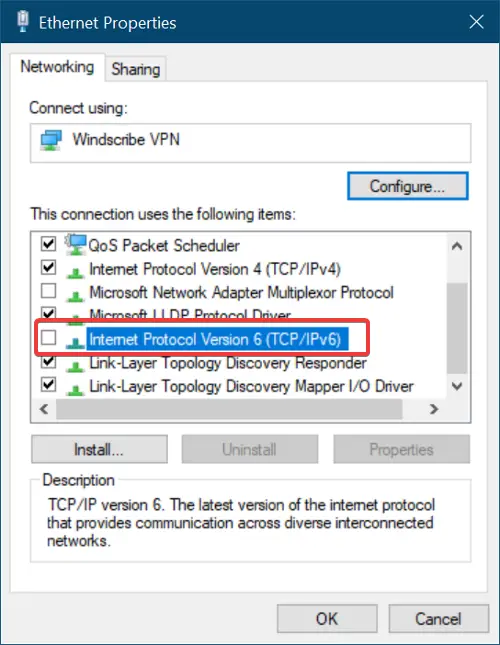
Disabling IPv6 can help to fix this issue. To do so, check the below steps:
- Open the Control Panel.
- Click on Network and Internet.
- Click on Network and Sharing Center.
- Select Change adapter settings.
- Right-click on the network you’re connected to and select Properties.
- Uncheck the Internet Protocol Version 6 (TCP/IPv6) option and click on OK to save the changes.
Close the Control Panel and check whether the issue is fixed or not.
7] Run SFC and DISM scan
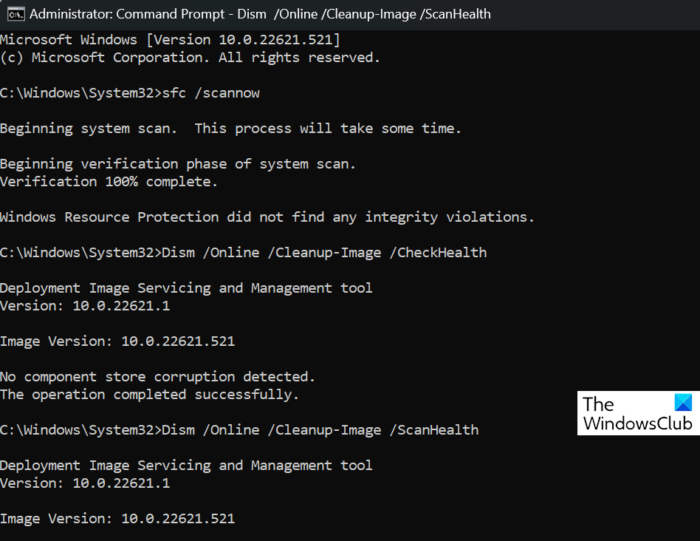
Corrupted or faulty system files can also cause this issue. In this case, you should scan the system image files. To do this, run the System File Checker tool. Open Command Prompt as an administrator and run the following command.
sfc /scannow
If this doesn’t work, run DISM in Command Prompt (admin) and see if that helps.
8] Reset network
Resetting your network can fix this issue. This will resolve any network-related issues. To do so, use the following steps:
- Open the Windows Settings.
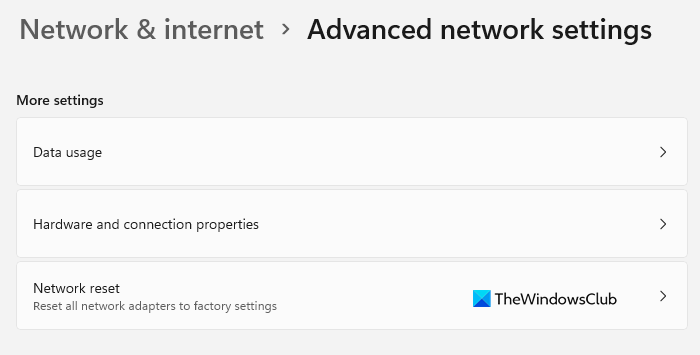
- Click on Network & internet.
- Now, click on Advance network settings.
- Click on Network reset and select Reset now.
When you reset your Network, you have to wait for 5 minutes. After 5 minutes, Windows will restart automatically. Therefore, save your work before resetting your Network.
That’s it, and I hope this helps.
Why does my laptop keep losing connection?
There can be a few reasons why your laptop keeps losing connection. The most common reasons are outdated or corrupted drivers, unstable or weak internet connection, outdated software, etc. To fix this problem, you can power cycle your WiFi router. Also, make sure your Network driver is up to date.
Where do I find my network adapter driver?
You can find your network adapter in Device Manager. Go to the Device Manager and expand the Network adapters. Right-click on your network adapter and select Properties. Tap on the Driver tab and you will see all details related to your network adapter.
Leave a Reply