Converting documents or any file to PDF is easier than it has ever been due to the number of tools available for such a purpose. Even Microsoft Word is capable of converting documents to PDF, but that’s not what we’re going to talk about today. Instead, we will look at a tool called CutePDF that was designed for this very purpose, along with converting images, text, and more, of course.
How to convert a file to PDF
After downloading CutePDF Writer, the user should see a message when trying to install that states the PS2PDF Converter is needed for the program to work. If it hasn’t been installed as of yet, then please do so by clicking the Yes button.
Once the task has been completed and CutePDF is now installed on your Windows 10 computer, its now time to see if it’s worth the time and effort when compared to similar tools that are also freely available on the web.
Bear in mind that the software installs itself as a printer subsystem; therefore, do not expect a graphical user interface where you can make tons of changes and look at pretty icons.
How to use CutePDF Writer
CutePDF Writer installs itself as a “Printer subsystem”. This enables virtually any Windows application to convert a printable file to professional quality PDF documents. With the following information, you will learn how to use CutePDF to the best of your ability:
- Convert text to PDF
- Save image as PDF
- Manage CutePDF
- Convert using Word & PDF
Let us get into more detail.
1] Convert text to PDF
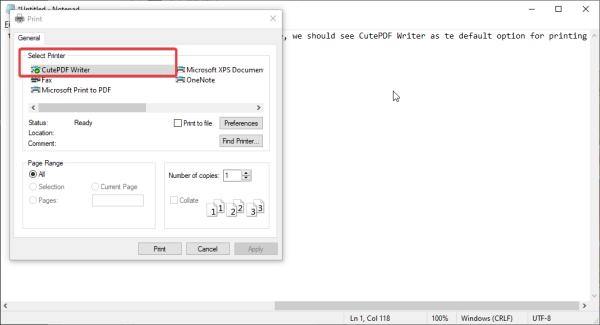
If you’re interested in converting your text document via Notepad to PDF, then we suggest launching Notepad, type your text, then click on File, then Print. From there, we should see CutePDF Writer as the default option for printing. Select it, then click on Print.
After that, it should now be possible to save the text document from Notepad as a PDF that can be opened in any PDF reader with ease.
2] Save image as PDF
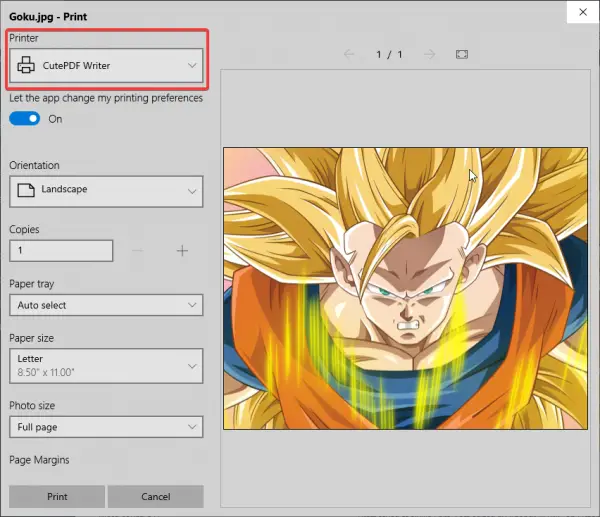
For whatever reasons, you might feel the need to save a picture or few as PDF, and this can be done quite easily with CutePDF.
Now, we would like to recommend users to open their favorite image in the Photos app, then click on the Printer icon at the top-right section. From there, you will need to select CutePDF Writer from under Printer, click on the button that says Print, then save as PDF when the option comes up.
TIP: You can convert, compress, sign PDF documents using free Acrobat Online tools.
3] Manage CutePDF
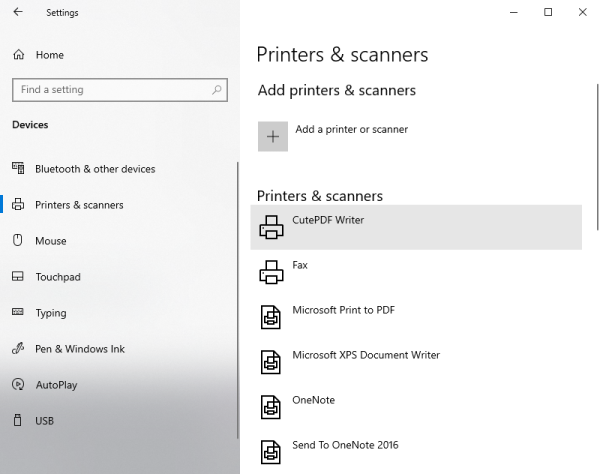
The next step, then, is to manage CutePDF if you’re interested in making certain changes to how it works. In order to do this, click on the Windows key + I to launch the Settings menu. From there, select Devices > Printers & scanners, then click on CutePDF Writer.
You will now want to select Manage > Printing preferences. From this section, the user should come across several options designed to change the output of a converted document. The options are not vast, but do they need to be? For us, they are more than enough.
Once the changes have been made, hit the OK button and you’re all done. You can download CutePDF Writer from the official website.
4] Convert using Word & PDF
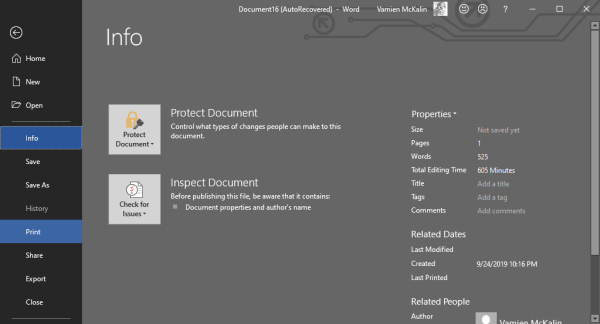
In order to convert your first document through Microsoft Word, please fire up the Word document in question.
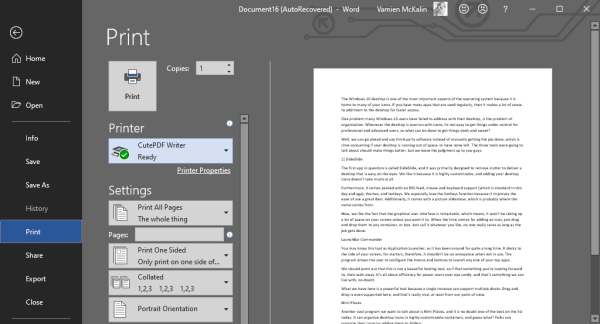
Then click on File > Printer, then from the new window, be sure to select CutePDF as the printer of choice.
Finally, hit the Print button, and from there, save the document as PDF anywhere on your computer, and that’s it for converting.
As you can tell, the entire process is super easy and can take less than 30 seconds to complete.
Now read: How to edit PDF files in Microsoft Word.
Leave a Reply