Has your Windows 11/10 computer ever run into a problem while trying to select a destination to save your backup? If yes, the problem might have persisted due to one of the following reasons:
- The destination is the drive itself that you are trying to back up. You cannot back up a disk to itself. For example, you cannot back up the contents of drive D: to drive D:.
- The destination is the tape drive, and it is certainly not possible to save backups to tapes.
- The destination is not formatted as a New Technology File System (NTFS), File Allocation Table (FAT), or Universal Disk Format (UDF). Backups can only be saved to disks that are formatted using one of the above systems.
The last reason is our topic of discussion, so in the post, we will learn how to format or convert a hard disk or partition to NTFS format.
Now, one may wonder why one should convert a hard disk or partition into NTFS format. Well, if you aren’t aware, the NTFS file system provides better performance and security for data on hard disks and partitions or volumes than the FAT file system used in the former version of Windows.
Do note that once you convert a partition to NTFS format, you cannot change it back to some other format easily. You will be required to reformat the partition, which erases all the data stored on that disk.
A partition formatted as NTFS refers to a section of a hard drive that has been set up using the New Technology File System, an advanced file system that provides high performance and additional features not available in other file systems. NTFS is commonly used in Windows operating systems for enhanced security, file compression, and support for large storage media.
If you have a partition that uses the earlier FAT16 or FAT32 file system, you can convert it to NTFS by using the convert command. Doing so will not affect the data on the partition in any way.
Convert Hard Disk or Partition to NTFS format

Firstly, if you are running any program that is on the drive to be converted to NTFS format, it is recommended to close that program so that you can proceed further.
The next step is to open Command Prompt as administrator. If you are asked for an administrator password or confirmation, enter the password or provide confirmation so that the conversion process is not interrupted at any point.
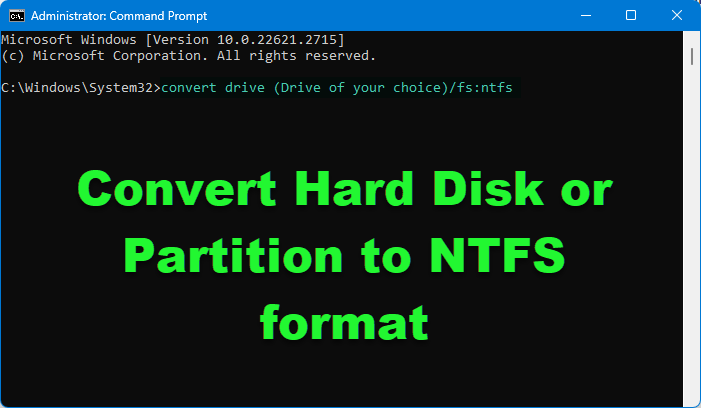
Once the elevated command prompt window is opened, type the following command and hit Enter:
convert drive (Drive of your choice)/fs:ntfs
For example, to convert drive E to NTFS format type: convert E: /fs:ntfs. This would convert drive E to the NTFS format.
That’s it!
Read: How to convert FAT32 to NTFS without losing data
If at all, the partition you are converting contains system files, the files present in the drive on which your operating system is installed, such as C: drive, you will be required to restart your computer for the conversion to complete successfully.
Moreover, if your disk is full, you may get an error; hence, it is best to clear or remove unwanted files or at least back them up to a suitable location so that you can free up some disk space.
Read: How to convert MBR to GPT without Data Loss.
How to convert raw partition to NTFS?
To convert a RAW partition to NTFS using Disk Management: Right-click ‘This PC’ and select ‘Manage’, open ‘Disk Management’, right-click the RAW partition, choose ‘Format’, and select NTFS in the File System drop-down. Proceed with the format to change the file system to NTFS. Always back up data first, as formatting will erase all files.
TYSM!!! (Y)
Does anyone know how to do this on windows 10?