Photoshop has tools, effects, and features that make it a great option for professionals and hobbyists. Everyone at some point wants to turn an image black and white. Learning to Create high contrast black and white images in Photoshop using the gradient map is quite easy.
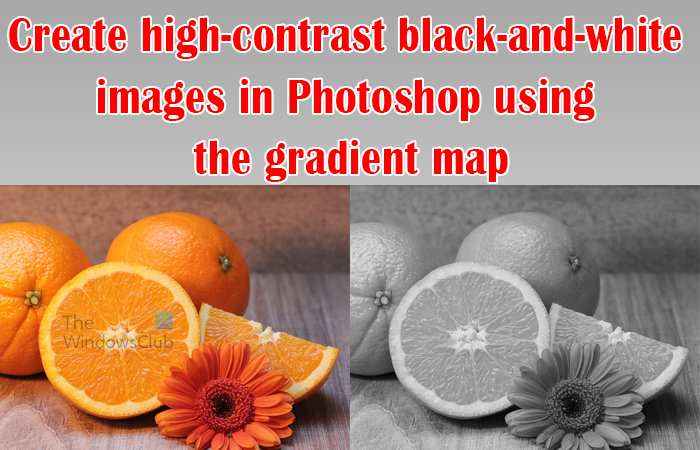
Convert image to high-contrast black-and-white in Photoshop
Black and white images do not have to be dull and lifeless. There are no colors but they can still look sharp and smooth. Black and white can be just that, black and white. There is also the high contrast black and white, which is crisp and attractive. A good color photo that is turned black and white can still have that sharp crisp look.
Follow these steps to convert image to high-contrast black-and-white in Photoshop:
- Place the image in Photoshop
- Duplicate the image
- Set foreground and background color to black and white
- Add a gradient map adjustment layer
- Add a levels adjustment layer
1] Place the image in Photoshop
Open Photoshop
The first step is to choose the image that you want to change to black and white and place it in Photoshop. When the image is found, open Photoshop and place the image there. Click the Photoshop icon and when it is opened go to File then New or press Ctrl + N. The new document options window will appear, enter the desired options then press OK to confirm.
Add image to Photoshop
To put the image into Photoshop, you can go to File and then Open, when the Open dialogue box appears, search for the image, click it and press Open. You can also open the image in photoshop by finding the image in the folder, then clicking and dragging it into Photoshop. You may also bypass those steps by going to the location of the image then right-clicking on the image and clicking Open with then choosing Adobe Photoshop (Version number). The image will open in Photoshop as a background.

This is the image that will be used
2] Duplicate the image
Now that the image is in Photoshop, it is time to get to work. Before working on the image, it is always best to duplicate it. Duplicating the image ensures that the original is protected from accidental editing. To duplicate the image, go to the layers panel and click on the image layer and drag it to the Create a new layer icon at the bottom. You can also duplicate the layer by pressing Ctrl + J or by going to the top menu bar and pressing Layer then Duplicate layer. The duplicated layer will go above the original layer in the layers panel.
3] Set foreground and background color to black and white
The next step is to change the foreground and background color to black and white.

Go to the left tools panel and click the Foreground background tool. Change the foreground color to black and the background color to white. If the foreground is white and the background is black then the results will be different when you add the Gradient adjustment layer and you will need to do an additional step to get the correct result. The sub-step to change the Gradient adjustment layer color mode is the additional step that will be required if the foreground color is white and the background color is black.
4] Add a gradient map adjustment layer
The next step is to add a gradient map adjustment layer. This is used to add an adjustment to the image without actually making any edits to the image. The edits will be made on the gradient map adjustment layer which is above the image layer.
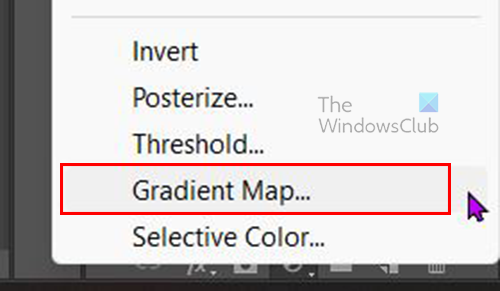
To create the Gradient map adjustment layer click on the image then go to the bottom of the layers panel and click the Create new fill or adjustment layer icon. To find the right icon hover over each and the names will come up. When you click on the Create new fill or adjustment layer icon, click Gradient map.
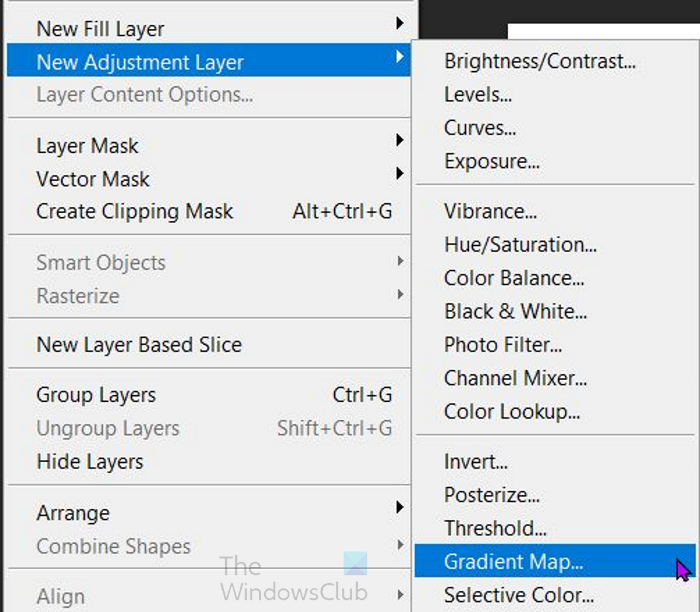
You can also create the Gradient map adjustment layer by going to the top menu bar then clicking Layer then New adjustment layer then Gradient map.
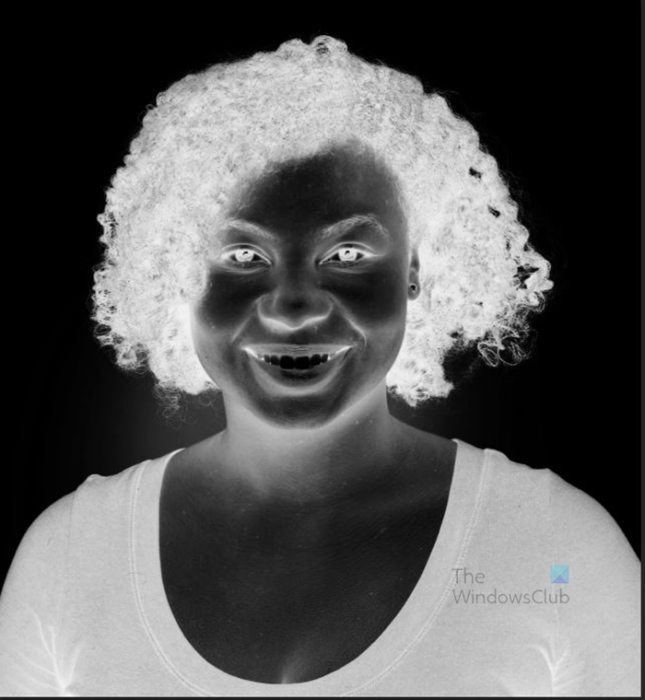
This is the image with the Gradient map adjustment layer added. To change the image to the high-contrast black-and-white version, you need to change the color mode. The image will look like this if your foreground is white and the background is black in the foreground background tool on the left tool panel. You can do the following sub-step (change the adjustment layer’s color mode) or you can click reverse on the adjustment layer Properties if you want to get the correct colors.
Change the adjustment layer’s color mode
The default color mode for the adjustment layer is Normal. To change the image to black and white, go to the color mode on the layers panel and click the drop-down arrow, from the list choose Hue, Saturation, or Color. Any one of these color modes will keep the image as high contrast black and white. Observe how the image looks as you choose the color mode, choose the one that fits best. Do this sub-step if you had the foreground color as white and the background color as black in the foreground background tool on the left tool panel.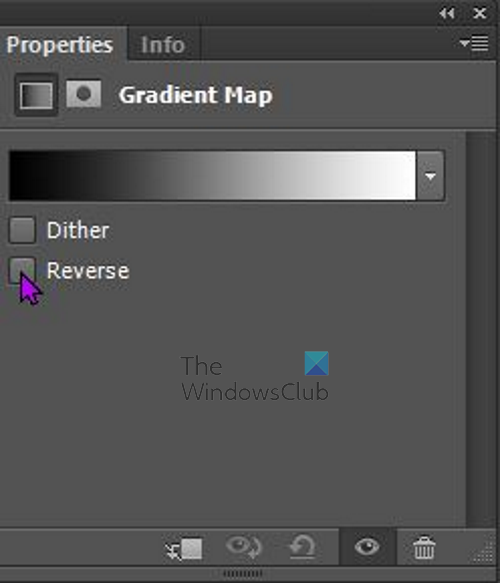
You can also click reverse on the adjustment layer Properties.
This is the image when it is changed to black and white.
5] Add a levels adjustment layer
If you want to adjust the color levels or shadows to make the image lighter or darker, you should add a Levels adjustment layer. The Levels adjustment layer will allow you to adjust the levels on the image without doing any adjustments on the image layer. All adjustments will be made on the Levels adjustment layer which will be above the image and gradient map layer.
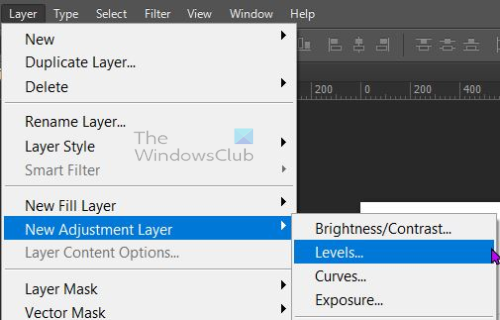
To create the Levels adjustment layer, go to Layer then New adjustment layer then Levels. Ensure that the Levels adjustment layer is above the image and the Gradient map layer.
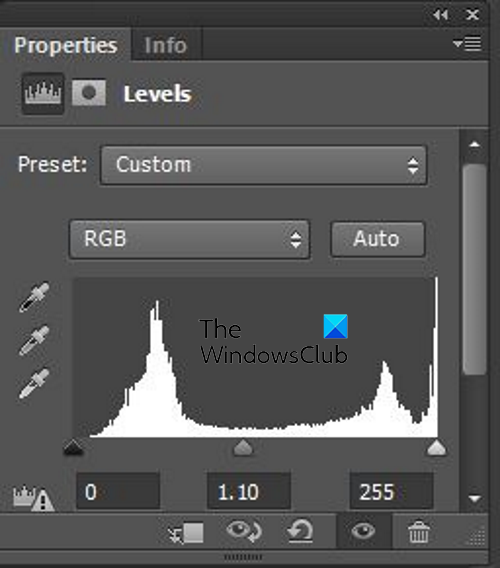
Click on the sliders on the Levels adjustment window and move them, watch the changes to the image and stop adjusting when you are satisfied with the results. You can always come back and make changes by clicking on the Levels adjustment layer in the layers panel and adjusting as you like.

This is the image with the Levels adjustment layer used to make it darker. Do you notice that it is darker than the other black-and-white image?
Read: How to Blur Image Background in Photoshop without affecting the image
Why should I use the Levels adjustment layer?
The levels adjustment layer allows you to make additional changes to the image to make it darker or lighter without directly editing the image. The levels adjustment layer also allows for adjustment to the individual colors (Red, Green, and Blue). This allows for a more precise change in the levels of each color.
How do you do a Gradient map in Photoshop?
To create the Gradient map adjustment layer click on the image then go to the bottom of the layers panel and click the Create new fill or adjustment layer icon. You can also go to the top menu bar and click Layer then New adjustment layer then Gradient map. There are sliders that you can adjust and you can check the boxes. Observe the image as you make changes to the sliders and check the options.
Leave a Reply