If you have a subscription to Office 365, you can use Microsoft Forms to create a form, quiz, or survey and adjust its settings. This post walks you through the process of quickly and easily creating Forms in Microsoft Forms and adjusting the settings of its custom quizzes, surveys, and more.
When working in a team, you need to collaborate with your co-workers and share resources with them timely. For example, if you are creating a survey where you want to evaluate responses from the respondents, you need to collect data and create a form. This data can then be processed and used further for analysis and grading. Microsoft Forms offers all these qualities.
Create a Form in Microsoft Forms
Microsoft Forms is a part of Office 365. When you create a quiz or form, you can invite others to respond to it using
- A web browser
- Mobile devices
Thereafter, when the results are submitted, you can use built-in analytics to evaluate responses.
So, to create Forms in Microsoft Forms, open your web browser and go to forms.office.com.
Next, sign in with any of the following,
- Office 365 school account
- Office 365 work account
- Microsoft account.
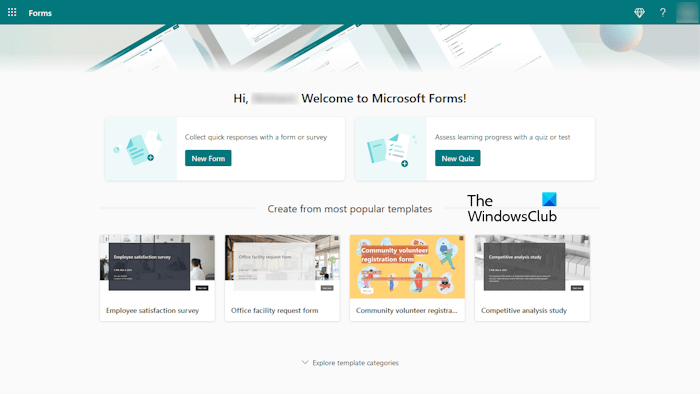
After logging in to Microsoft Forms with your Microsoft account, you will see the options to create a new form and a new quiz. Click on any of these to get started.
 Enter a name for your form. Enter an optional subtitle, if required.
Select the ‘Questions’ section as shown in the screenshot below.
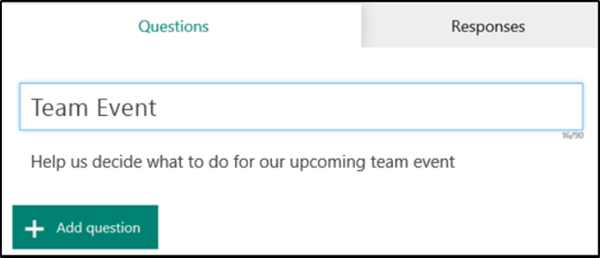
Next, hit the ‘Add Question’ tab to add a new question to the form. Choose from Choice, Text, Rating, or Date questions. Click the ‘More’ menu (visible as three dots) for additional options like
- Ranking
- Likert
- Net Promoter Score questions
If you have selected ‘Choice’ questions, enter the text you want to display for the question and each of the choices.
Click Add Question to add more questions to your form.
Now, if you find the questions are not in the right precedence, change the order by simply using the Up or Down arrows on the right side of each question.
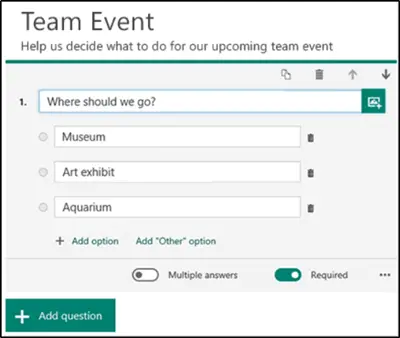
In the end, click ‘Preview’ at the top of the design window to get a snapshot of the appearance on your computer. And to test your form, enter answers for the questions in preview mode and then click ‘Submit’.
The same features are available in both Form and Quiz. If you want to make your form or quiz attractive, you can change its theme by clicking on the Style button on the toolbar.
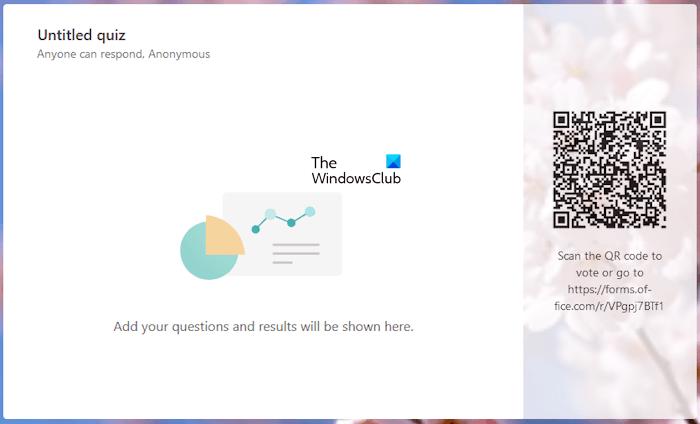
The Present option creates a QR code for your form and quiz. You can share this QR code with your users. Users can submit their responses directly by scanning this QR code.
Read: How to add Branching in Microsoft Forms.
Change settings of Forms
To get to the Settings screen, click the ellipses button (…) and choose Settings from the list of the options displayed.
Now, on the form settings page, select or clear the default settings.
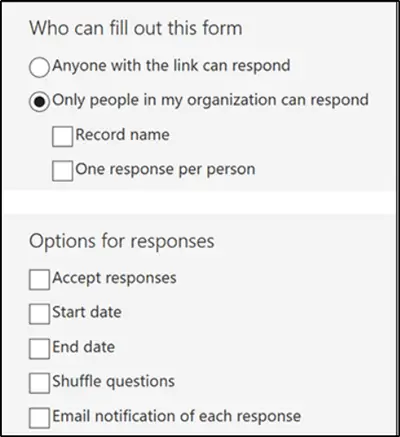
Similar to the above setting, you can change or clear the default settings of the Quiz page.
If required, you can also customize the default message that recipients see when trying to submit their response after you turn off this setting.
Can I change the layout of Microsoft Forms?
I did not find any option to change the layout of Microsoft Forms. However, there is an option to change the Form style. You can apply different themes to your Forms and make them more attractive. This will also help increase the users’ retention.
What is the difference between edit form and display form?
The main difference between the edit form and the display form is the former allows users to edit the form, whereas the latter does not give users editing rights. We can also say that the display form is in read-only format. This means that users can only view data in the display form.
Read next: Microsoft Forms vs Google Forms: Which is better?
Leave a Reply