What if your system possessed the built-in capability to create Templates with pre-existing tasks (like in Word/Excel) instead of having you to create every plan from scratch? I bet, it would be quite useful. This is what would Microsoft Planner has been designed for. It allows a new plan and its tasks to be directly created from a template thereby saving a lot of time. Here’s how you can create a plan in Microsoft Planner and add tasks to it.
How to create a plan in Microsoft Planner
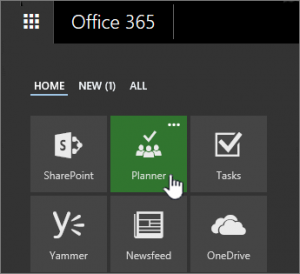
Sign into Microsoft Planner. For this, go to tasks.office.com and sign in with your account. After that, choose ‘Planner’ on the Office 365 app launcher.

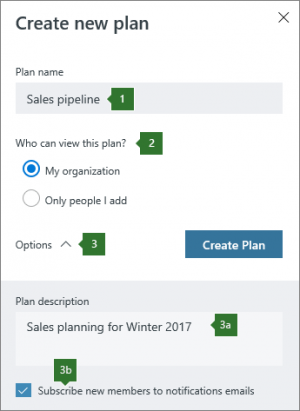
When done, select a plan under Favorite plans or All plans. Alternatively, if you would like to start a new plan then, start a new plan by choosing ‘New Plan‘. If you do so, remember to name the plan, select individuals who can see it and configure other options.
In the end, add a description and choose whether to automatically subscribe new members to notifications.
Finally, select ‘Create Plan’ option.

Please note that creating a plan automatically creates a new Office 365 Group, making it easy for you to collaborate not just in Planner, but other Microsoft applications like OneNote, Outlook, OneDrive, and others.
Add Tasks to Plan
Having finished the task of creating a plan its now time to add tasks to list.
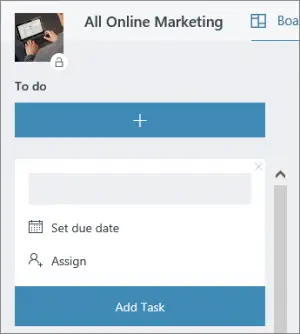
You can proceed by entering a task name in the box under ‘To do‘, and then selecting Add task. If the box is not visible to you then, click the plus sign (+) to show the box and add a task.

Here, you can fill in different details in Planner. For instance, you can define what to include and what not. Similarly, you can set options for settings that control how your tasks appear on the Board. Something like,
Flagging your tasks with labels, Setting a preview picture for a task, Setting and updating task progress and more.
Source: Office.com.