Windows 11 allows you to take a series of images and convert them into a video. Yes, it is as easy as it sounds and in this post, we are going to show how. In this post, we will learn how to create a video from images using Photos app, so, you can reconsider paying premium for your video editing software.
Microsoft introduced a Video Editor section in the Windows Photos app. Subsequently, Microsoft has replaced the Video Editor section in the Photos app with the new Chipchamp app. But the Microsoft Photos Legacy app is still available here on the Microsoft Store. You will have to download and use it.

Create a Video from Images using Photos Legacy app
To create a video from images using the Windows 11/10 Photos Legacy app, follow these steps-
- Put all images in a folder.
- Select them all and right-click on them.
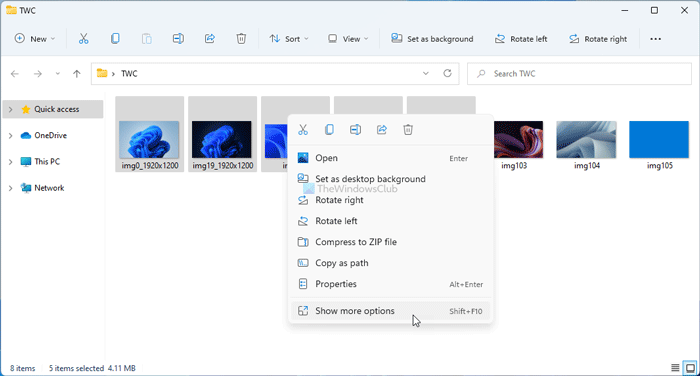
- Click on the Show more options if you are using Windows 11.
- Select Create a new video option from the context menu.
- Enter a name for your video project.
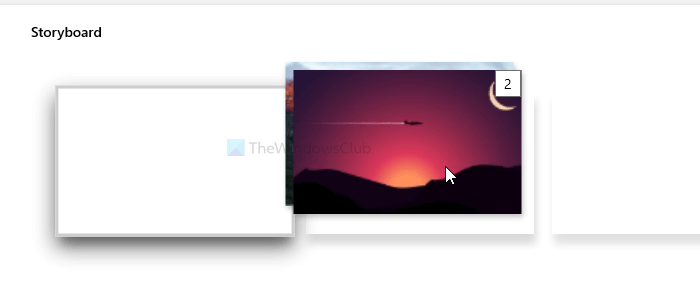
- Select images from the library and drag them in the Storyboard.
- Click on the Text option to write text on an image.
- Click on the Motion option to apply various motion effects.
- Click the Finish video option.
- Choose Video quality and click the Export button.
- Select a location and give it a name.
- Click on the Export button.
To know more about these steps, keep reading.
At first, place all the desired images in one folder so that you can choose them quickly. If it is done, press Ctrl+A to select all the photos and right-click on them. Select Create a new video option from the right-click context menu.
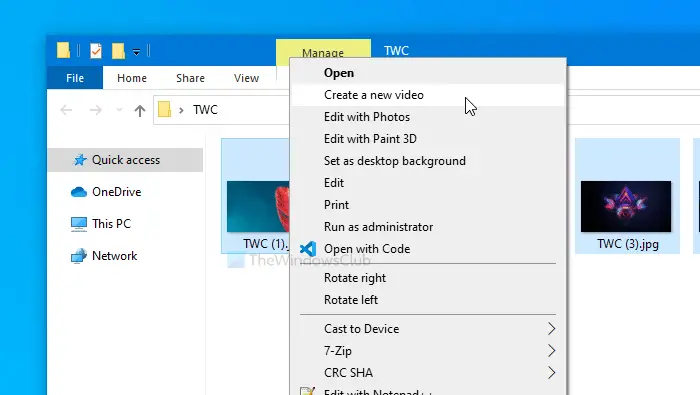
However, if you are using Windows 11, you need to select the Show more options from the new context menu and choose the option mentioned above. But if you can’t see the Create a new video option, move to the section where we discuss what to do.
This will open the Photos app automatically. Once opened, you will see three things: The Project library, the Storyboard, and the preview pane. The Project library is where you will find all the images you selected earlier. The Storyboard is the timeline of elements you want to show in the video. It can contain pictures, title cards, etc.
You must select images from the Project library and drag them into the Storyboard.
Now you can do all the editing work. For example, if you want to add a title card, click on the Add title card button. Similarly, if you want to add a text, select the image and click on the Text button. Following that, you will be able to write text accordingly.
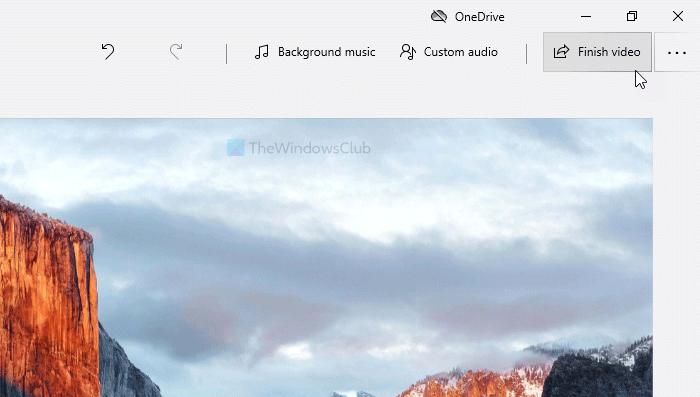
On the other hand, there are Motion, 3D effects, and Filters. If you want to add music in the background, the Background music option will let you do that. The Photos app offers some music for free. If you click on the Background music option, you can find them on a list.
However, if you want to embed music not on the list, click on the Custom audio button and choose the music from your computer.
Once everything is done, click on the Finish video button visible in the top-right corner of your screen.
Then, choose a Video quality from the drop-down list. It is possible to choose among High 1080p, Medium 720p, and Low 540p.
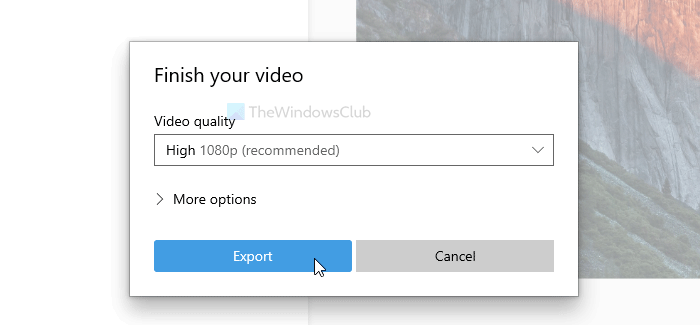
Once selected, click the Export button. Now, you will have to choose a location where you want to save the video file. Do that and give it a name as you wish. At last, click the Export button to save the file in the selected location.
Although this method is more than enough for many people, you might miss one feature—transition. If you can ignore this drawback, you can create unique videos from your images.
Create a video in Windows 11 if you can’t see “Create a new video” option in the Context Menu

Since the context menu offers the option to create a video, we will create a clip using the Photos app. Launch the Photos app on your computer, select all the required images, and click on Create a video (it will have a little Clipchamp icon). This will launch the app, and then you can use Clipchamp to create new videos.
This post will show you in detail how to make a Video from Photos in Windows 11 using Clipchamp.
How do you make a bunch of pictures into a video?
On Windows 11/10, you can use the Photos app to turn a bunch of pictures into a video. It is an in-built application for viewing and editing images on your computer. It lets you combine all the selected images and make a video at high and low resolutions as per your requirements. For that, you can either open the Photos app and import all the images or choose all pictures and select the Create a new video option from the right-click context menu.
How do I make a picture video with music on Windows?
To make a picture video with music on Windows 11/10, you must use the Photos app, which is already available on your PC. After importing all the pictures, click the Background music option at the top-right corner and select audio from the list. Then, you can save the music video by following the steps mentioned above.
Read next: How to disable Indexing of Network Locations in Photos app.
Leave a Reply